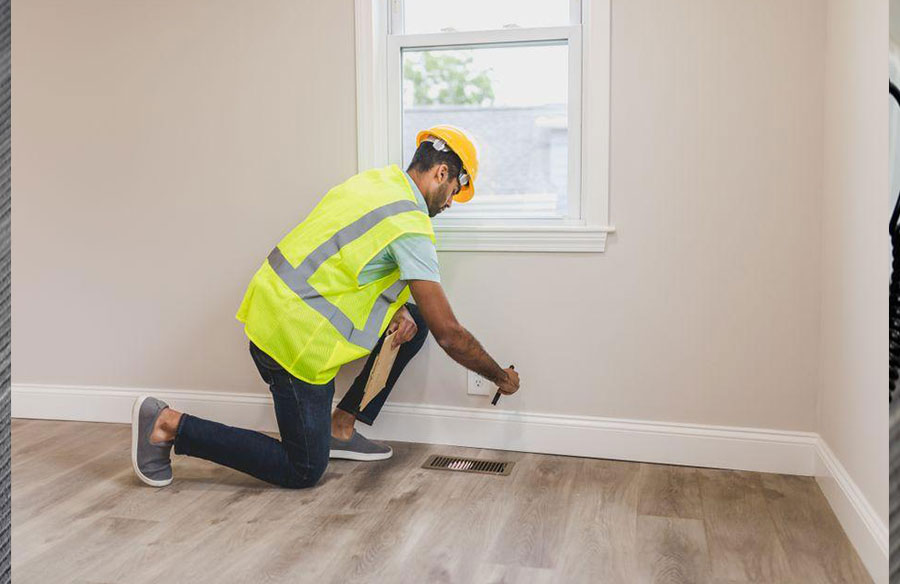
Under site lights, a freshly laid floor screed (the sand and cement layer that gives a concrete floor its smooth top) can look perfectly flat. So can a newly plastered wall. The problems tend to show up later, once the finish goes on: large tiles that rock underfoot, a resin floor with a visible low patch, or a painted wall where low sun picks out every bump the plasterer left.
By then the problem is expensive to fix and hard to argue about. Saying a surface “looked fine” carries no weight when a client is pointing at tile edges that sit at different heights, or at a puddle that won’t drain. What settles the question is a measurement: how big the gap is under a straightedge, where on the surface it was found, and what limit the project specification allows. This guide covers where those limits come from, which tool to measure with, and how to take and record readings that hold up at handover.
What a flatness tolerance is, and why specifications set one
 A flatness tolerance is the amount of unevenness a surface is allowed to have before the next material goes on top of it. Specifications set one because every finish can only cope with so much. A large-format tile laid across two high spots has nothing supporting its middle, so it rocks underfoot and can crack. A thin resin coating follows the shape of the screed beneath it, so any dip shows through in the finished floor. Plaster or drywall that bows in and out shows every undulation once light falls across it at a low angle.
To make the requirement something you can check, the architect or engineer who writes the specification states it as a number. In the UK, that number is usually the largest gap allowed between the surface and a 2 m straightedge laid on it. (In the US, concrete floors are more often specified with F-numbers, which use a different measuring method, but the principle is the same: a figure the surface either meets or fails.) The more exposed the finish, the tighter that figure needs to be. A polished floor down a long corridor, or a wall lit from the side by a tall window, shows unevenness that a carpeted floor would hide.
For floor screeds, the British Standard BS 8204 sorts these limits into three surface regularity classes:
SR1 allows a gap of up to 3 mm. This is the high standard, used for special floors and the usual choice under thin finishes such as resin coatings or sheet vinyl.
SR2 allows up to 5 mm. This is the normal standard for most commercial and industrial floors.
SR3 allows up to 10 mm. This is the utility standard, for areas where small undulations matter less.
Check which class the specification calls for before you start measuring. A floor with a 4 mm gap passes SR2 but fails SR1, so the same reading can mean acceptance on one project and rejection on another.
Why your eye and a short spirit level miss the problem
 If you crouch at one end of a floor and look along it, you will spot sharp humps and ridges. What you won’t spot are long, shallow dips, where the surface drops a few millimeters over a meter or more and then rises again. These gentle dips cause most of the trouble under tiles and resin, and the eye reads them as flat.
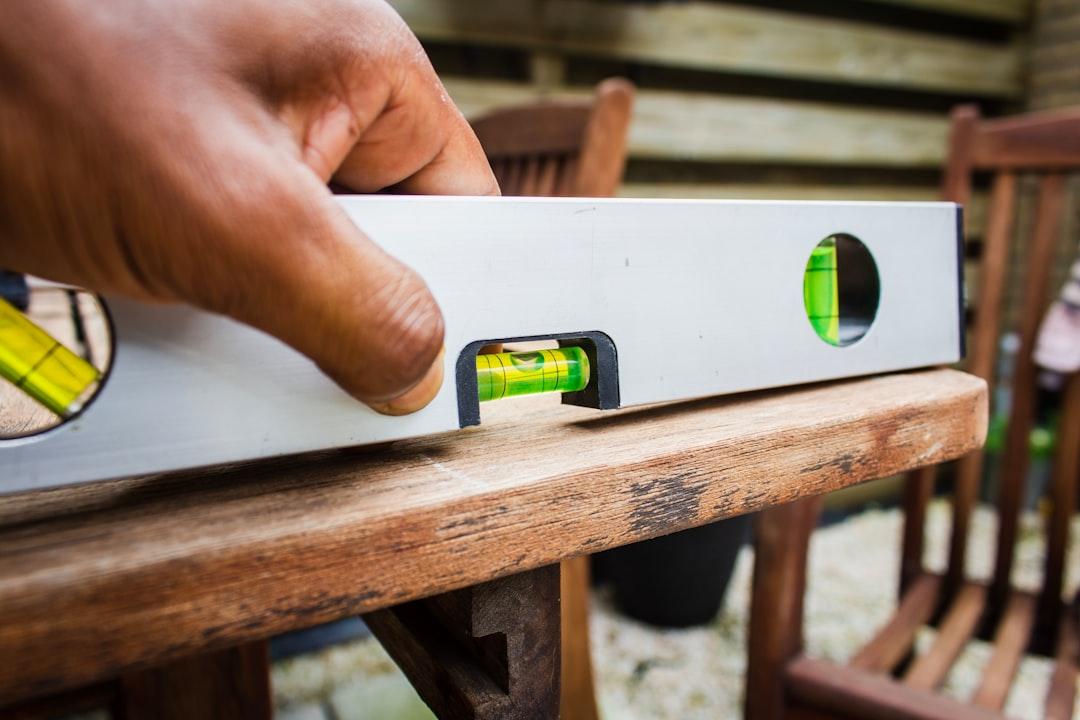
A short spirit level misses them too. A 600 mm level, or a phone level app resting on an offcut of timber, only touches a short stretch of the surface. Set down inside a wide dip, it sits flat on the bottom of it. Set down on a broad, gentle hump, it barely rocks. Either way, it gives you no sign of a problem.
A spirit level also answers a different question. It tells you whether a surface is level, meaning horizontal, not whether it is flat. A floor can slope evenly from one side to the other and still be perfectly flat, and a floor that is level overall can still dip and rise along the way. To find a dip that spans a meter or more, you need a straight, rigid edge longer than the dip, so that it rests on the high points either side and shows the gap in between.
Choosing the right straight edge
 Start with length. The SR classes are written as a gap under a 2 m straight edge, so a 2 m straight edge is the one to check with. It can rest on two high points up to 2 meters apart and show the full depth of the dip between them, which is exactly what the 600 mm level missed. A shorter straight edge measures a smaller gap than the specification intends, so a floor that should fail can appear to pass. A much longer one is hard to position and read on your own, especially against a wall.
Next, choose the material. On site, aluminum is the practical choice. During a survey you will pick up, carry and position the straight edge dozens of times, and a 2 m steel straightedge is heavy enough to tire your arms, which makes careful placement harder as the day goes on. Aluminum is light enough to handle all day and stays rigid along its length when you stand it on edge. Steel straight edges are better kept in the workshop, where one can sit on a bench as a reference for checking that your site straightedge is still true.
Finally, make sure the straight edge is straight enough to measure with. The long aluminum rules that plasterers and screeders use to spread and level material, such as feather edges, are made for working, not for measuring. Nobody guarantees how straight their edges are, and after hard use on site some are bowed by more than the tolerance you are checking for. A straightedge made for checking comes with a stated straightness accuracy: a figure, usually given per meter, for how far its edge can depart from a true straight line. That figure tells you how much of any gap you measure could be the tool’s own error rather than the surface’s.
The Maun aluminium safety straight edge (model 1710-200) is well suited to checking floors and walls against the SR classes. It is exactly 2 m long, the length the classes are written for, and its edge is made to a straightness accuracy of better than 0.1 mm per meter. Across its full length, that means the tool itself adds less than 0.2 mm of error, a small fraction of even the tight 3 mm SR1 limit. It is made from anodized extruded aluminum, so it is light to carry around site and won’t rust. Maun also sells it as a cutting guide for glass, wallpaper and vinyl flooring, which is where the “safety” in its name comes from: a recessed grip keeps your fingertips away from the edge.
Whichever straight edge you use, look after it, because it only stays accurate if it is treated as a measuring tool. Store it flat or hang it from one end. Don’t lean it in a corner with boards stacked against it, and don’t kneel on it, because a 2 m length of aluminum bends permanently under that kind of load. Don’t use it as a guide for a grinder or power saw either, because one nick in the edge will show up in every reading you take afterward. Every so often, check it against a known straight reference, and replace it if it has bowed.
How to check a floor or wall, step by step
 Work across the surface in a fixed pattern, so that anyone who repeats your survey later, including a contractor who disagrees with it, can put the straightedge in the same places and get the same readings.
- Mark a grid. Chalk lines across the floor or wall about 1 m apart in each direction, and label the squares, for example with letters along one side and numbers along the other. Every reading you take then has a location, such as C4, that you or anyone else can find again.
- Check each square in several directions. Stand the straightedge on its edge on the floor, or hold it on edge against the wall, and check each square lengthwise, crosswise and along both diagonals. A long, narrow dip can be missed if the straightedge happens to lie along it, but it shows clearly when the straightedge crosses it.
- Look for light under the edge. Put a flashlight or work light on the far side of the straightedge and get your eye down to the level of the surface. Wherever light shows between the straightedge and the surface, there is a gap. If the straightedge rocks when you press on either end, it is sitting on a high spot.
- Measure the widest gap. Find the point where the most light shows and slide in feeler gauges (thin steel blades of known thickness) until one fits snugly between the straightedge and the surface. For larger gaps, a tapered wedge gauge does the same job. The thickness that fits is the gap under a 2 m straightedge, in millimeters, which is the figure the SR classes are written in.
- Record the largest gap in each square. Write down the biggest gap you found in each grid square and the direction the straightedge was facing when you found it. The largest gap across the whole surface decides whether it passes, so make sure that reading goes in your report with its grid reference.
Recording and reporting what you find
 Each gap you record comes from either a high spot or a low spot, and it matters which, because they are fixed in different ways. If the straightedge rocks on a raised point and you can slide a gauge under both ends, the surface has a high spot. If the straightedge rests on two points and the gap opens up between them, the surface has a low spot. On a screed, high spots are usually ground down and low spots are usually filled with a smoothing compound. So note which kind each reading is. “5 mm at C4” on its own doesn’t tell the contractor whether to bring a grinder or a bag of compound.
When you write up the survey, compare the largest gap with the class in the specification, not with how the surface looks. A clear report states three things: the class specified, the largest gap measured, and the grid square where it was found. For example: “SR1 specified. Largest gap 6 mm under a 2 m straightedge, low spot, at C4.” A statement like that is hard to dispute, because anyone can go back to C4 with a straightedge and check it.
When a straightedge survey isn’t enough
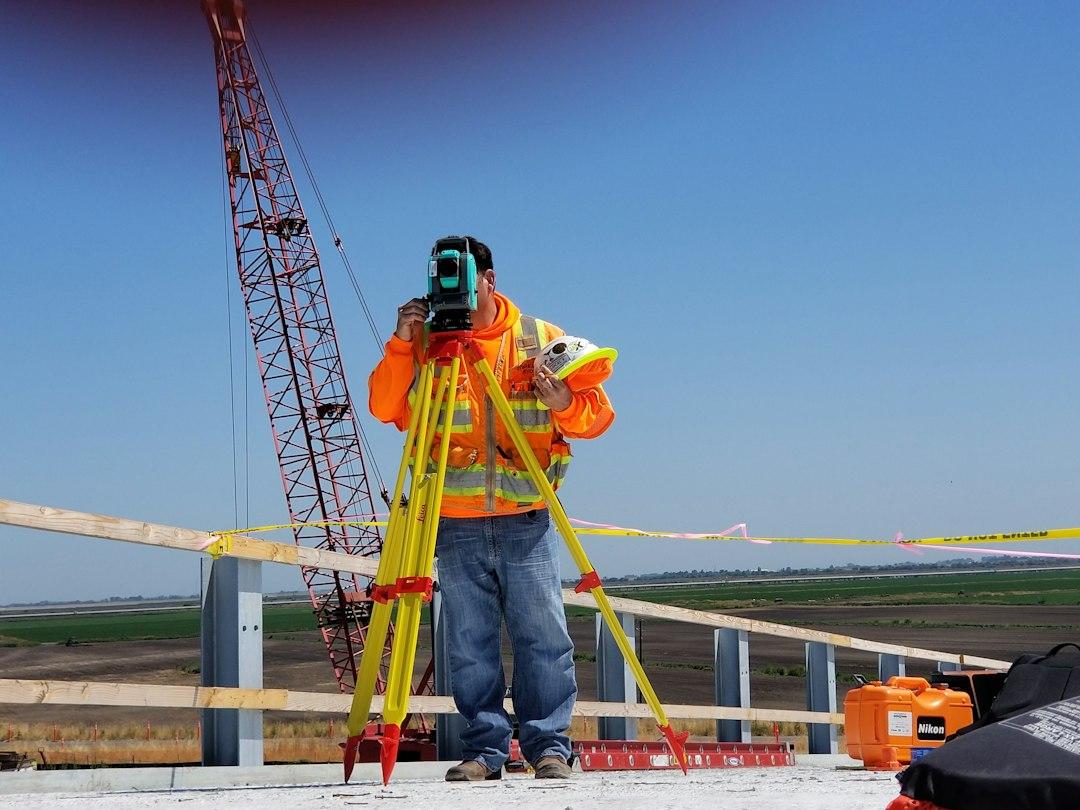
 A straightedge survey only checks the surface along the lines where you placed the straightedge. A dip that falls between two of your positions can be missed, and on a large floor, such as a warehouse or an open-plan office, checking every square meter by hand isn’t practical.
For large areas, or when a disagreement over flatness is likely to involve real money, a laser survey is the better tool. That can mean a rotating laser level used to take height readings across a grid, or a 3D laser scan that records the whole surface and maps every high and low area. The straightedge is still the quickest way to check a room or a wall yourself, and a sensible first step before deciding whether a full survey is needed.
FAQ
How do you measure flatness using a straight edge?
Stand a 2 m straightedge on its edge on the surface, put a light behind it, and look for gaps underneath. Slide feeler gauges into the widest gap until one fits snugly. Its thickness is the size of the gap in millimeters. Repeat across a marked grid in several directions, including the diagonals, and record the largest gap and where you found it.
What tool can I use to check if a surface is flat?
On site, use a 2 m straightedge with a stated straightness accuracy, plus feeler gauges or a wedge gauge to measure any gaps. A short spirit level or a phone app isn’t long enough to find the shallow dips that cause problems under finishes. For a large floor, or where a dispute is likely, a laser survey maps the whole surface.
What is an acceptable gap under a 2m straightedge?
It depends on the class in the specification. For floor screeds, BS 8204 allows a maximum gap of 3 mm under a 2 m straightedge for class SR1, 5 mm for SR2 and 10 mm for SR3, so the same 4 mm gap passes SR2 but fails SR1. Walls are specified in a similar way, as a maximum gap under a straightedge, but the figure comes from the plastering or drywall specification, so take the number from that document.