Installing a heat pump water heater involves more than just swapping one tank for another. A qualified installer reviews the home, confirms electrical and plumbing requirements, selects a suitable location, and prepares the system for safe operation. The work also includes removing the existing heater, connecting condensate drainage, testing controls, and explaining routine care. Knowing each stage helps a homeowner prepare the space, ask useful questions, and schedule the work with realistic expectations.
Reviewing the Home and Existing Equipment
Before work begins, the technician checks the existing tank, pipe routing, breaker capacity, drain access, and available floor space. Homeowners should review the installation sequence before planning to install a heat pump water heater, because the equipment needs a location with adequate airflow and service clearance. That early review also identifies upgrades, permits, and disposal arrangements that could affect the appointment.
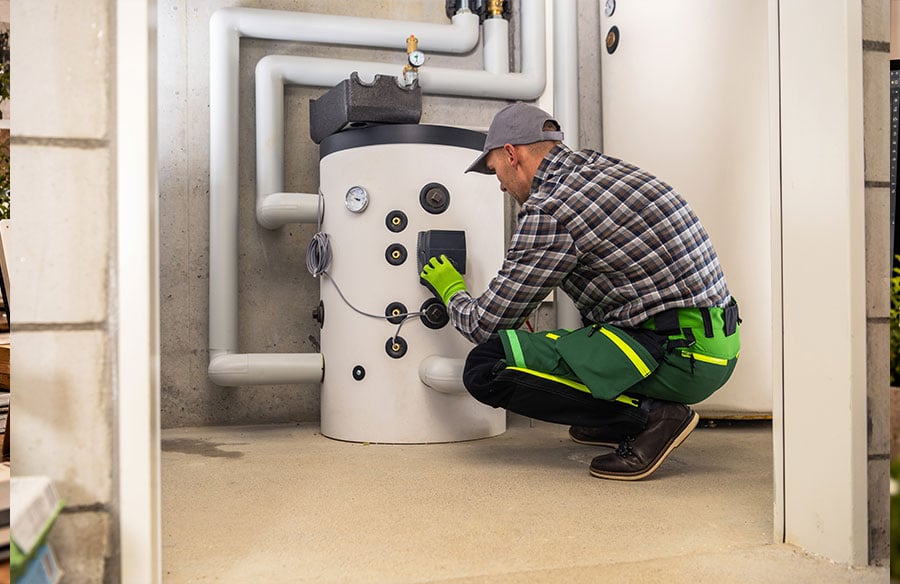
A heat pump water heater transfers heat from surrounding air into the tank. Its location must support that process without restricting airflow. The professional checks the room dimensions, surrounding obstacles, ambient conditions, and access for future maintenance.
This consideration of spatial requirements, airflow, and long-term access aligns with fundamental architectural principles of functional planning and user experience within built environments.
The existing water heater also provides useful information. Its fuel source, connections, capacity, and condition help determine the work required. A change from gas to electric equipment usually requires careful planning for electrical service and venting changes.
Confirming Electrical and Plumbing Requirements
Heat pump water heaters use electricity to run the compressor, fan, and controls. The specialist confirms that the electrical panel, circuit, wiring, disconnect, and grounding arrangement meet the equipment requirements and applicable local rules.
Plumbing preparation includes the cold-water inlet, hot-water outlet, shutoff valves, relief components, and connections to the home’s supply lines. The service provider examines pipe condition and access before disconnecting the old tank. Corroded or damaged connections require correction before the new unit operates.
A condensate drain is another part of the installation. Heat pump operation produces water that must flow to an approved drain location. The contractor establishes the drain route and checks that it has suitable slope, support, and protection against leaks.
Removing the Old Water Heater
The team first turns off the energy supply and water supply. The tank must cool before work continues. After the water drains, they disconnect the supply lines, electrical wiring, or fuel connections associated with the existing unit.
Removal requires attention to the tank’s size, weight, and access path. Doorways, stairs, tight corners, and flooring can affect how the equipment leaves the home. The professional protects nearby surfaces and follows the applicable disposal requirements for the old tank.
Navigating such practical constraints within a home highlights the importance of spatial design, material durability, and the often-overlooked logistics of maintaining and upgrading building infrastructure.
Once the old unit is removed, the work area is inspected again. The technician checks the floor, wall, drain, and connection points before positioning the replacement. Any damage or uneven support must be addressed before the new tank is filled.
Positioning and Connecting the New Unit
The service provider places the heat pump water heater where it has the required service clearance and airflow. The unit must sit level and remain accessible for filter cleaning, control adjustments, inspection, and repairs.
Next, the team connects the water lines and installs required valves or fittings. The condensate line connects to the approved drain, while the electrical connection follows the equipment instructions and local requirements.
The tank fills with water before the system receives power. This step prevents damage to internal heating components. The professional opens a hot-water tap to release trapped air, checks the connections, and inspects the area for leaks.
Testing Controls and Explaining Operations
After the plumbing and electrical work is complete, the specialist starts the system and checks its operating modes. The inspection includes water temperature, control response, unusual noise, airflow, condensate drainage, and visible leaks.
The homeowner receives instructions for setting the temperature, selecting available operating modes, and recognizing service alerts. The contractor also explains routine filter care and the location of shutoff controls. These details help the household use the equipment correctly after installation.
A final inspection confirms that the work area is clean and that the system operates as expected. The technician records required information, reviews warranty materials when applicable, and identifies any follow-up inspection or permit step.
Conclusion
A heat pump water heater installation follows a defined sequence: site review, utility checks, old-tank removal, new-unit connection, startup, and operating guidance. The homeowner can shorten delays by clearing the access path, identifying the existing tank connections, and confirming questions about electrical work, condensate drainage, permits, and disposal before the appointment. A written scope from the service provider provides a practical record of required preparation and the work scheduled for the home.