Consider a hypothetical second-grade classroom three years after opening. Metal chair feet have worn a pale track into the resilient floor between the desks and the reading corner. Backpacks and carts have chipped the painted corner beside the door. Under the sink, a slow drip has swollen the cabinet base, hidden from view. Each problem calls for a different design detail, from compatible chair glides to replaceable corner protection and plumbing access.
Durability, cleanability and repairability need separate checks. Durability is resistance to wear. Cleanability is whether a surface can be reached and cleaned with a method it tolerates. Repairability is whether a damaged component can be replaced without replacing the whole assembly. Accessibility and acoustic comfort also matter: a floor that cleans well may still make a library too noisy or create difficulties for wheelchair users.
School design for easy maintenance begins before finishes are ordered, with a walkthrough and records that survive the handover. Use cleaning terms precisely. CDC defines cleaning as using water, soap and scrubbing, while sanitizing and disinfecting are different processes. Follow local policy or regulations and relevant product instructions, particularly in bathrooms and food-service spaces.
Four Decisions to Make Early
- Specify by room. Match each finish to the wear, moisture and cleaning method of the space it serves.
- Coordinate furniture and floors. Test the proposed chair foot against the proposed floor sample before either is ordered.
- Detail for access. Keep leak-prone junctions, above-ceiling services and replaceable panels reachable.
- Document replacement parts. Record manufacturer, model, dimensions and fixings for components the school may need to reorder.
Start With the School’s Actual Wear Patterns
Before preparing a finish schedule, walk the building with the people who clean it. For a renovation, that means the existing school and its custodians. For a new building, a comparable school in the same district can serve as a reference. Ask where grit gets tracked in, which furniture moves every day, where spills happen and which repairs keep recurring. Review work-order records if the district keeps them.
Custodial input helps locate entrance matting and corner protection where wear and impacts actually occur. It also narrows material selections to finishes compatible with the cleaning equipment and products the school already owns. Discuss which glides and casters suit the proposed floors, and what records the facilities team needs to identify replacement parts. Corridors deserve particular attention, since, as this look at why school architecture matters for learning spaces notes, hallways in traditional schools are often designed as identical, overlooked spaces despite carrying the heaviest daily traffic.
Map the Stress Points
Use a worksheet to turn the walkthrough into information the design team can act on. For each room or junction, record the location, likely damage, cleaning method, repair access and replacement information needed. A hypothetical row might describe a cafeteria-to-gym corridor corner: cart impacts; floor cleaning with an auto-scrubber and damp wiping of the wall; a replaceable corner guard with accessible fixings; and the guard profile, length and fastener type.
Review that worksheet against the drawings. Check that the corner guard protects the height where carts make contact, that cleaning equipment can reach the floor, and that staff can remove the guard without disturbing adjacent finishes. This connects each recurring problem to a detail the project team can check.
Compare the Full Maintenance Burden
Alongside purchase price, ask how often a finish needs recoating, whether damage can be patched and how much furniture must be moved for cleaning. Request project-specific information from the district on cleaning frequency, labor hours, equipment and current repair costs. EPA’s indoor air quality guidance for schools describes preventive maintenance as a sound financial investment, and local records help the team assess what that means for the proposed interior.
Match Flooring to the Room and Cleaning Method
EPA’s school-design guidance asks designers to consider cleaning and maintenance when specifying flooring for different uses. Select floors room by room, checking moisture exposure, tracked-in grit, furniture contact, acoustic comfort and repair methods. EPA also advises low-emission products for any floor-covering system, so review adhesives, underlayments and finish coats alongside the visible surface.
| Flooring type | Selection questions | Maintenance evidence to request | Cautions |
| Resilient flooring (sheet, tile or rubber) | Which cleaning products and equipment does it tolerate? Does it need periodic coating? Which glide material suits it? | The manufacturer’s written care instructions, documented repair procedure, and a sample tested with the proposed chair foot. | Repairability is product-specific. Interface documents gap and patch repair methods for its nora rubber flooring; those methods do not apply to every resilient product. |
| Terrazzo or another hard finish | How much grit reaches it? Where does it meet wet zones? How will the room sound? | A care schedule, any sealing requirements, and slip-resistance information for the project’s conditions. | The National Terrazzo and Mosaic Association notes that terrazzo still requires care. Assess acoustic comfort separately from cleaning needs. |
| Carpet in suitable dry areas | How likely is moisture exposure? What vacuum equipment does the school have? How are spills handled? | Manufacturer cleaning instructions, reviewed alongside EPA’s carpet guidance on maintenance and moisture. | Plan for prompt drying after spills. Ask how damaged sections can be replaced and how replacement areas will match. |
Detail the Entrance Matting
A recessed or securely fixed mat can intercept grit before it reaches the corridor. Keep the transition flush so cleaning equipment, carts and wheelchair users can cross without a lip. Set mat length with the district and manufacturer, based on the entrance and local conditions.
Test Floors and Furniture Together
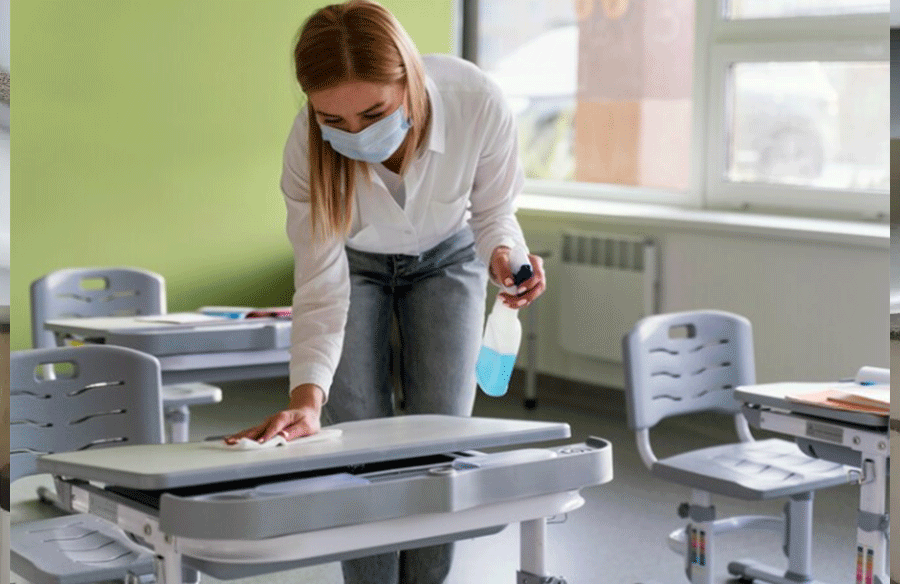
Before approving the floor and chairs, test the proposed chair foot on the floor sample for visible marking and confirm compatibility with both manufacturers. A sample check should accompany written product guidance. Compare the care instructions with the custodians’ cleaning methods, including equipment and cleaning products, and resolve any mismatch before ordering.
 Protect Walls and Joinery Where Contact Happens
Walls and built-in cabinetry take contact at corners, at the height of chair backs and cart edges, and at the base where cleaning equipment passes. Joints beside floors and counters also need attention. The walkthrough identifies the vulnerable locations; the drawings should show how each will be protected, cleaned and repaired.
Vulnerable Corners
The San Diego Community College District’s 2025 design standards manual requires corner guards on exposed corners in public corridors. This is a district-specific requirement from a community college system, not a universal K-12 rule, but it is a useful detailing example. Review exposed corners on cart routes, in cafeteria queues and beside classroom doors, then specify protection that staff can remove and replace.
Cleanable Junctions
Where walls meet floors, counters or sills, check whether staff can reach the joint with the intended cleaning equipment. Avoid recesses that collect dirt or water. Request cleaning-compatibility information from each manufacturer, since a sheen or coating category does not establish which cleaners a finish tolerates. Review a sample junction with custodial staff before repeating it along a corridor.
Replaceable Finishes
Consider lower wall panels with accessible fixings so staff can replace a damaged section without repainting the corridor. Keep color, display rails and pin-up surfaces where they support the room’s use. Review how the panel edges meet guards and bases, and whether removing one panel will disturb its neighbors. On the detail sheet, show a corridor corner in plan section with the guard, the edge of the adjacent lower wall panel and the fixing used to remove it, along with the component information the facilities team will need to order a replacement.
Choose Furniture That Can Be Maintained and Repaired
Select furniture alongside the floor finish. Chair feet and glides contact the floor throughout the school day, so their compatibility belongs in the selection process. Waiting until the floor is specified can leave the team with fewer suitable furniture options.
Coordinate Furniture in Three Ways
Match glides and casters to the floor. Check that custodians can reach underneath with their cleaning equipment, or that furniture can be moved or stacked safely. Choose assemblies with individually replaceable components, such as glides, seats, backrests and legs, where practical.
Build a Furniture Schedule That Survives the Project
For each furniture type, record the manufacturer, model name or number, replaceable components, dimensions, attachment methods and supplier references. File the schedule in the handover package so facilities staff can use it after procurement is complete.
Check Dimensions and Geometry
Similar-looking chair glides may fit different legs. Glides are made for specific tube diameters and leg angles, so a straight-leg chair and an angled-leg chair can need different parts even when the glides look alike. Record both the tube dimensions and the leg angle, rather than relying on a photograph or color match.
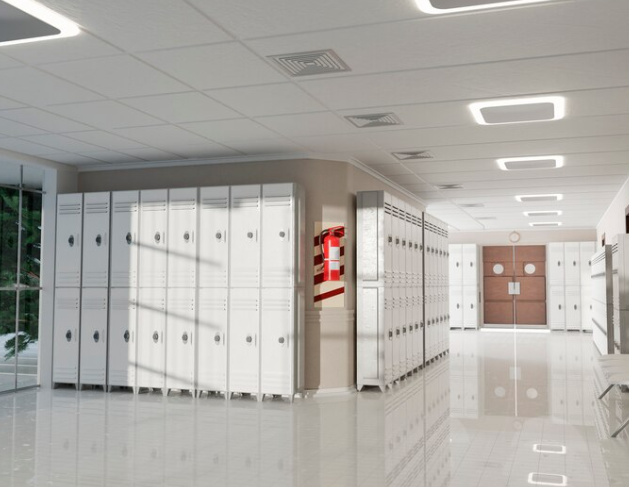
The same identification process applies to other components. For lockers, identify the locker manufacturer first, often from a stamped plate or the handle body. For restroom partitions, check the door thickness and whether the edge profile is round or square. These details narrow the replacement options before ordering.
Source Replacements Against the Record
Once the manufacturer, dimensions and fixing details are on file, facilities staff can match each worn part to a replacement instead of guessing from a photo. Specialist suppliers of repair parts & equipment for schools, such as School Fix, stock the components that wear out most often in busy buildings, including chair glides, locker parts, toilet partition hardware and corner guards. Before ordering, compare the selected part against the installed item, then file its specification and warranty with the furniture schedule. A listing that looks similar is not enough to confirm a part will fit.
Make Wet Areas Easy to Inspect and Clean
Restrooms, classroom sinks and drinking-water stations need details that help staff find and reach leaks. EPA’s school mold guidance directs schools to fix the source of a water problem or leak. A washable finish cannot resolve water entering behind it.
Visible Leak Paths
Review supply and waste connections under sinks, partition bases and other junctions exposed to water. If finishes conceal them, provide an inspection route. For example, a classroom sink cabinet with a removable base panel gives staff a way to check for moisture during routine cleaning.
Reachable Plumbing
Show access panels, removable kick plates and clear space around fixtures on the drawings. Check that staff can open each panel after the furniture and fittings are installed. EPA’s mold guidance for schools recommends cleaning and drying wet or damp materials within 24 to 48 hours. That is response guidance, so the design should help staff locate and reach affected areas promptly.
Water-Sensitive Finishes
Request joint, edge and substrate details for each finish in a wet zone. Ask how staff would remove and reinstate the finish if water reached the material behind it. Review coved floor-to-wall junctions and sealed bases as complete assemblies, since their performance depends on the specified products and installation.
Use the same review to check cleaning access around fixtures and partitions. A surface may tolerate the approved cleaner while its edges or fixings remain difficult to reach. CDC directs schools to local policy or regulations for disinfecting areas such as bathrooms and food-service spaces. The design team’s role is to provide surfaces, drainage and access that support those procedures, without prescribing a generic chemical or cleaning frequency in place of the district’s requirements.
Leave Space for Cleaning and Service Access
Check maintenance clearances during drawing reviews. A floor scrubber may not fit between fixed cabinetry and a radiator. A light fixture may prevent a ceiling tile from lifting, or a display case may block a valve access panel. Ask the maintenance team to trace how they would clean and service each room.
Check Equipment Reach
Ask custodians which equipment they use on each floor type, then trace its route on the plan. Fixed furniture, built-ins and low shelving should leave enough room for that equipment or provide clearance underneath. Set dimensions using the school’s equipment rather than a general rule of thumb.
Keep Services Reachable
The same community college district manual requires ceiling systems to allow access to services above them. As a project-specific reference, it offers a useful review question: can staff reach each service point once lighting, ductwork and other fixed elements are installed? Coordinate those elements and mark access locations on the ceiling plans for handover.
Check Accessibility Separately
The U.S. Access Board’s guidance identifies stability, firmness and slip resistance as requirements for accessible floor and ground surfaces. Check cleaning provisions alongside accessible routes and transitions. Confirm the standards that apply in the project’s jurisdiction and assess the conditions each floor will face, including wet areas.
Plan Storage
Confirm where cleaning equipment, spare parts and chemicals will be kept, and whether the district needs a water supply in those spaces. Locate storage with the maintenance team rather than assuming a closet on each floor is enough. Where movable furniture is proposed to improve cleaning access, agree who will move it, where it will go and how often.
Hand Over an Interior the School Can Maintain
The facilities team needs care instructions and component records it can find and use. Organize the handover package so staff can retrieve information by room and product:
- Care instructions for every finish, in the manufacturer’s wording, filed by room.
- Finish and component identifiers, including manufacturer, product name, color or pattern code, and the furniture schedule.
- Warranties, listed by product and manufacturer.
- Repair methods for floors, wall panels and furniture components, with drawings showing how panels and guards are removed.
- Access locations for plumbing, above-ceiling services and valves, marked on plans.
- Spare parts and samples in quantities agreed with the district.
- Staff orientation that walks custodians through the package before the building opens.
Test the Package With the Facilities Team
Ask staff to identify a replacement chair glide from the schedule, open a service panel and retrieve the care instructions for the corridor floor. Record any missing information or access problems and resolve them before handover.
Keep Records Ready for Reordering
Supplier ordering tools are easier to use when the schedule already lists part numbers. Quick-order forms that accept SKUs let staff rebuild a parts order in minutes, so preserve each identifier alongside its dimensions and attachment details, and check it against the installed component before ordering. File the warranty for each specific part or product with enough identifying information for facilities staff to match it to what is installed.