Architectural visualization has always involved a degree of interpretation. A hand sketch emphasizes one idea, a physical model suppresses another, and a polished render can make an unresolved scheme appear more certain than it really is. AI-assisted image generation increases the speed of that interpretation, but speed is useful only when the design team remains in control.
The most productive approach is not to ask an image model for a finished building. It is to use the model as a visual testing layer: a way to compare materials, lighting conditions, landscape moods, and presentation directions while the underlying architectural decisions remain visible and reviewable. That requires a workflow built around preservation, comparison, and human judgment.
Begin With a Question, Not a Hero Image
Before generating anything, define the design question the image should help answer. Is the team testing whether a timber facade feels too domestic for a civic building? Is the goal to compare morning and evening light in a courtyard? Does a client need to understand how a rough massing concept might sit within a dense urban block?
A specific question limits the number of variables that need to change. It also makes the result easier to evaluate. A visually impressive image that cannot answer the original question is decoration, not design evidence.
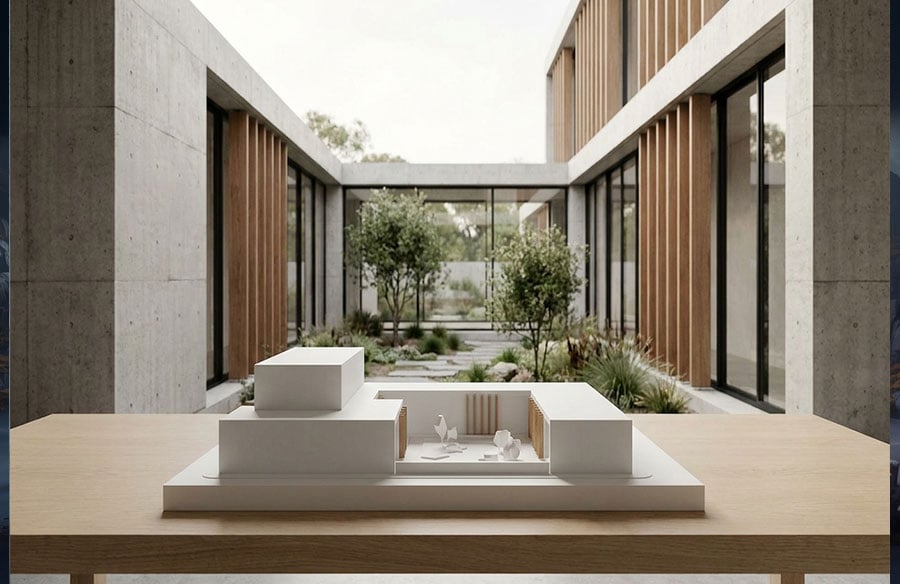
The starting image should therefore be as clear as possible. A simple massing model, exported viewport, line drawing, or clay render can work well when it communicates the geometry that must remain stable. Remove temporary objects, correct the camera, and decide which parts of the composition are fixed before introducing any generative editing.
Protect the Geometry Before Exploring Atmosphere
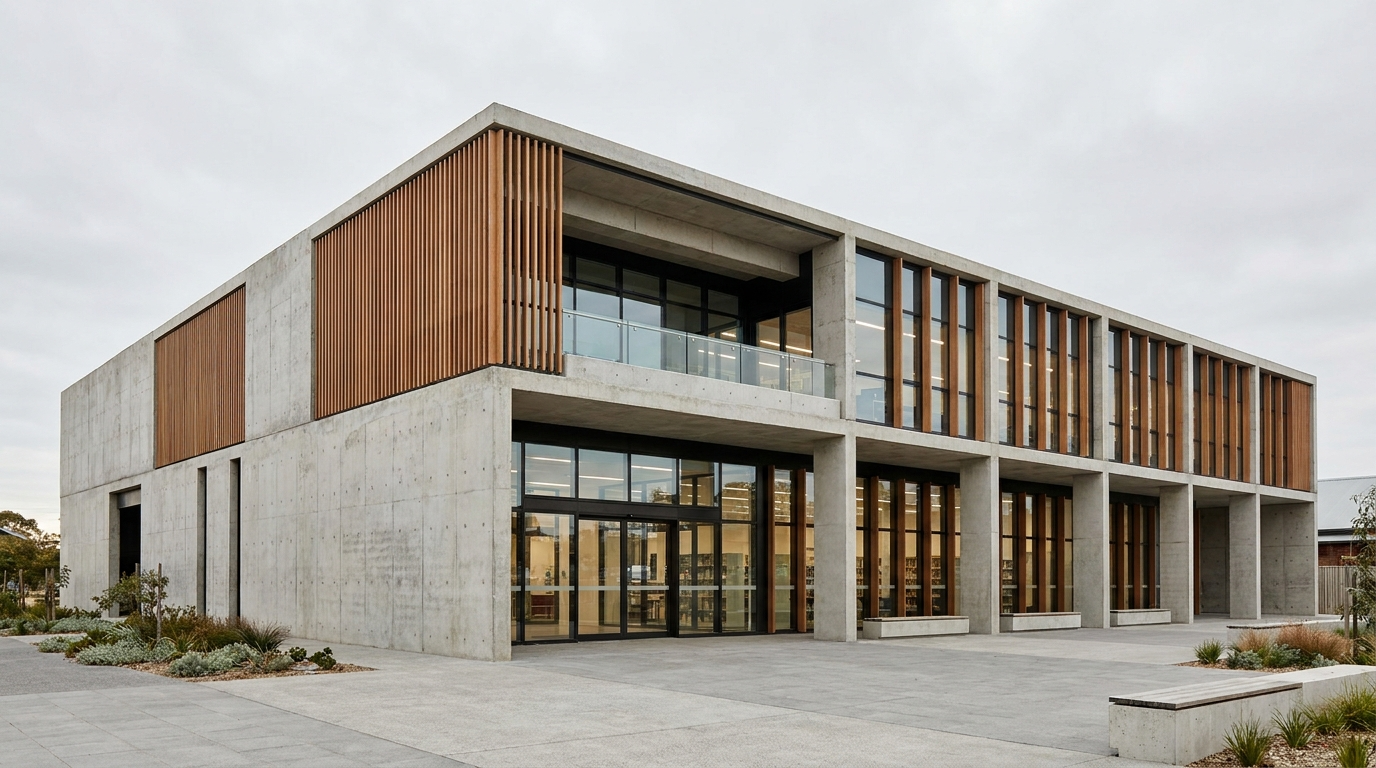 AI image tools can reinterpret edges, openings, proportions, and structural rhythms when a prompt focuses only on style. Architects should explicitly state what must not change: camera position, building footprint, floor count, window spacing, roof profile, circulation elements, and important relationships to the site.
This is especially important when the image will be shown to a client or planning group. A generated facade may look plausible while quietly adding an entrance, removing a column, or changing the depth of a balcony. These are not harmless artistic variations if viewers assume they reflect the current proposal.
A useful prompt separates preservation instructions from transformation instructions. First describe the fixed geometry. Then describe one desired change, such as material, planting, weather, or time of day. Keeping those two groups distinct gives the reviewer a clearer basis for comparison.
Change One Variable at a Time
The fastest way to lose control is to request a new facade, landscape, lighting condition, camera treatment, and visual style in a single generation. Even when the result looks coherent, it becomes difficult to tell which change improved the image and which one altered the design.
Instead, create a short sequence. Test material first under neutral daylight. Choose the most promising direction, then explore lighting. After that, test landscape density or seasonal character. This method resembles physical material studies: each iteration has a purpose, and the differences can be discussed rather than merely admired.
Reference-guided tools make this sequence more practical. A platform such as Nana Banana Pro can be used to begin from an existing architectural image and describe what should change and what should remain intact. The tool is only one part of the process; the quality of the outcome still depends on the source image, the precision of the brief, and the discipline of the review.
Compare Materials Under Consistent Conditions
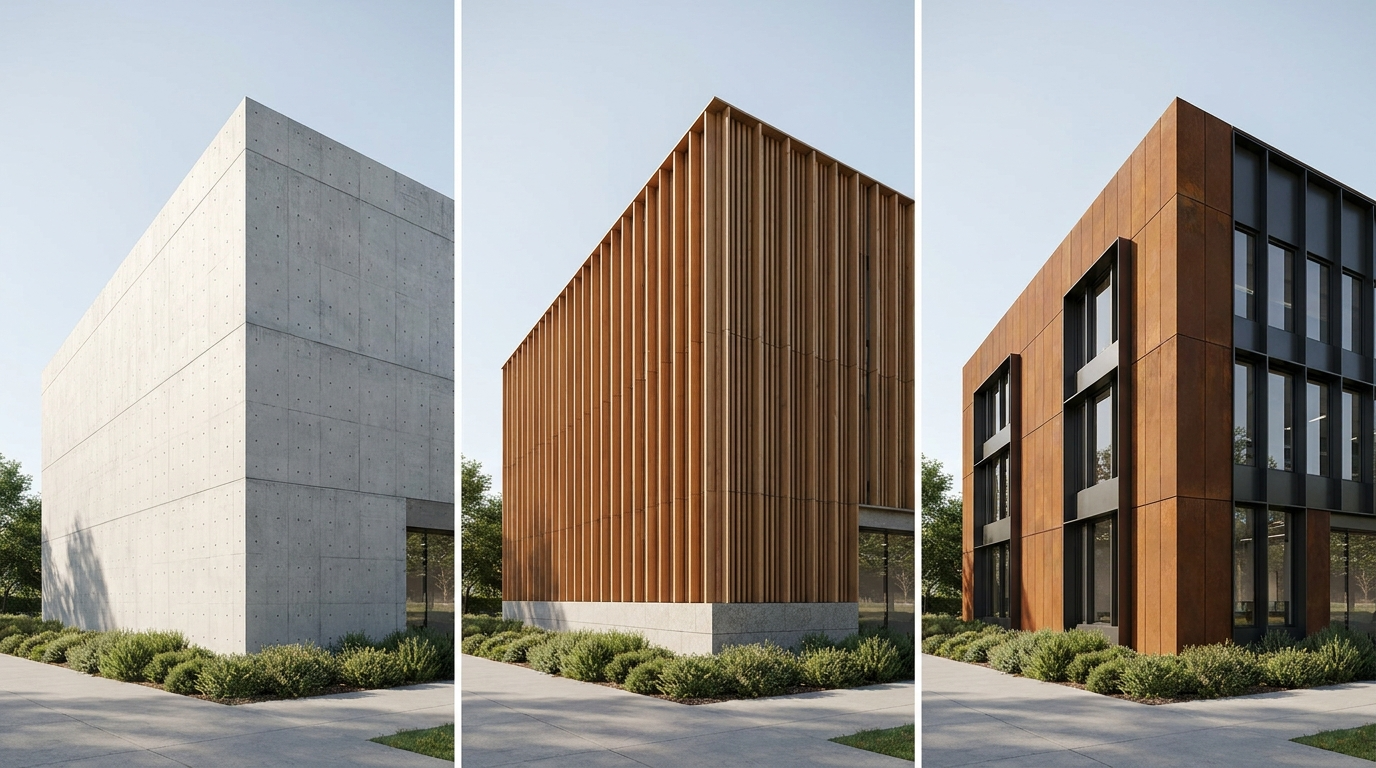 Material studies are most useful when the camera, geometry, weather, and exposure remain consistent. A warm timber option should not receive dramatic sunset lighting while the concrete option is shown on a flat grey day. That would compare moods rather than materials.
Use the same base view for each option and request comparable surface detail. Then inspect junctions, reveals, window edges, parapets, and ground contact. AI-generated textures can be convincing at first glance but inconsistent at architectural transitions. Repetition may drift, panels may change scale, and reflections may imply openings that do not exist.
The goal at this stage is not technical specification. It is to decide which direction deserves conventional modeling, rendering, and material research. Generative imagery can widen the field of options, but it should not replace measured drawings or verified product information.
Treat Lighting as a Design Variable
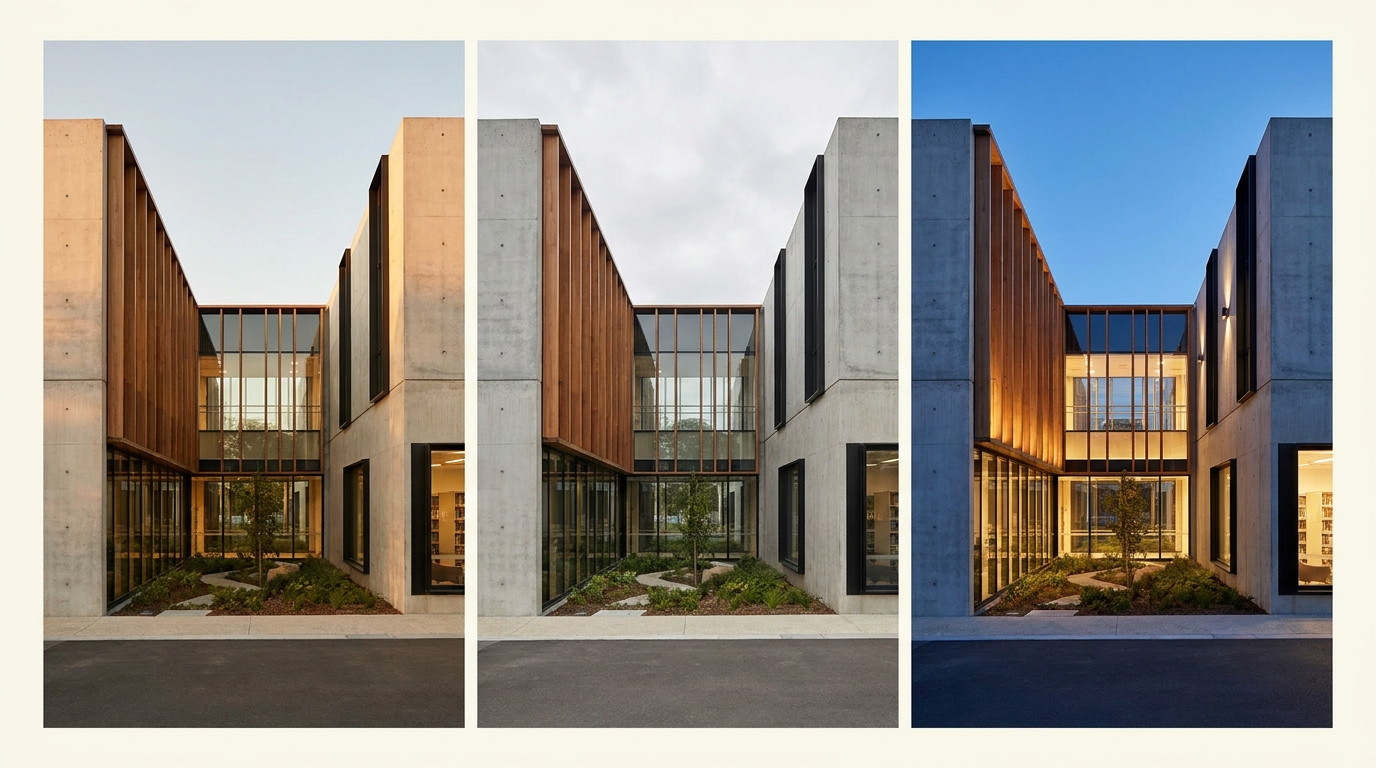 Lighting changes how scale, depth, and material are perceived. A facade that feels calm in overcast daylight may become visually fragmented under low-angle sun. An interior that appears spacious at midday may depend on unrealistic brightness in a generated image.
Create a controlled set of lighting studies: for example, neutral morning light, overcast afternoon light, and early evening illumination. Keep materials and viewpoint fixed. Review the direction and length of shadows, the relationship between interior and exterior brightness, and whether light appears to pass through solid surfaces.
These images can support useful conversations about shading, glare, orientation, and atmosphere. They cannot prove daylight performance. When performance matters, the design still requires climate data, measured geometry, and appropriate simulation tools.
Build a Review Checklist
Every generated architectural image should pass a simple review before it enters a presentation. Begin with geometry: footprint, height, openings, roofline, and circulation. Continue with material logic: scale, joints, reflections, and transitions. Then inspect environmental details such as shadows, vegetation, neighboring buildings, and ground levels.
Human figures, signage, furniture, and vehicles also deserve attention. They influence how viewers read scale and use, yet they are common sources of visual errors. If these elements distract from the design question, remove them rather than spending time repairing details that add little value.
Finally, label exploratory images clearly. Terms such as “material study,” “lighting test,” or “concept visualization” help viewers understand what the image is intended to communicate. This is more honest and more useful than allowing an early experiment to be mistaken for a resolved proposal.
Present Options as a Sequence
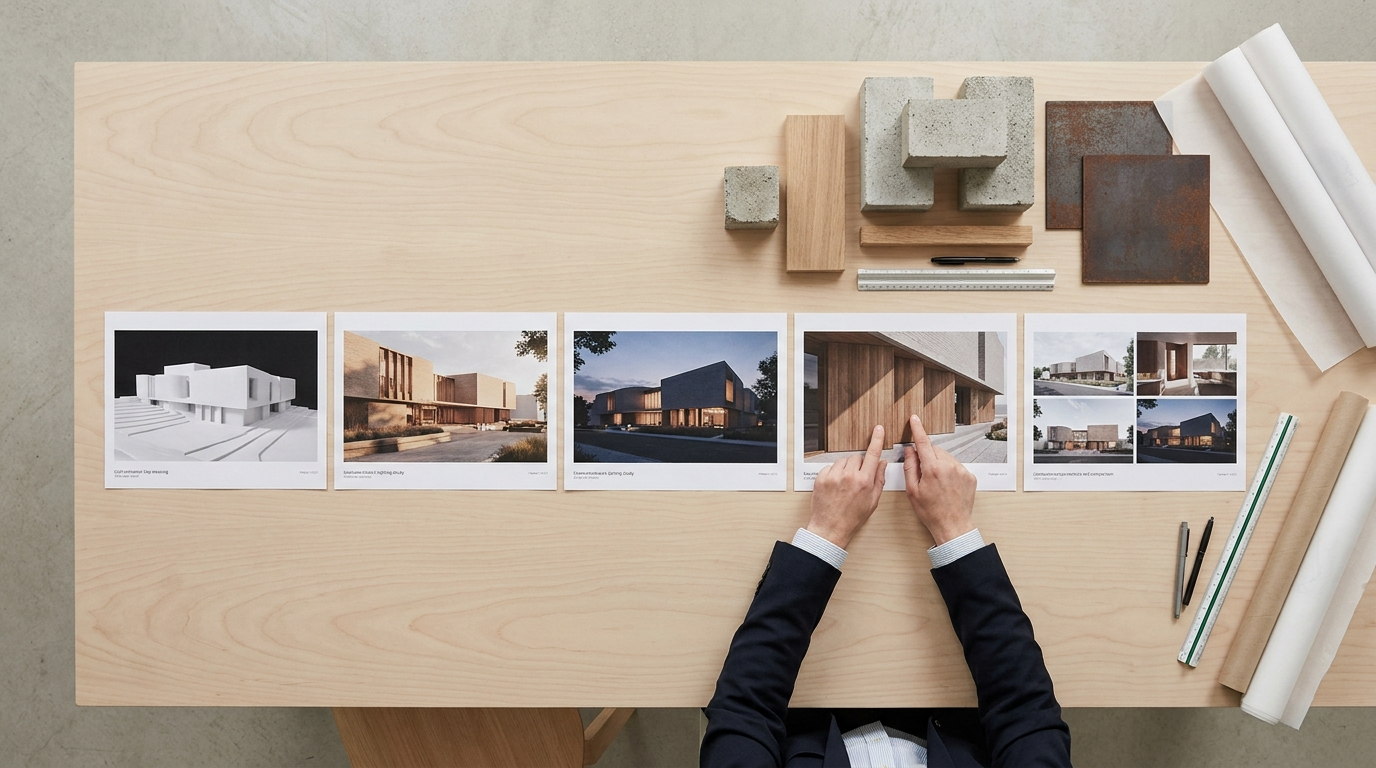 A single polished image encourages approval or rejection. A sequence encourages discussion. Present the base model first, followed by two or three controlled variations and a final annotated comparison. Explain which variables changed, which remained fixed, and what decision the team is trying to make.
This format turns AI-assisted visualization into a shared design conversation. Clients can point to a specific material response or lighting condition, while architects can identify where a preference affects cost, detailing, or performance. The images become prompts for informed decisions rather than substitutes for them.
Keep Human Judgment at the Center
AI can compress the time between a rough model and a persuasive visual study, but it also compresses the time available to notice errors. The answer is not to slow every experiment down. It is to make review part of the workflow from the beginning.
Start with a clear question, preserve the architectural facts, change one variable at a time, and compare outputs under consistent conditions. When images are labeled honestly and checked against the design, rapid visualization can support architectural thinking without pretending to replace it.