By the time a custom home reaches the site, most of what it will cost, and most of how it will feel to live in, has already been settled. Yet the design stage is the part many owners know least about. Knowing its order helps you make each decision at the point where it is cheapest to make, and saves you agonising over tile colours while the floor plan is still moving.
Practices use different names for the steps, but most custom homes pass through the same eight before a building contract is signed.
1. The brief
Everything starts with how you live. A useful brief covers the household now and as it is likely to change, the rooms you need and the ones you would like, how you entertain, where you work, what annoys you about your current home, and an honest budget. Bring pictures of homes you admire, and be ready to say why.
Who sits in on this meeting matters. At custom home builder Trendsetter Homes, for example, the interior designer sits in on the first brief and an engineer is involved from day one, so the people who will shape the structure and the rooms hear your priorities first-hand.
2. Site analysis
Next comes the block. A feature and level survey records the boundaries, levels, trees, services and the neighbours’ windows. A soil investigation tells the engineer what the footings will sit on. The designer checks the density code, setbacks, height limits and any heritage, tree, bushfire, coastal or river controls, then looks at orientation, winter sun, the afternoon breeze, views and noise.
The result is a short list of things the site insists on and things it makes possible. It may be the most useful document in the whole process, because every later decision is tested against it.
3. Concept design
With the brief and the site understood, the designer explores how the house could sit on the land: where the living areas face, where the stair goes, how the garage meets the street, whether the home goes up a level. Expect more than one option. At Trendsetter, early concepts are drawn by hand and reviewed by the full team before the client sees them.
This is the stage for big moves. Resist the urge to settle here, because the plan will still change.
4. Design development
Once a concept is chosen, it is refined. Room sizes are tested, windows sized and placed, ceiling heights set, and the engineer works through the structure: spans, floor systems, any steel or retaining. Services are planned so plumbing and air conditioning have somewhere to go. The elevations take shape, and the house starts to look like itself.
Most revisions happen here, and that is healthy. It is also where pricing should start to follow the design. When the estimating is done in-house, you can learn what a change will cost while you are still deciding whether to make it.
 5. Interiors, alongside rather than after
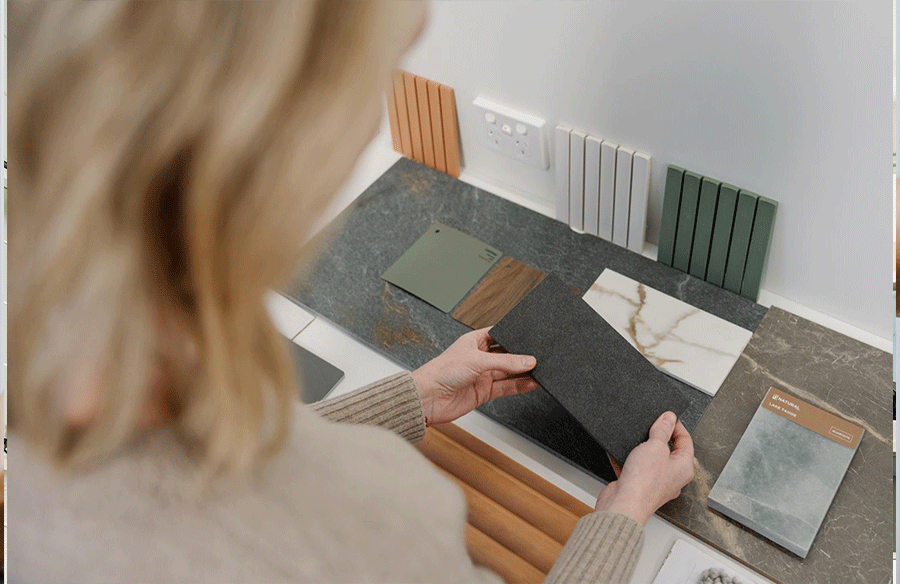
Joinery, lighting, power positions, ceiling details, stone and tile all affect walls, ceilings and structure, so they belong inside design development, not after it. Kitchen and bathroom layouts, built-in robes, a lighting concept and a direction for materials should be settled before the drawings are finalised.
Builders that keep design, build and interiors under one team tend to run this stage in parallel with the architecture. Where the interior designer is engaged separately, ask for them to start early enough to influence the plan rather than decorate it.
6. Documentation
The developed design becomes a full set of working drawings and specifications: plans, elevations, sections, structural engineering, window and door schedules, electrical and lighting layouts, and a finished schedule. The design must also show that it complies with the National Construction Code’s energy efficiency provisions, and a lot in a designated bushfire prone area will need its bushfire attack level assessed.
These documents become the basis of the contract, so their level of detail matters. Anything left vague here tends to return as an allowance or a variation.
7. Approvals
Depending on the lot and the design, the home may need development approval from the council ahead of the building permit. A single house that meets all of the standard planning requirements is often exempt, while one that seeks a variation, or sits in a heritage area, generally is not. Some applications are advertised to neighbours for comment. Whatever the planning position, a building permit is needed before construction begins.
8. Pricing and the building contract
With complete documents, the builder can produce a final price. Read it with the specification open beside you. Mark every item that is an allowance rather than a firm cost, and ask what the price leaves out, from site costs to landscaping. Then read the contract itself: the payment stages, how variations are priced and approved, and what insurance is in place before you pay a deposit.
When the price and the documents agree, and you understand both, the design process is complete and the build can be scheduled.
The order is the point
Each stage narrows the choices open to the next. Changes are cheap during the brief and the concept, manageable during development, costly once the drawings are documented and expensive once the house is under construction. Spend your energy early, while a change is still a line on a sketch.