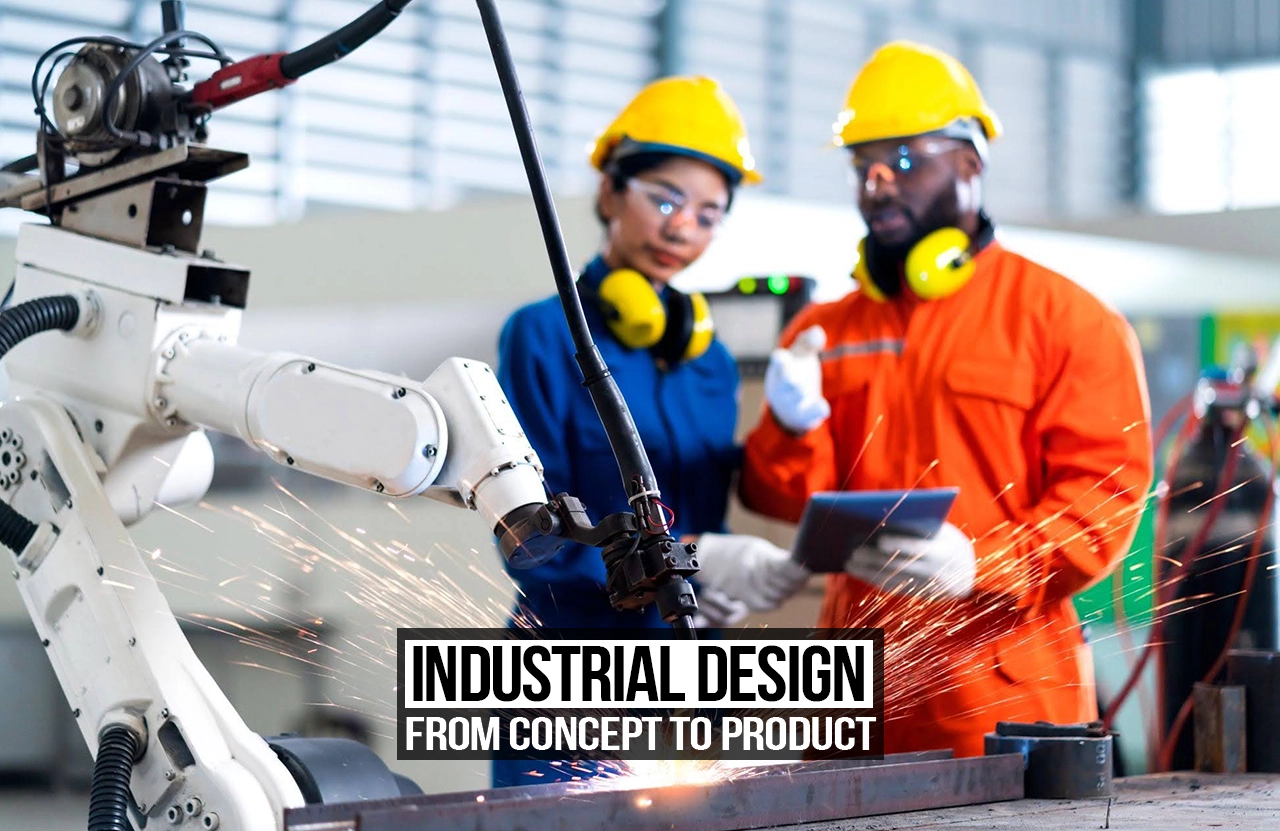
Industrial design is a process of problem-solving through research and analysis, studying human behavior, science, and technology to develop products that quietly improve people’s everyday lives.
An Industrial designer is not only concerned with the appearance of a product, but much more with its functionality, manufacturing, materials, assembly, and finally integration into somebody’s life. From manufacturing a needle to an aircraft, an industrial designer is involved throughout the process. Industrial Design is a vast umbrella, and the journey from a rough idea to a ready-made product is an interactive process all the way along.
This article describes the process of industrial design in 9 stages, explaining the methods, frameworks, and tools used by designers. One important thing to note is that there is no fixed order for executing these stages; oftentimes, it is a back-and-forth process, and some stages may even be skipped, as each product has its individual set of requirements, and thus, an industrial designer’s job may vary too.
 1. Identify: What is the problem?
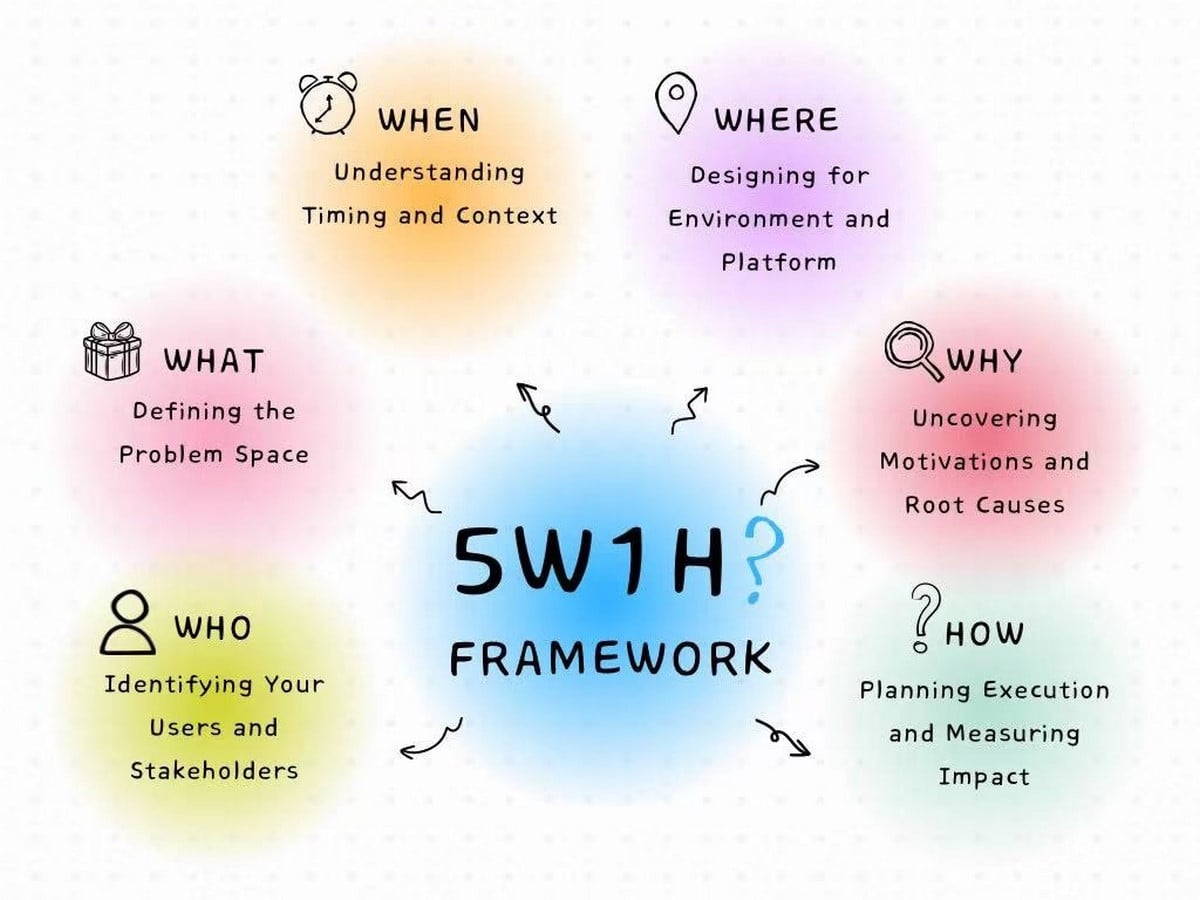
The first step in designing usually starts with being curious and raising multiple questions.
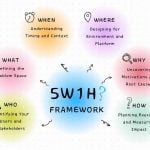
One of the approach is to start with the 5W1H method: Who, What, When, Where, Why, and How.
Who is facing the problem?
What exactly is the problem?
When does it occur?
Where does it occur?
Why is it important?
How is the person currently dealing with the problem?
These vague questions, if thought carefully, can make or break a product.
Taking an example of designing a better lunch box. It would be helpful to use this framework and answer questions such as: Who are the users? What are the current problems – to clean it, to carry it, to heat it, and list such problems? Where will it be used? Understanding the user group is pivotal for the entire process of designing.
2. Research:
After the problem has been identified, Research is the next step of the process. There is no universal research technique that can work in all kinds of projects, but it can be broadly divided into primary and secondary research.
- Primary Research is a method for collecting information directly from the users, which enables the designer to directly communicate with the user and understand their behavior and needs. It can further be divided into:
a) Qualitative research, gather descriptive data about users’ experiences, behaviors, motivation, and frustrations. It usually consists of such techniques as:
- Interviews: structured conversations to find out users’ perspectives.
- Observation: watching users behave and interact with products.
- Contextual Inquiry: observing and interviewing users while they are interacting with the product in their natural environment.
- Focus groups: guided group discussions.
- Ethnography: the study of behavior, routine, and culture.
b) Quantitative research collects numerical data and finds patterns in it. It usually involves techniques such as:
- Surveys: structured questionnaires to gather responses from a large group of people.
- Usage & measurement data: analysis of size, frequency, or performance
Usability Testing: measure success rate, errors, and task completion time.
2. Secondary Research involves gathering data that has already been analyzed and researched previously. With AI technology, this stage has become comparatively easier for designers to analyze, structure, compare, and summarize tremendous amounts of data within minutes.
- Literature Review: analyzing existing research papers, articles, and other studies.
- Market Research: studying market trends, customer behavior, and industry data.
- Competitor Research: studying the existing product, its features, materials, pricing, and weaknesses.
3. Define and Synthesize
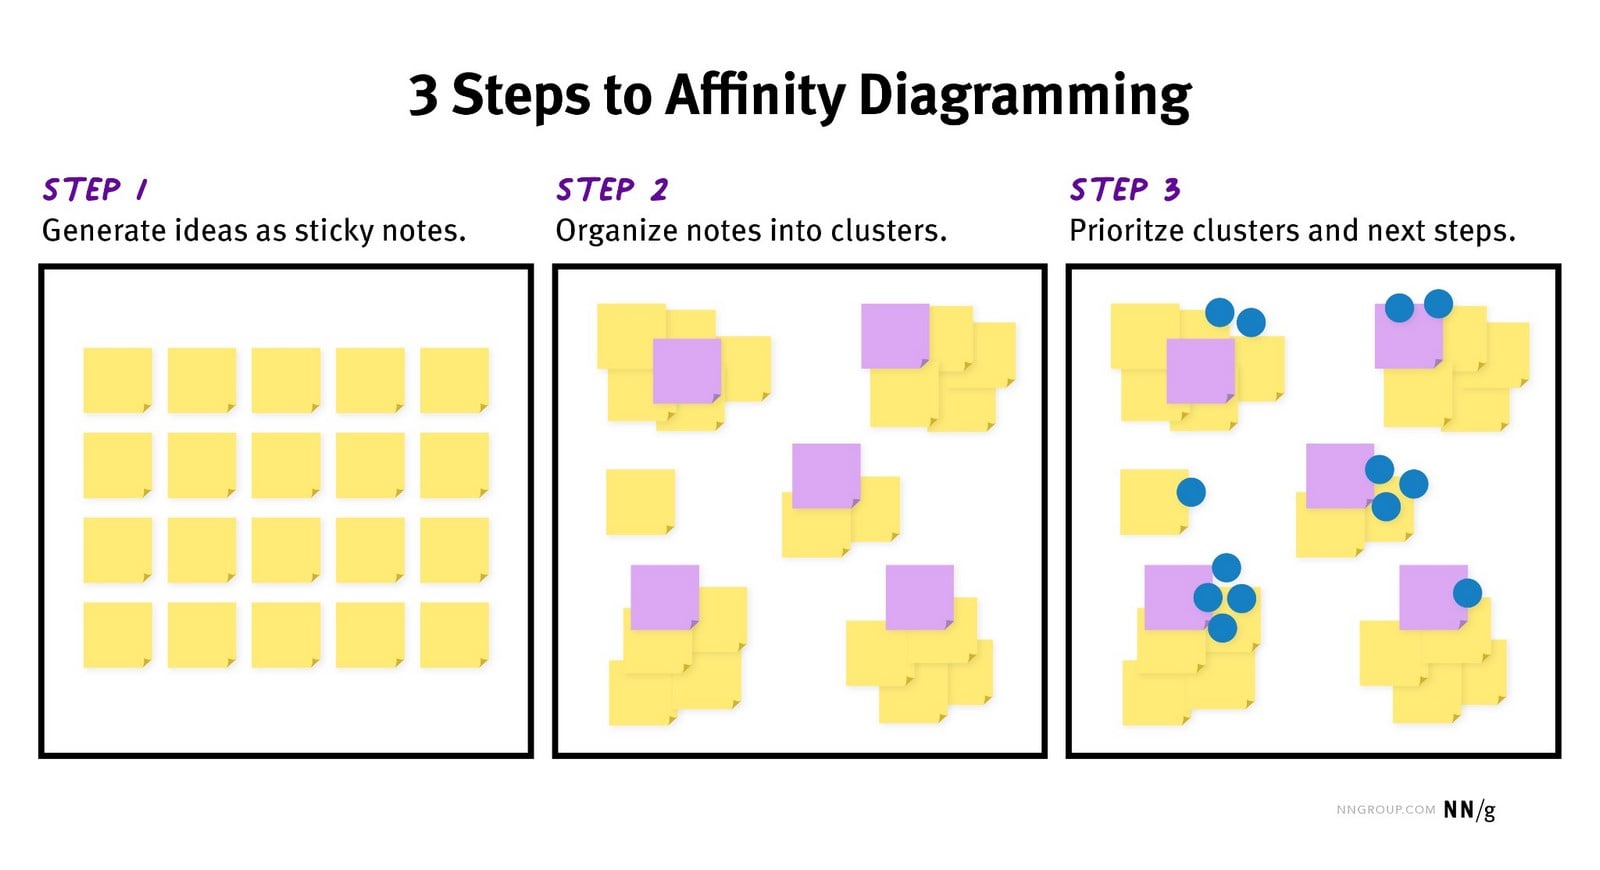
Research allows designers to obtain a vast amount of information, but it is crucial to filter and categorize this information into insights that are necessary.
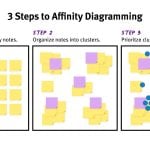
Affinity diagramming is one of the most widely used techniques to do so. It means grouping similar observations, thoughts, concepts, or findings into groups. This breaks down the information into smaller clusters, which further helps in creating a detailed action plan.
For example, research helped designers get extensive information about problems in the existing design of lunch boxes, like kids complaining about the smell and boring design, and parents and teachers complaining about leaks. Affinity mapping groups these into clusters, and clear problems arise: cleaning is a hassle, leaking happens often, and the design itself doesn’t excite the kids using it.
4. Concept Generation
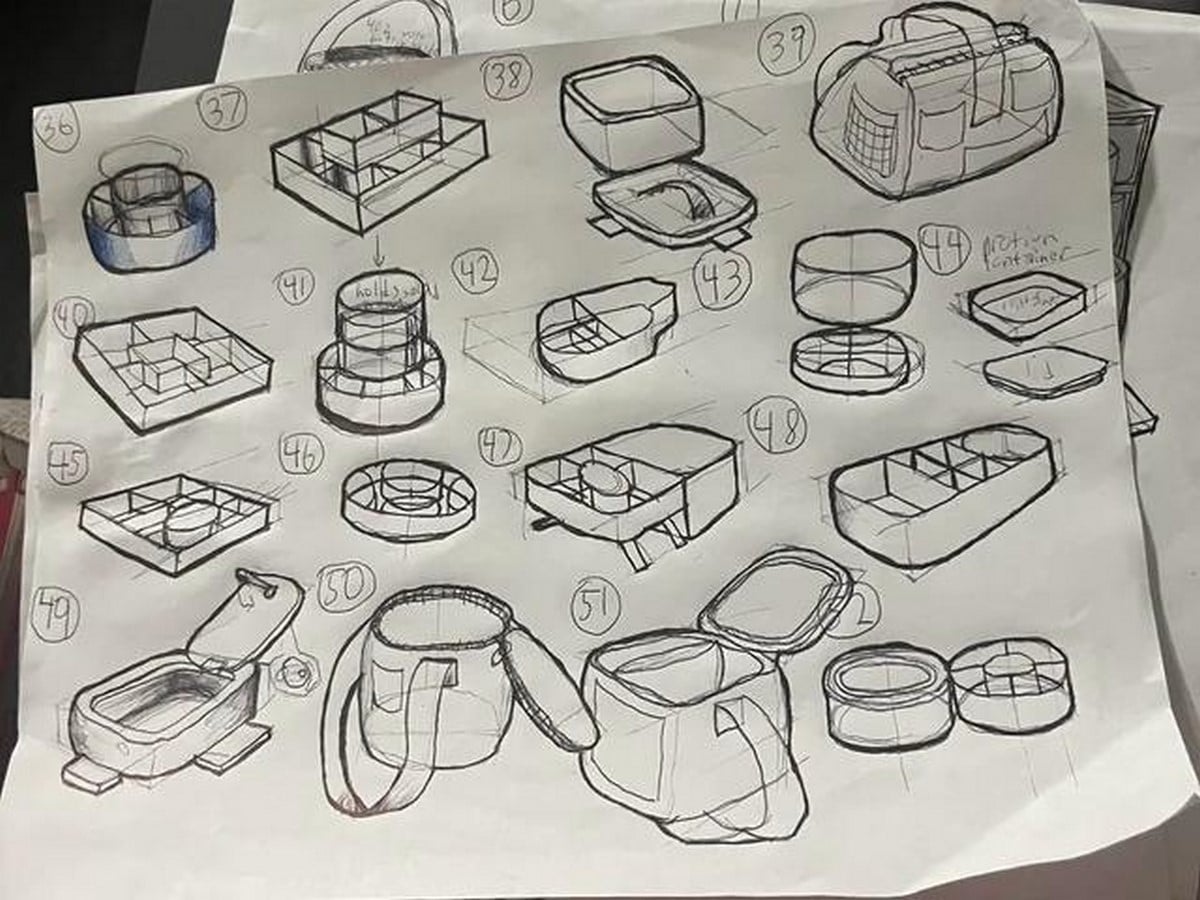
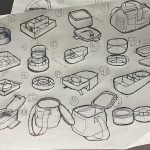
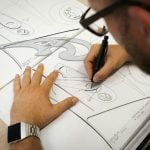
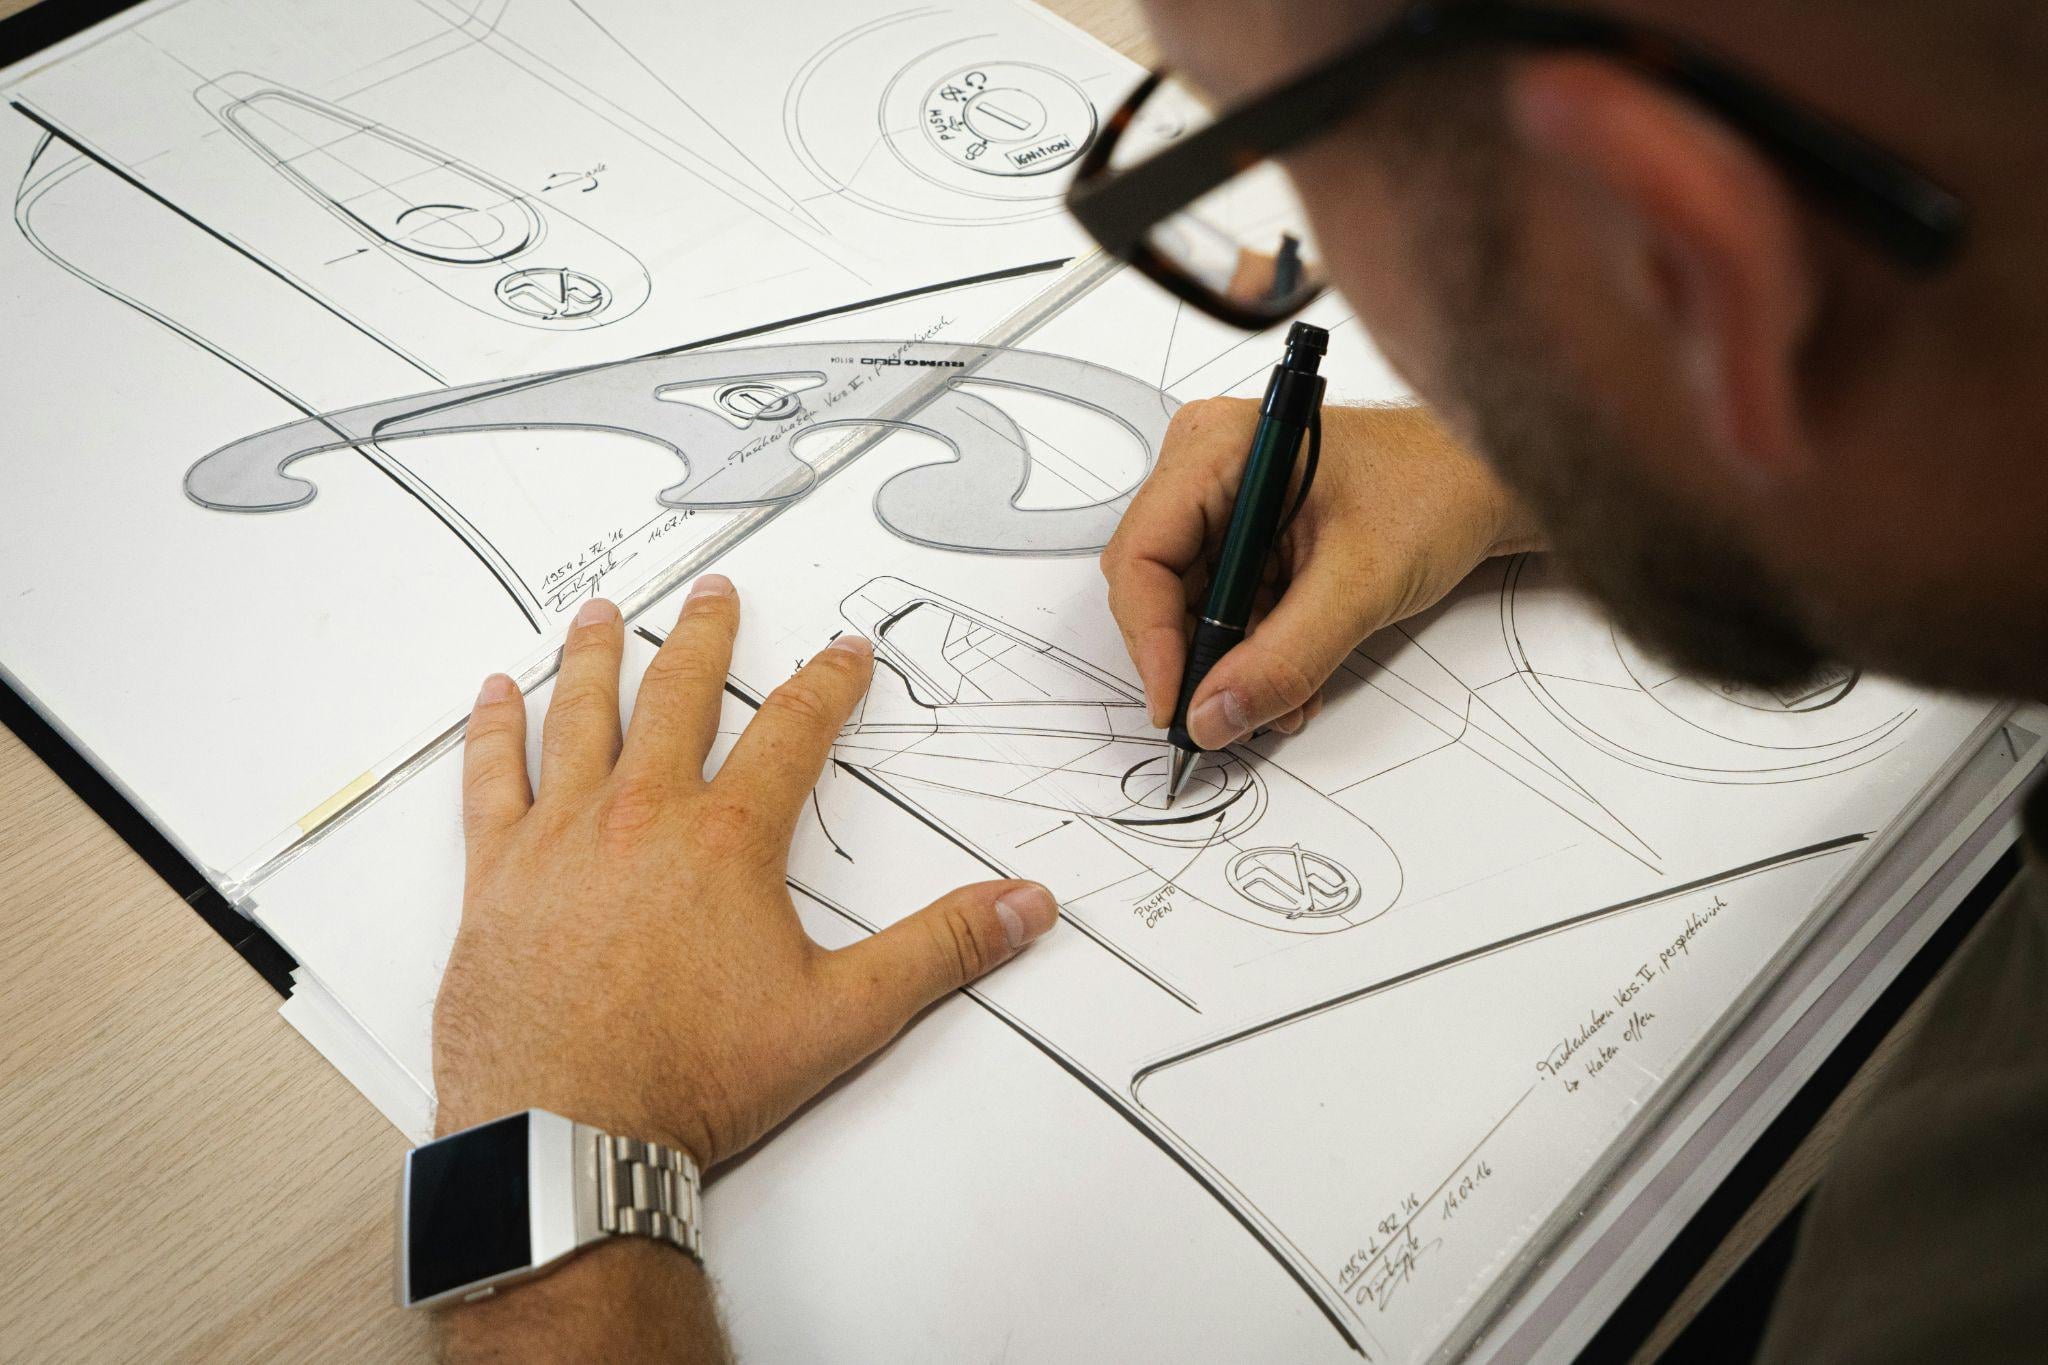
Concept generation is an open-ended process that involves sketches, mood boards, scrawlings, flow charts. The objective is not to come up with a perfect idea but to generate volumes of different concepts.
A good design does not happen in a vacuum; it is usually a result of interaction between people who exchange their ideas with each other. Advertising expert Alex Osborn realized that his team always came up with better ideas when working together rather than separately. His main principle was producing ideas without fear of criticism. Bob Eberle created the SCAMPER techniques based on Osborn’s book titled Applied Imagination. It is an acronym for Substitute, Combine, Adapt, Modify, Put to another use, Eliminate, Reverse.
Again, taking the example of a lunch box in school. Change the material to plastic rather than metal. Add a section for a water bottle. Alter the design so that it fits into a side pocket of a backpack. Get rid of the knife/fork container by making a hole for it in the lid. One object and seven perspectives, and now one has several different ideas that are worth exploring.
Next to SCAMPER, there is another tool that designers love using at this phase of development: Crazy 8s. Rather than looking at one object in a variety of ways, Crazy 8s make the designer sketch quickly eight different concepts in eight minutes flat. It forces the designer to move past their initial ideas and explore what lies beyond the obvious concepts.
5. Concept Development & Selection
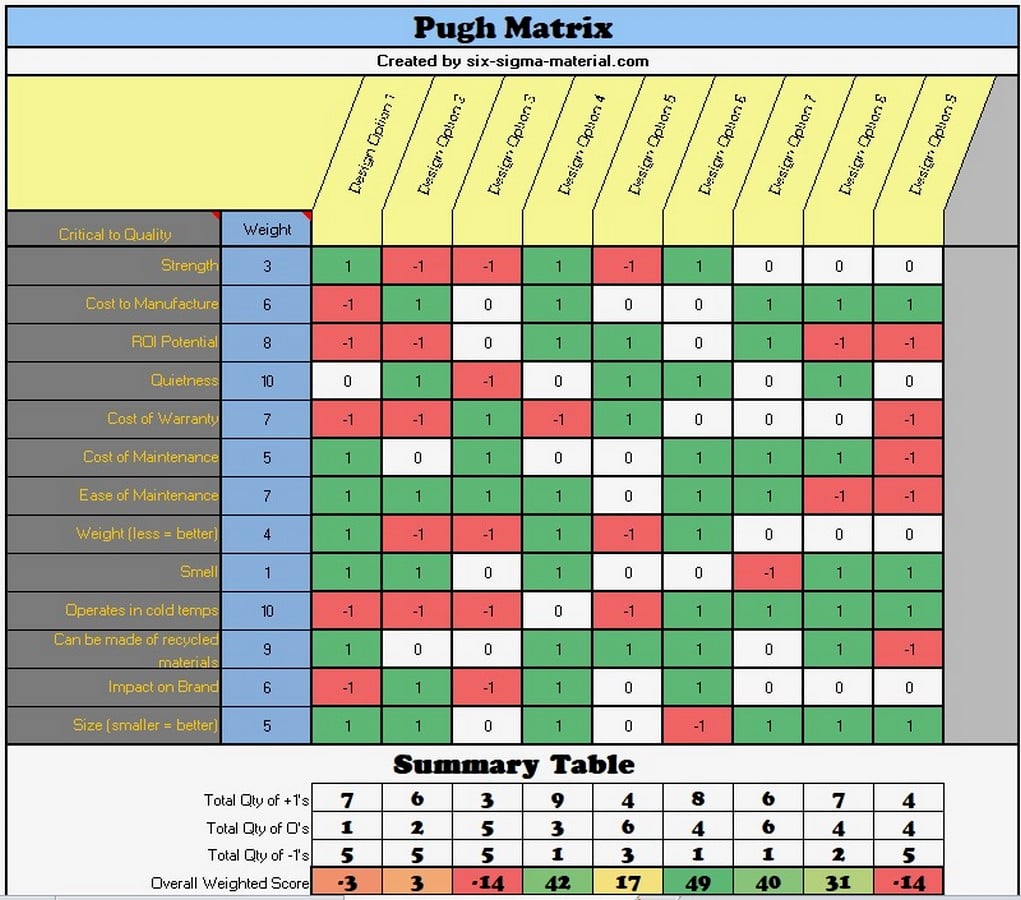
Having put the ideas down on paper, designers need to decide on which ones to actually move forward with. The development stage helps filter the scattered concepts. Rough sketches are refined, proportions are adjusted based on anthropometrics, and grip is tested using ergonomic body data.
Pugh Decision Matrix is one such tool to assess each idea against the weighted criteria of cost, feasibility, and user needs against the baseline design so that the decision is arrived at via comparisons and not intuition.
For instance, three lunch box ideas are rated through a Pugh matrix: a steel tiffin, a silicone box that folds up, and a hard box with a bottle holder, compared with the existing plastic lunch box in terms of cost, durability, and fit in the school bag. The steel tiffin has a higher score for durability but is more expensive; the silicone lunch box is more compact but less durable; the hard lunch box scores high across the board but is the most expensive. This method highlights trade-offs so one can make decisions based on evidence.
6. Product Detailing
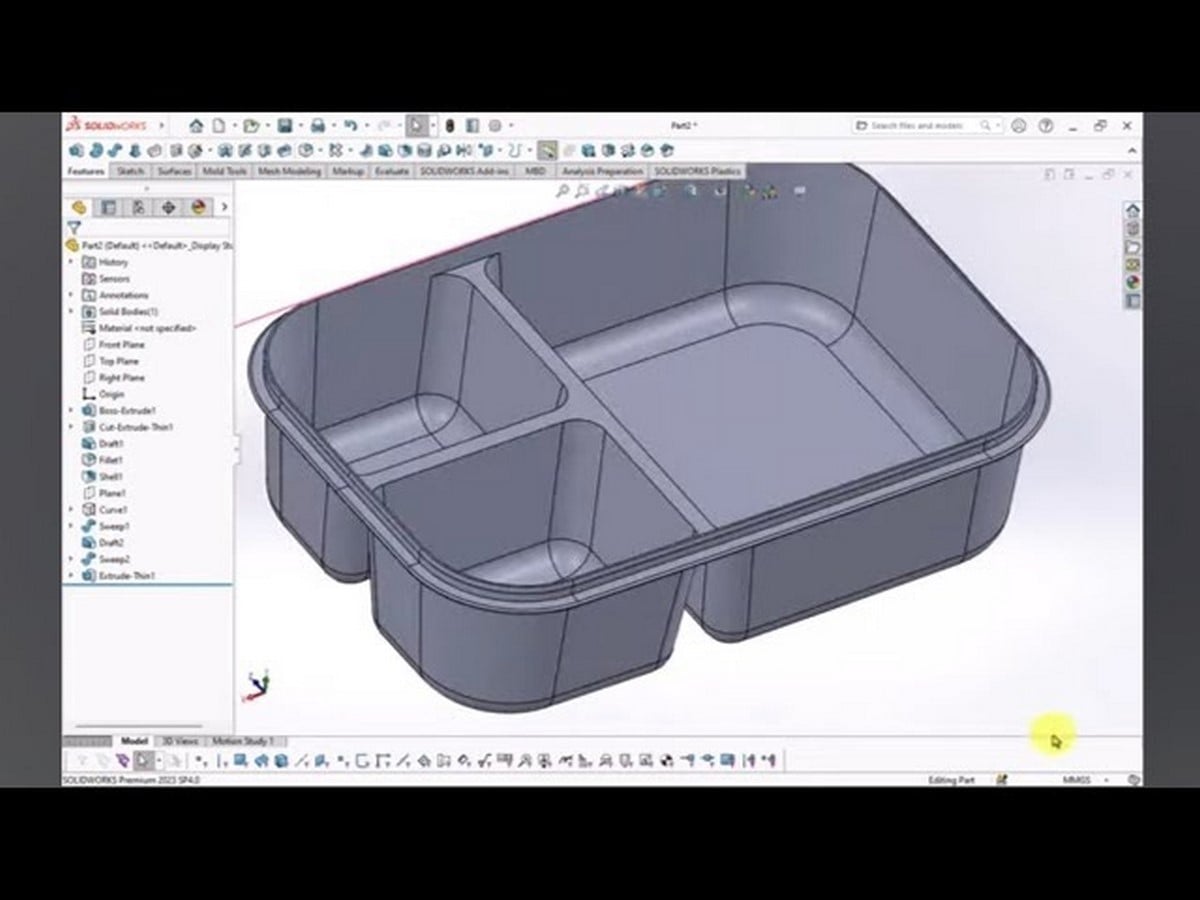
When the concept has direction, the idea starts becoming a tangible product. The final form is finalised with all the dimensions, curves, and joints so that it can be manufactured.
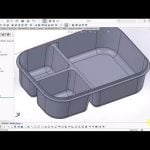
Parametric CAD (SolidWorks, Fusion 360, Rhino) fixes the dimensions and tolerances, and also helps to quickly iterate and change parametric values, allowing a designer to explore many variations within minutes.
At this level of development, simulation is incorporated. For example, running the finalized lunch box design through CAD’s stress analysis might indicate the hinge connecting the lid to the base as a weak point. DFMA (Design for Manufacture and Assembly) principles simplify the hinge into a single moulded piece instead of three separate parts, reducing the risk of breaking.
7. Prototyping & Testing
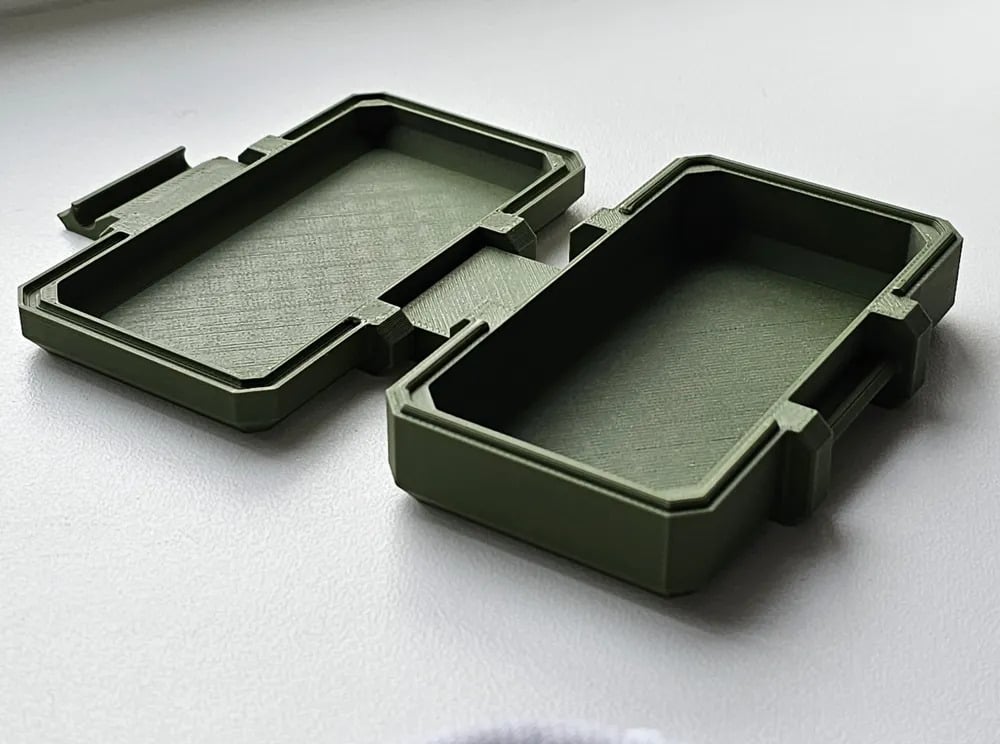
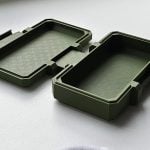
Rapid prototyping techniques such as 3D printing and CNC machining helps designers get a tangible product from a computer file. A concept might look perfect on screen but still fail when put through usability tests in the real environment.
Any issues identified during testing are refined. Designers go back in the design process to make changes to the form, materials, or features, and test the product again until it works better.
8. Colour, Material and Finishes & Design for Manufacturing
Once the product’s form is decided, the next step is to select materials and manufacturing techniques that make the product functional, durable, and cost-effective. Materials should be compared based on properties such as strength, weight, cost, and environmental impact. New materials and environmentally friendly options are constantly emerging; designers should consider recyclable and locally sourced materials, along with the energy consumption and waste generated during manufacturing.
Manufacturing methods:
- Plastic: Injection moulding, blow moulding, thermoforming, 3D printing
- Metal: Casting, CNC machining, sheet metal forming, forging, extrusion
- Glass: Glass blowing, pressing, casting, moulding
- Wood: CNC machining, turning, bending, carving
- Ceramics: Slip casting, wheel throwing, pressing, moulding
- Textiles: Weaving, knitting, stitching, embroidery
Material selection and manufacturing methods need to be considered together. A material may be perfect for a product, but if the manufacturing process is too expensive, inefficient, or unsuitable for mass production, it may not be the most practical choice.
9. Production and Launch
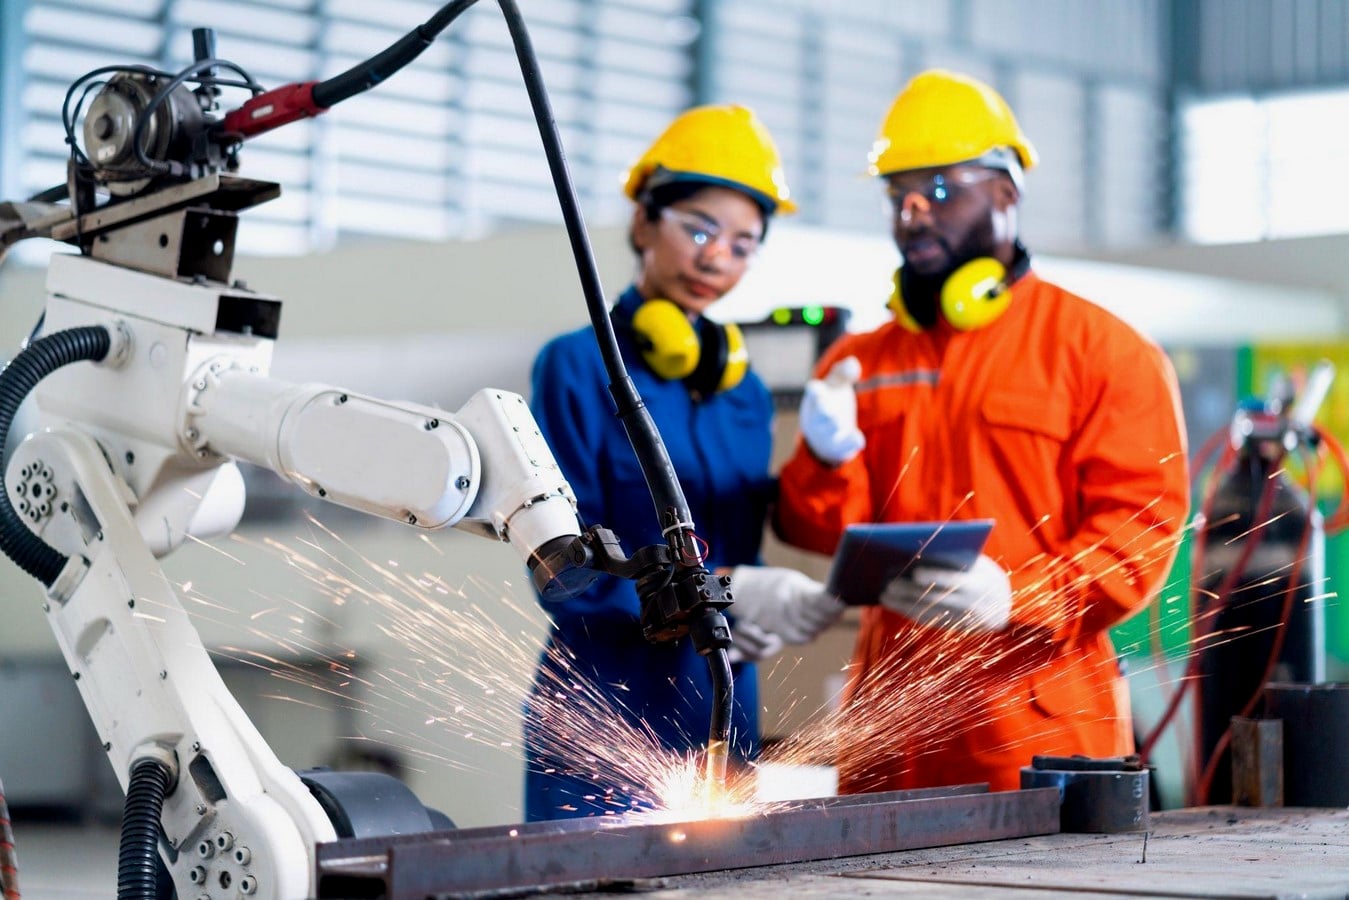
Before production, a pilot run is conducted to ensure the product functions as expected.
This feedback helps identify any dimensional, material, or process errors missed during prototype testing and supports future improvement.
Lastly, with AI in the picture, research, ideation, and iteration are faster than ever, but the real essence of an industrial designer lies in their ability to observe, empathize, question existing structures, and create something meaningful for society. From the idea to the final product, industrial design is a process of learning, testing, adapting, and making thoughtful choices.
References:
Cuffaro, D.F., Pertierra, S. and Byrnes, M. (2013) The Industrial Design Reference & Specification Book. Beverly, MA: Rockport Publishers.
Eberle, B. (1971) SCAMPER: Games for Imagination Development. Buffalo, NY: DOK Publishers.
Hudson, J. (2011) Process: 50 Product Designs from Concept to Manufacture. London: Laurence King Publishing.
Industrial Designers Society of America (2004) Design Secrets: Products. Gloucester, MA: Rockport Publishers.
Nielsen Norman Group (2017) Affinity Diagramming: Collaboratively Sort UX Findings & Design Ideas.
Osborn, A. (1953) Applied Imagination: Principles and Procedures of Creative Problem-Solving. New York: Charles Scribner’s Sons.
Pugh, S. (1991) Total Design: Integrated Methods for Successful Product Engineering. Wokingham: Addison-Wesley.
Thompson, R. (2007) Manufacturing Processes for Design Professionals. London: Thames & Hudson.
UXMock (2025) The 5W1H Framework: A Designer’s Secret Weapon for Problem Solving.