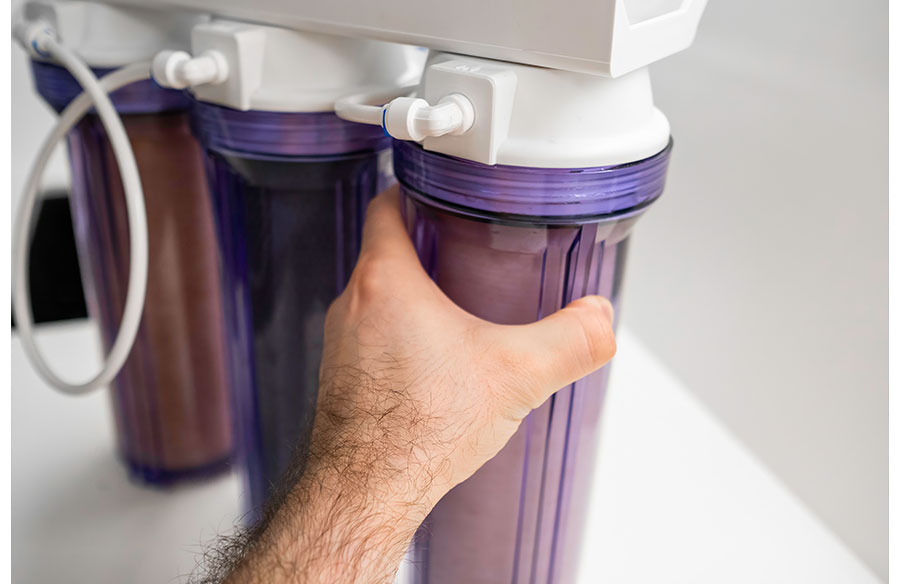
Becoming the owner of a new house is among the most thrilling experiences in life; everything is new: from all the possibilities to the arrangements, from the situations to the blank pages. But just how pure will the water flowing from those newly installed pipes be?
Having clean drinking water accessible to your family is a must for maintaining proper health in the long run. In this step-by-step guide, we’ll show you why water filtration systems are needed and teach you how to get such an effective system up and running in no time.
Understanding Water Quality in Your New Home
One of the myths surrounding water filters is that an entirely new system guarantees spotlessly clean water. However, tap water passes through an enormous amount of outdated pipework even before it reaches your residence. Even at that point, it has the ability to absorb pollutants such as chlorine and other sediments.
New homes will also be impacted by a condition known simply as “construction debris.” Tiny bits of pipe solder, dust, and other residue from the construction process will be present in your plumbing system during the first months of homeownership. According to HealthyWA, although community water is treated to a safe level, a second level of protection is available through a home water filtration system.
Filtered water does not only remove potential risks, but it adds immensely to the drinking and aroma of water. When water tastes fresh and not like chemicals, it will be much easier to drink and stay hydrated.
Choosing the Right Filtration System
Before shopping, it’s important for you to consider and decide on a combination regarding your personal lifestyle and kitchen layout.
Types of Water Filtration Systems
- Undersink Filters: These are always the best options for most new homeowners. These systems are placed under the sink and allow for filtered water to flow from a designated faucet.
- Whole-House Systems: These systems treat the water right as it enters your house. This means that all the water, from the water in the laundry to the water in the shower, is treated.
- Inline Filters: These are relatively compact units that are often designed for use with a single appliance like a fridge that has an ice machine.
Factors to Consider Before Purchase
Another thing that you should consider is the flow rate and the filtration capacity. Nobody wants a filter to trickle their water. It is also important that you verify the micron rating, since a low number means it can trap particles at a smaller scale.
A high-quality Billi water filter is the best selection for new homes for people who look to reliability in performance and ease of maintenance. This can be confirmed when one wants a system that he or she can personally service with much convenience. Let the product be certified by bodies like the NSF to ascertain that it actually removes the contaminants as claimed.
Step-by-Step Guide to Installing Your Water Filtration System
If you feel a little bit of a DIY enthusiast, I think this is something that could be done in a self-install. It is a pretty easy project to take on and only takes an hour.
Preparing for Installation
To begin, gather the tools you will be working with. These will be an adjustable wrench, a bucket to hold any drips, and a roll of plumbing tape, depending on the tools you have on hand in your home. What is crucial, however, is to turn off the water supply to your dwelling.
Turn on another faucet to release any residual pressure. And if you are at the bottom of the sink, get all the cleaning products out of the way so you can easily access the area. You don’t want to squeeze into a corner while trying to turn a valve tightly.
Installation Steps
- Mount the Unit: Most systems come with a bracket. Screw this into the side of your cabinet to keep the filter canisters upright and stable.
- Connect the Feed Valve: Install the T-adapter (which must come in your kit) onto your cold water line. This allows the system to draw water into the filters.
- Install the Faucet: You will install it through a hole in either the sink or the countertop, depending on whether your kit includes a drinking tap.
- Attach the Tubing: In most modern systems, “push-fit” connectors are used. You simply push the plastic tubing into the port until it clicks into place. It is a very straightforward process that requires no expertise in heavy plumbing.
First-Time Use Tips
Now that you have everything connected, turn the water on slowly. You will need to flush the system before you take a drink. This will get rid of “carbon fines” that is a harmless black dust that is found in new filters. The water will take around 10 minutes or so before it is crystal clear. Check your connections occasionally for leaks.
Maintaining Your Water Filtration System
A good filtration system can only work well when it is properly maintained. Over time, the filter material inside gets clogged up from debris that it has effectively blocked. Most companies recommend changing the cartridges every 6 to 12 months. You may need to change them more often depending on the number of people in your household or whether or not you live in an area where water is hard.
In a report released by Consumer Reports, it has been shown that in order for your system to continue functioning according to its performance ratings, it’s imperative that you stay on top of filter changes.
Conclusion
Installing a high-performance filtration system in your home can be one of the best investments for your new house. This will give you the satisfaction of having clean water and ensure that your loved ones are ingesting the cleanest water available. With the help of this guide, you will be able to have fresh water flowing from your faucet.