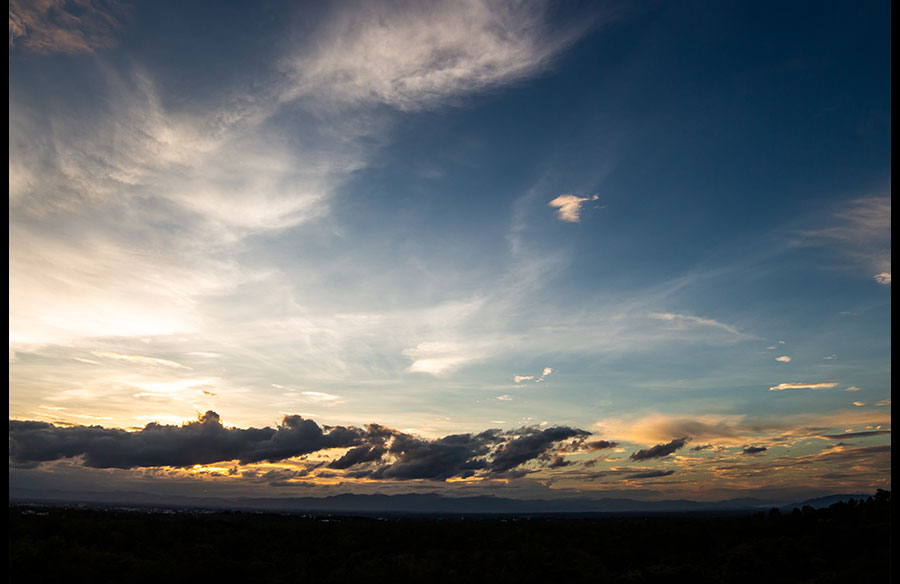
A simple shot can become a rich narrative thanks to the sky. It influences colors, feeling, depth, and first impression. Sky photography may be a difficult genre for some due to the impossibility of control over this shooting environment, where everything depends on adaptation. But using lighting techniques, composition rules, proper camera settings, and decent post-processing software, you can achieve great visual results.
In this article, we explain how to prepare for the sky photoshoot, cover the nuances to consider during the shoot, and provide practical recommendations on how to edit the sky in photos later.
Preparations Before You Shoot
Before you leave, check the weather, cloud cover, sunrise time, sunset time, and wind direction. As we said, you can’t adjust the sky to your needs, so you need to understand the exact type of subject you’ll be working with to create a compelling visual story. A calm pastel sky works well for portraits, travel photos, and quiet landscapes. Dark clouds can make mountains, old streets, or sea views feel more powerful. Clear blue skies are useful for bright, simple images.
Choose the open location so you have a wide space in a frame. A beach, hillside, bridge, field, rooftop, or a wide street may all work. Make sure you have a clean lens, a charged battery, and take a tripod for a potential night shoot. You will probably want a polarizing filter to cut down the glare and pump up colors. Get there a little bit early, see how the light evolves, and do not hurry to take the first shot. The most stunning sky could only be visible for a few minutes. Be patient and keep practicing.
Lighting and Composition
Lighting and composition are the pillars of photography. Learning to manipulate them in the natural environment can make your photos more balanced and intentional, even when you have limited creative control.
Lighting
A clear sky at noon can look flat because the sun is high, removing most of the softness from the scene. Golden hours (shortly before sunset and after sunrise) usually work better for travel shots and open landscapes. During these hours, clouds catch warmer colors and shadows become softer.
Blue hours (shortly before sunrise and after sunset) add cooler tones to your images. Use them for dramatic, moody, and mysterious vibes. City views, sea photos, silhouettes, and quiet outdoor scenes turn out especially appealing during this time.
Composition
If the sky is the main part of the image, place the horizon lower in the frame. It will give the skies and the clouds more room. For portraits and architectural shots, raise the horizon. The sky should support the subject and not overpower it.
Leading lines help guide the viewer’s attention without causing visual overload. A road, river, fence, bridge, shoreline, or mountain ridge can lead the eye from the bottom of the photo toward the sky.
Cut wires, random branches, or half-visible buildings can weaken the picture. Move a little, lower the camera, or change the angle before taking the shot. These steps are fundamental if you plan to later experiment with creative photo editing and sky replacement.
Camera Settings
Camera settings depend on light, weather, and the effect you want. Still, these values give you a strong starting point.
| Setting | Numerical parameter | Why it works for sky photography |
| Aperture | f/8–f/11 | Keeps the sky, horizon, clouds, and landscape sharp in most daytime scenes. |
| f/4–f/5.6 | Works well for portraits or lifestyle shots where the person matters, but the sky still stays visible. | |
| ISO | 100–200 | Keeps blue skies and soft cloud gradients clean, smooth, and free from heavy noise. |
| 400–800 | Helps during the blue hour, cloudy evenings, or handheld shooting in low light. | |
| Shutter speed | 1/250–1/1000 sec | Freezes moving clouds, birds, and handheld shots in bright daylight. |
| 1/60–1/125 sec | Works for calm evening scenes when you hold the camera steady or use support. | |
| 1–10 sec | Creates soft cloud movement and a more atmospheric look when using a tripod. | |
| 15–30 sec | Helps capture night skies or very low-light scenes, but a tripod is required. |
Final Editing
Post-processing matters because it can make your image clearer and more expressive. Remember that you don’t need dramatic alterations at this stage. Apply a quick base adjustment, then reduce highlights if the clouds look too bright. If the foreground is too dark, gently lift the shadows to balance the scene.
Many photo editors, such as Luminar Neo, include dedicated sky replacement tools. You can also add the sky to photos where the subject is very prominent, but it may lack a bit of drama or atmosphere. Try to find a sky that works with the light direction of the scene, the colors within it, and the time of day. After applying the sky, revisit your color and lighting adjustments to make it look natural. Don’t make it too saturated. Sometimes, slightly muted skies look more chic than a sky that’s too bright, too harsh, or too perfect.
Conclusion
A fantastic photograph of the sky can certainly be created with practice. You have to visualize, look for the light, consider composition, and ensure color and detail within the frame are cared for and emphasized. The best sky will not necessarily be the one with the highest drama; it will be the one that provides a subject with strength and emotion.