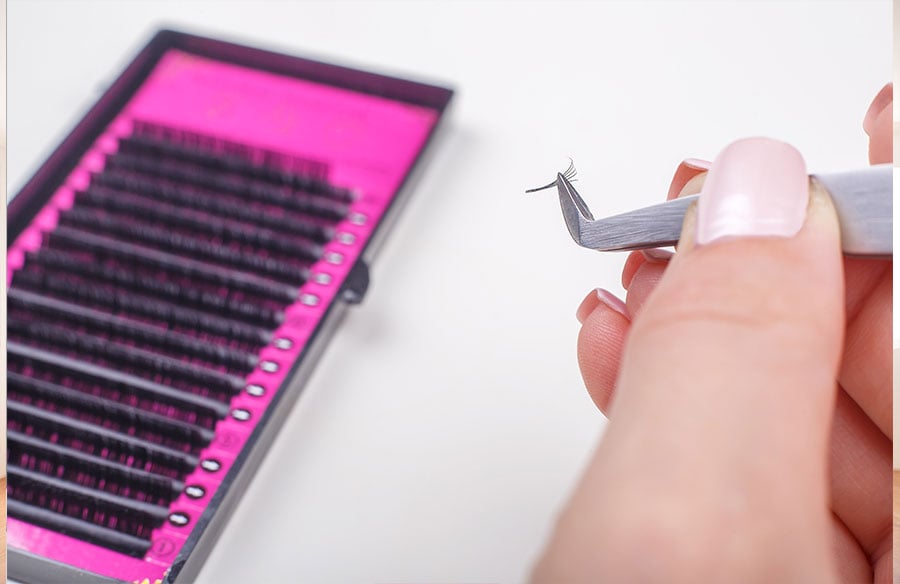
Premade lash fans can save time and make lashing easier, especially when you’re just starting. Instead of making fans by hand, you can use premade ones that are shaped and ready to go. But with lots of types and styles available, it’s easy to feel confused about what to choose. If you’re new to lashing, don’t worry. These smart tips will help you pick the right premade lash fans and set you up for success.
1. Select the Right Curl for Your Clients
Lash fans come in different curl types like J, B, C, CC, D, and L, but for beginners, C and CC curls are the easiest to work with. These curls give a soft lift that suits most eye shapes without looking too bold. While D curls offer more drama, start with something safer, like C or C, to build skill and confidence. Matching the curl to the natural lash shape also helps the look last longer and appear more polished.
2. Check the Thickness and Length
Beginners often think thicker or longer fans create a fuller look, but using heavy fans on natural lashes that can’t support them can lead to weak retention or even damage. For volume fans, it’s safer to stick to 0.05mm or 0.07mm thickness, while mega volume fans work best with 0.03mm. Choosing lash lengths just 1–2 mm longer than the natural lash helps keep the set full without stressing the lash line.
3. Choose Between Heat-Bonded and Glue-Bonded Fans
Heat-bonded fans tend to be lighter with a cleaner base since they skip the extra glue, making them easier to work with, especially for those who want natural-looking sets. Glue-bonded fans have a bit more adhesive at the base, which can make blending with natural lashes a little harder if not applied carefully. For smooth, neat results without too much effort, heat-bonded fans are usually the better pick.
4. Use Narrow Fans for a Cleaner Look
Wide fans spread out more and cover a larger area, but this can sometimes make the lash line look less sharp. Narrow fans, on the other hand, have a tighter base that helps create a neater lash line. For beginners aiming to get a fuller look without layering too many fans, narrow ones offer better control. This way, it makes them a smart choice while still learning how to place lashes properly.
5. Pick the Right Number of Lashes per Fan
For beginners, starting with 3D or 5D is easier since these give a good balance between a natural look and noticeable fullness without being too much. Keep in mind that using smaller fans also helps with placement and control, making it less tricky to secure each one properly. Once you’ve practiced more and feel steady with your hands, you can move on to larger fans like 6D or 8D for added volume.
6. Look at the Base of the Fan
A good premade lash fan should have a sharp, clean base that allows it to grip the natural lash properly. Fans with chunky or bulky bases tend to be harder to apply and can mess up the placement. Additionally, a smooth, pointy base blends better with the natural lash and lowers the chance of weak bonding. When buying online, zoom in on product photos to make sure the base looks neat and well-made.
7. Prefer the Right Tray Style for Easier Pickup
Most premade lash fans come loose in a box, while others are neatly arranged in rows on a strip. For beginners, using fans on strips can be much easier since each fan stays in place until picked up with tweezers, making the process smoother and quicker. Choose trays where the fans are spaced evenly and not clumped together, as tight or tangled fans can bend easily and slow down your work.
Start Strong With the Right Premade Fans
Investing in premade lash fans is a great way to boost confidence, speed up lashing time, and build fuller sets without needing to hand-make fans. When picking your first tray, pay close attention to the curl, thickness, length, and how easy the fans are to apply. Plus, it helps to start with a simple option, focus more on quality than quantity, and take your time learning how to place each fan the right way.