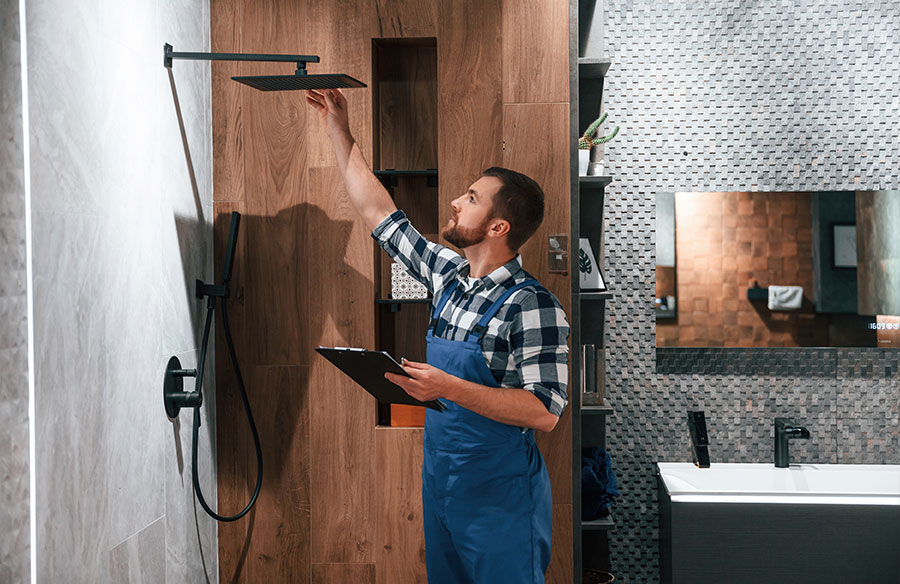
A leaky shower or worn-out tiles can quickly turn your bathroom from a relaxing space to a source of frustration. When it comes to shower repair Sydney, taking the right steps ensures not only a functional but also a beautiful shower area.
This blog will walk you through five important tips to consider when repairing your shower, helping you tackle common issues with ease and ensuring long-lasting results.
1. Inspect for Leaks Regularly
Leaks can cause water damage to your bathroom, floors, and walls. To check for leaks, start by looking around the shower area, especially near the pipes and fixtures. Pay close attention to any areas where the grout or sealant may be cracked or worn out, as these are common places where leaks occur.
You can also inspect the water pressure by turning on the shower and watching if the water drips from places it shouldn’t, like around the faucet or showerhead. If you notice any signs of water dripping or pooling, it’s a good idea to fix the leak immediately to prevent more serious damage later.
2. Check and Maintain Shower Grout
Grout can wear down or crack over time, allowing water to seep behind the tiles. This can lead to mold, mildew, and even structural damage. To keep your grout in good condition, inspect it regularly for cracks or discoloration.
If you find any cracks, clean the area thoroughly before applying a grout repair compound. You may need to remove old, damaged grout before applying the new grout. New grout should be sealed to make it waterproof.
3. Fix Cracked or Damaged Tiles
Cracked tiles not only look unsightly, but they also create spaces where water can get behind them, leading to potential leaks or mold growth.
To fix cracked tiles, start by removing the damaged tile carefully. You may need to use a tile removal tool or a small hammer to break the tile if it’s glued down too firmly.
Once you’ve removed the old tile, clean the area thoroughly and apply fresh adhesive. Place the new tile in position and secure it with the adhesive, allowing it to dry fully before grouting around the edges. This process ensures your shower remains watertight and prevents further damage.
4. Address Mold and Mildew Growth
Mold and mildew are common issues in showers due to the constant presence of moisture. They can grow quickly in areas with poor ventilation or where water tends to sit. Quickly get rid of mold or mildew if you see it. Use a mildew cleaner or a mixture of vinegar and water to scrub the affected areas.
To prevent future growth, improve ventilation in the bathroom. This could include installing an exhaust fan or leaving the bathroom door open after showers to allow moisture to escape. You can also use a dehumidifier to keep the area dry.
5. Repairing Shower Doors
Over time, they may develop cracks, become difficult to open, or the seals around the door may wear out, allowing water to escape.
First, check the tracks and rollers of the door to ensure they’re not clogged with dirt or soap scum. Clean the tracks and lubricate the rollers to make sure the door moves smoothly.
If the door is cracked, you may need to replace it with a new one. Look for signs of wear on the seals around the door. Replace any damaged seals to stop water from leaking out of the shower.
Hire a Professional When Necessary
When in doubt, don’t hesitate to hire a professional to ensure your shower repair is handled with expertise. Skilled technicians can address complex issues, saving you time and preventing further damage.