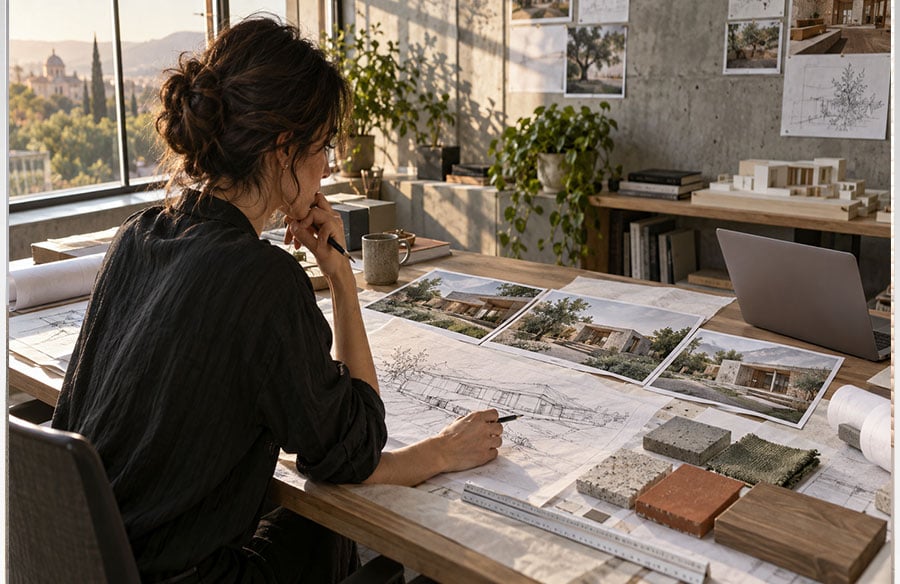
The awkward moment in an early design review is familiar: everyone agrees that the proposal needs a “warmer” public edge, but nobody means quite the same thing by warmer. One person imagines timber soffits, another sees deeper planting, and a third is thinking about late-afternoon light. A polished render made too early can hide that disagreement instead of resolving it.
AI concept images are useful in this narrow gap. They can turn an imprecise adjective into several visible options quickly enough to support a conversation. They cannot verify structure, code, access, energy performance, dimensions, or constructability. Treating them as architectural evidence would be a category error.
The profession is already testing the boundary. RIBA’s 2026 survey says 74% of practices now use AI in at least some projects, up from 59% in 2025, while 75% report improved productivity. RIBA’s own response still emphasizes that an architect’s value lies in judgment, risk mitigation, and the integration of complex systems (RIBA AI Report 2026). That combination suggests a sensible role for image generation: rapid option-making under human control.
Here is a repeatable workflow for using concept images without letting them outrun the design.
Step 1: Define the question the image must answer
Do not start with “make this building beautiful.” Write one decision question at the top of the brief. For example:
Which ground-floor treatment makes a small urban library feel most open to the street: a recessed timber threshold, a planted arcade, or a continuous glazed edge?
Then list the facts that should not move: approximate massing, number of levels, street width, neighboring cornice line, entrance location, and the intended public route. The resulting image is still speculative, but it is speculative around a stable question.
Step 2: Prepare a compact constraint pack
A good pack can fit on one page:
– one site photograph you have permission to use;
– one rough massing sketch or model view;
– three material references;
– the target camera position and aspect ratio;
– a short list of protected facts;
– a short list of variables to explore.
Remove client names, private drawings, addresses, and commercially sensitive information unless the practice has approved the service and its data terms. For an internal study, genericize the site where possible.
Step 3: Open a still-image workspace
In the current APOB AI workspace, choose Continue with No Model when the concept does not need a recurring person. Open Image, then Generate image and Chat to generate. The interface separates the prompt, preset categories, aspect ratio, quality, and live credit cost.
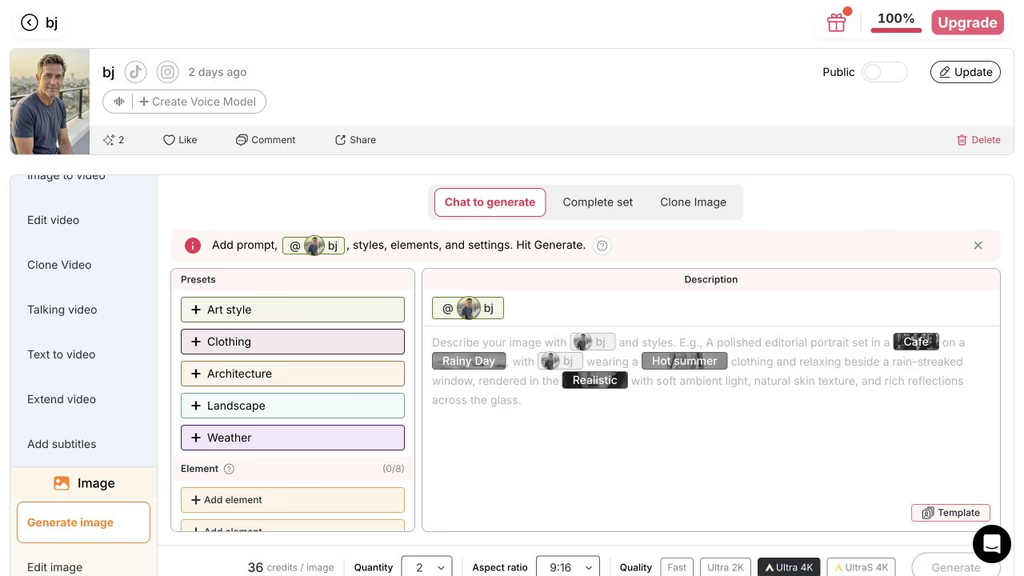 The AI image generator can be used as an option-making board. The screenshot shows where the prompt lives; replace any sample product language with a project-specific architectural brief.
Step 4: Write a prompt in layers
Use five layers: project, fixed geometry, design variable, environmental conditions, and exclusions. A test prompt might read:
Early architectural concept image of a three-storey neighborhood library on a narrow urban corner site. Keep a simple rectangular mass, flat roof, ground-floor entrance on the corner, and upper floors aligned with the neighboring cornice. Explore a recessed public threshold with a timber soffit, deep stone bench, and drought-tolerant planting. Eye-level view from across the street, overcast daylight, realistic material scale, restrained documentary visualization. No extra floors, no cantilevers, no text, no logos, no impossible structure, no fantasy skyline, no people blocking the entrance.
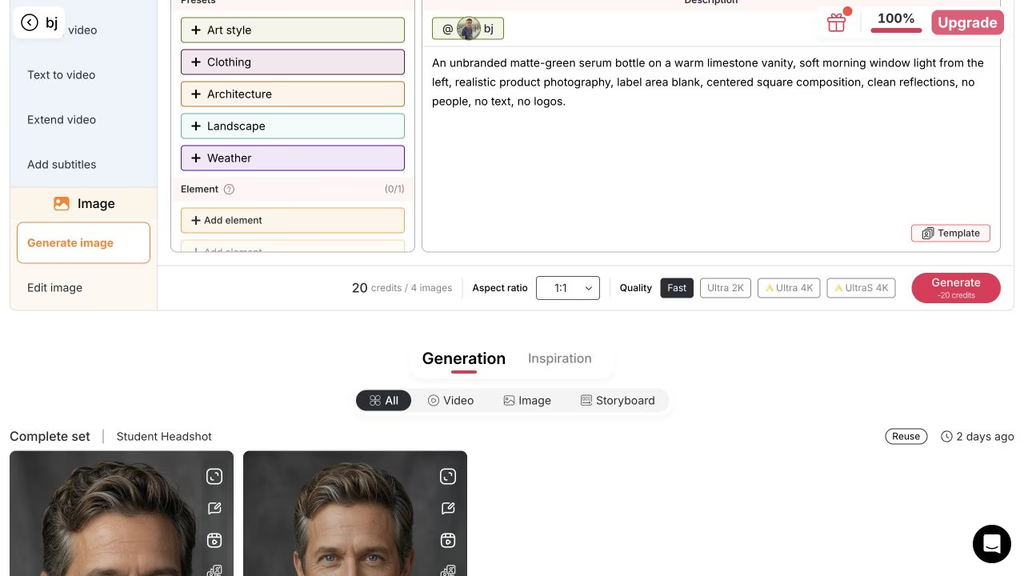 Long prompts are not automatically better. If the first result ignores the entrance, strengthen that instruction instead of adding six new adjectives. Change one variable at a time so the images remain comparable.
Step 5: Match settings to the review
For a screen-based pin-up, 16:9 is a practical first ratio. A 4:3 frame can suit a more elevation-like view, while 3:4 may work for a tall interior or facade. Use a fast setting for the first round and reserve higher-resolution output for a route that the team has already selected.
For each design variable, make no more than three options. Too many images turn a design review into taste polling. A compact review sheet works better:
Criterion | Score 1-5 | Note
— | — | —
Supports the stated decision | |
Respects fixed massing | |
Clarifies public route | |
Material idea is plausible | |
Contains misleading geometry | |
The final row is deliberately negative. A seductive image with a fabricated stair, unsupported span, or inaccessible threshold should not win the review.
Step 6: Translate the selected image back into architecture
Once a route is chosen, do not simply carry the picture forward. Write down what was actually approved: perhaps “recessed corner threshold, timber soffit, continuous stone bench, layered low planting.” Rebuild those decisions in sketches, BIM, specifications, and consultant coordination. Mark the AI image as a concept study with a date and author, and keep it out of drawing sets that could be mistaken for coordinated information.
Also record what the image does not prove. It does not establish fire strategy, embodied carbon, daylight performance, drainage, tolerances, cost, or planning acceptability. RIBA’s 2025 risk guidance similarly warns practices to put governance around generative AI and professional responsibility (RIBA, risks to architects using AI).
The best result from this workflow is not an impressive render. It is a clearer sentence in the next brief. When an image helps a team name the spatial decision, reject a weak option, and return to traceable design work, it has done enough.