Ever looked for a kitchen cutting board that absolutely meets your needs in everyday cooking? By designing one yourself, you can choose any wood grain and size and lacquer to fit with the kitchen’s spirit.
This guide walks you through a simple 8-step process. In this 8‑step guide. No fancy skills or costly gear needed. In the end, you’ll have a durable, unique cutting board that you’re proud to use every day.
Materials Needed to Make a Custom Cutting Board
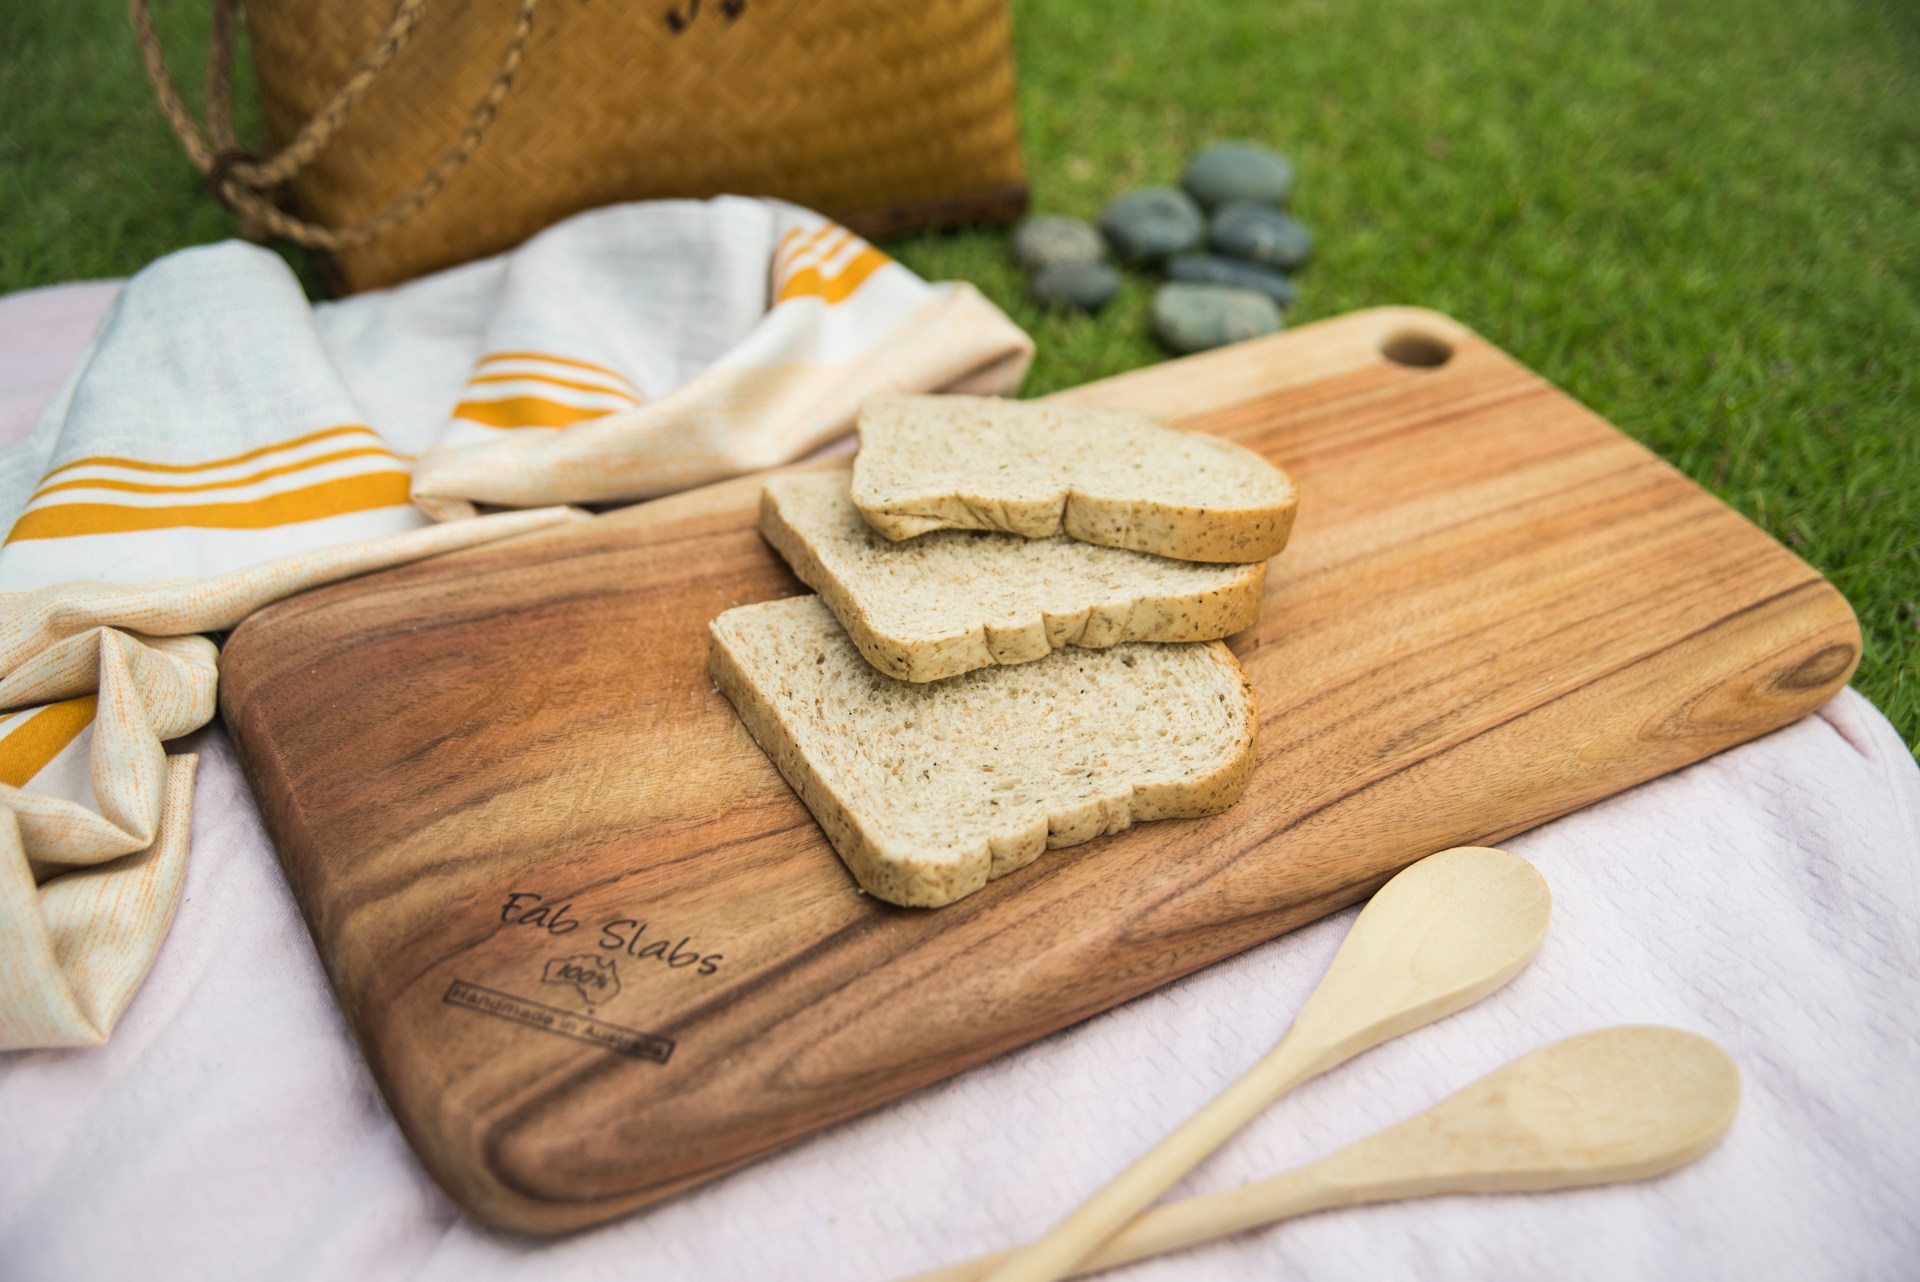
Start with heavy hardwoods such as birch, teak, or beech. These hardwoods are long-lasting, easy on knife edges, and are easily the best materials for durable custom cutting boards.
You will also need food-safe wood glue to properly attach the pieces and either mineral oil or walnut oil. Also needed is multi-grade sandpaper for smoothing surfaces and rounding over edges.
Basic hand tools are essential: a handsaw for cutting wood, clamps to keep pieces steady while glueing, and a block sander for ensuring even sanding. Include a ruler, pencil, and square tool to measure & cut everything straight up; flat cutoff boards also help, as well as keeping your wet cloth nearby for cleaning excess glue.
 How to make a custom cutting board at Home
1. Pick the Best Lumber for the Job
Opt for heavy hardwoods like birch, teak, or beech. Avoid softwoods, which are too easy to mark. The advantage for you is a surface that will not splinter or retain juices. Choosing the right wood will also preserve your knife edges.
After getting the wood, keep it in your household for one or two days to adapt to an indoor climate. It lowers the risk of warping down the line with this simple step.
2. Get Your Basic Equipment Ready
You can work with a simple handsaw, some clamps, wood glue, a sanding block, and mineral oil. No need for power tools right away. A ruler and a pencil help mark your lines. This keeps the startup cost low. You likely already own several of these items. If not, borrowing is easy and free.
Before you cut anything, lay out your tools on a workspace and check that your clamps are large enough to reach across the board.
3. Cut the Wood Into Manageable Strips
The cut should generally be along a straight line, and you need to measure every piece. Try thinning it out to 1 inch. Check each piece as you go since uneven edges create gaps later. A square keeps corners true.
It pays off when your board lies flat on the counter without wobbling. Mark the top side of each strip with a pencil after cutting. This little habit organises your grain pattern when you go to glue.
 4. Dry Fit and Then Glue
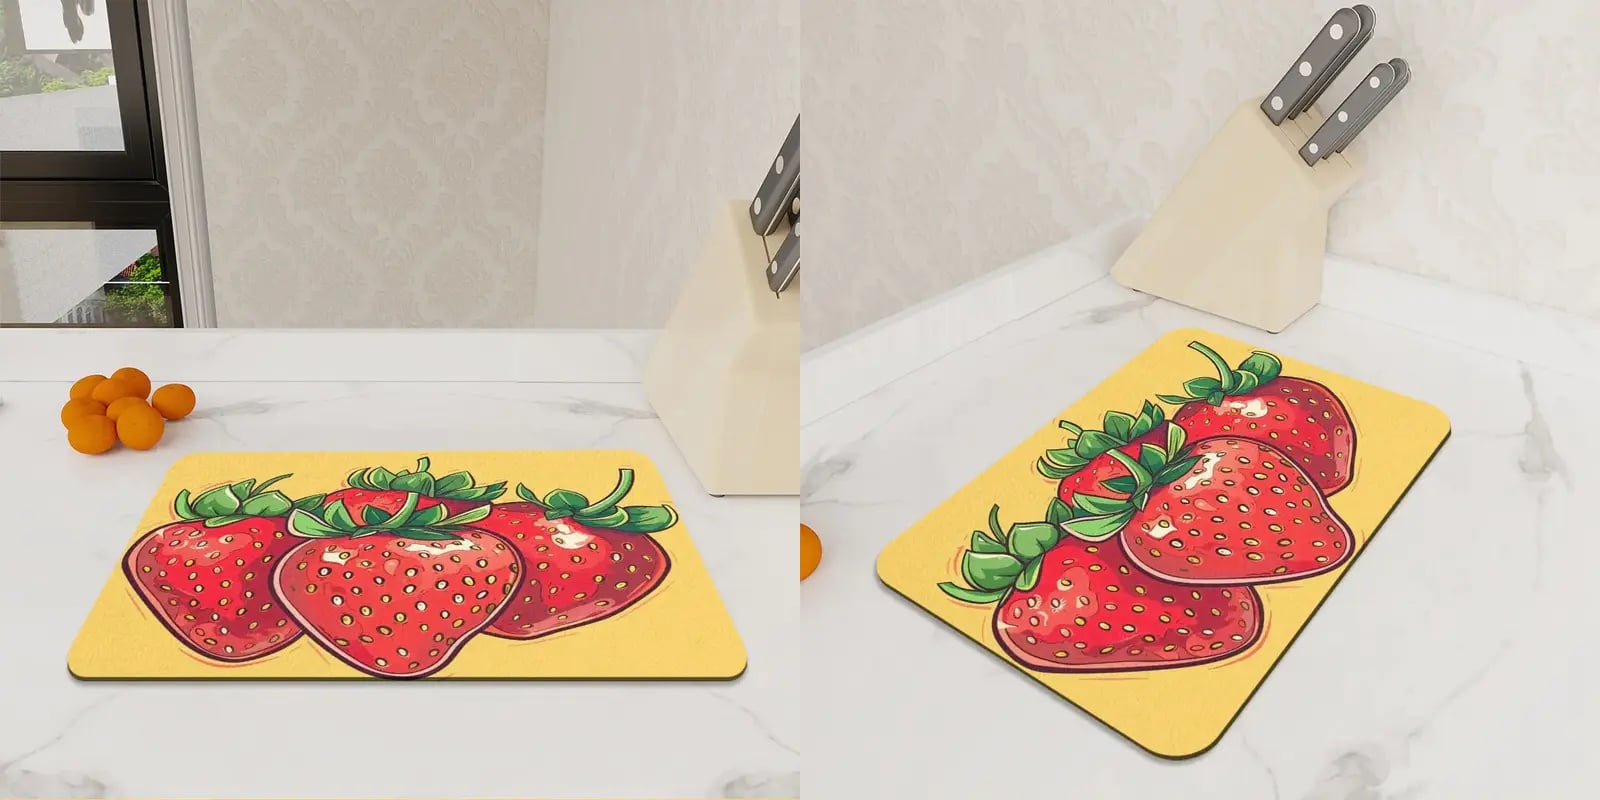
Place your cut strips side by side to preview the pattern. Rotate a few pieces to vary grain direction. Once you like the layout, apply glue thinly along each mating edge. Press the assembly together by hand. There is full control over colours and stripe widths, making every board one of a kind.
If you see gaps during the dry fit, sand the edges lightly before applying glue. Fixing issues now beats breaking apart a glued board later.
5. Clamp Steadily and Wait
Use crosswise clamps across the board. Two flat cutoff boards on top and bottom help distribute pressure. Tighten just enough to see a small bead of glue squeeze out. The clamps should be tight for a minimum of three hours.
That pause avoids bending or splitting in your board later on. In the meantime, wipe off excess glue that got squeezed out with a wet cloth. Removing it now saves you from hard sanding work later.
6. Smooth the Surface Step by Step
Start sanding with rough paper, then move to finer grades. Always follow the wood grain to avoid leaving swirl marks. Wipe away dust between each change. A silky finish feels good under your hands. Your effort here also makes cleaning faster and more effective.
Run your palm over the board after each sanding stage. You will feel the difference immediately, and that tells you when to move to the next grit.
 7. Soften Every Edge by Hand
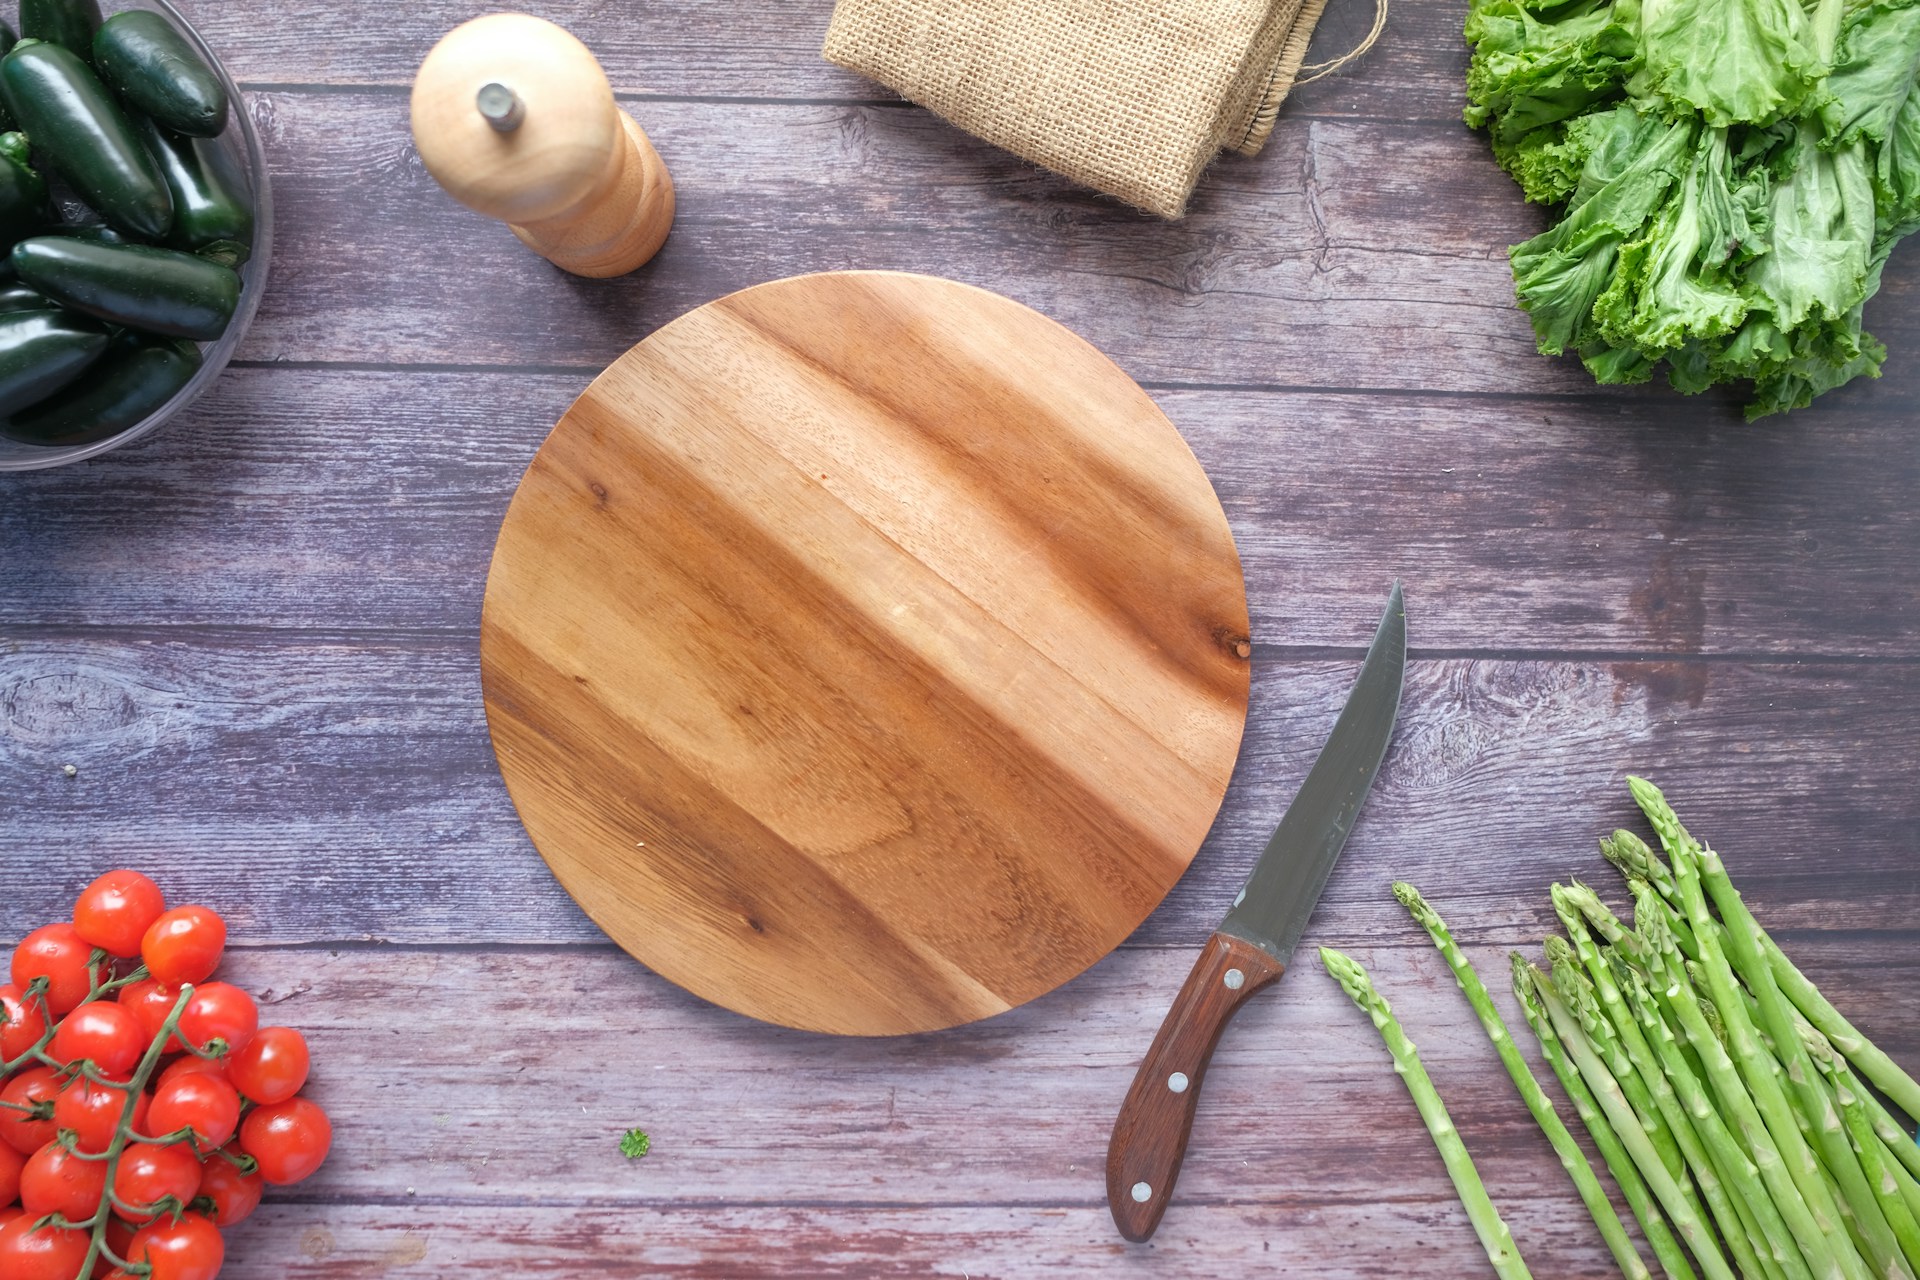
Run sandpaper along all four sides and the corners. You do not need a router. A light rounding prevents chipping when you drop the board or bump it into other kitchen tools. Rounded edges also feel kinder to your palms during lifting and carrying.
This small touch adds a lot to daily comfort. Smoothing those reduces small noises and scratches on your work surface.
8. Seal With Pure Oil, Not Varnish
Cover the entire board with food-grade mineral oil or walnut oil. Allow this to sit for 15-20 minutes and wipe off the excess. Repeat this process once a day for several days, then reapply every few weeks.
Oil prevents water from soaking into wood, which reduces cracking and staining. Do not use the board for food until overnight after applying the final coat. This waiting period lets the oil set fully so your first chop feels secure and clean.
Conclusion
Mastering how to make a custom cutting board only takes eight simple steps you can easily follow at home. You pick suitable hardwood, cut, glue, clamp, sand and seal the board with basic supplies.
This hands-on project brings real joy to your daily kitchen life. Your handmade cutting board will be durable and unique, and regular light care keeps it working perfectly for years to come.