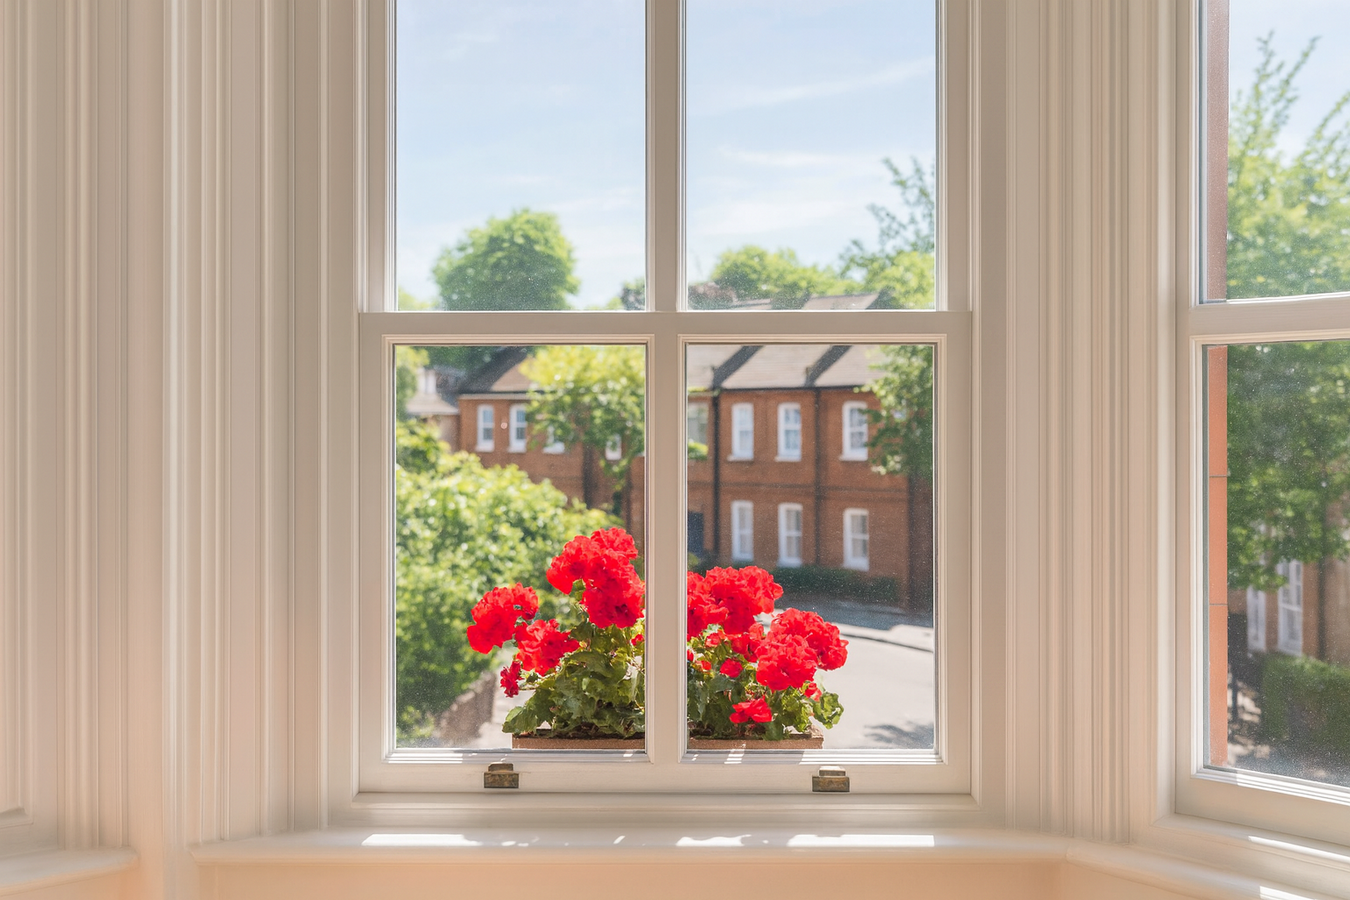
There’s nothing quite like the rattle and slide of a real timber sash window, is there? In a Victorian, Georgian or Edwardian home they’re basically the eyes of the house, giving it that unmistakable London–terrace charm the estate agents won’t stop banging on about.
But let’s be honest: for all their character, they can be absolute drama queens. They whistle in every chilly northerly, weld themselves shut with fifty years of paint, and those flaking frames and rotting sills can make your heart sink faster than a British summer barbecue in the rain.
Before you call a double-glazing salesman to rip out that history, stop. Restoring your original joinery is almost always the better choice for maintaining property value and authenticity. This guide provides a complete, professional-grade walkthrough on how to refurbish old sash windows yourself. We’ll take you from a stuck, rotting frame to a smooth-gliding, weatherproofed feature that will last another 100 years.
Can you really refurbish old sash windows yourself?
In many cases, yes. If you are reasonably handy, have a free weekend, and are willing to work carefully, most basic refurbishment tasks are within reach: freeing stuck sashes, repairing small areas of rot, re-cording, and repainting.
The key questions are: how much rot is present, how comfortable you are working with tools, and whether there are any access or safety issues (for example, upper-storey windows or very large bays). If the frame is severely distorted, the building is listed, or you are simply not confident working at height, it may be better to combine DIY preparation with professional help for the more complex parts.
Understanding the Anatomy: What Are You Looking At?
Before you lift a chisel, you need to speak the language. Sash windows rely on a system of counterbalances hidden inside the frame (the “box”).
- Sashes: The sliding glazed frames (Top Sash and Bottom Sash).
- Staff Bead: The internal trim that holds the bottom sash in place.
- Parting Bead: The thin vertical strip of wood separating the top and bottom sashes.
- Sash Cords & Weights: The ropes and lead weights inside the box that balance the window so it stays open.
- Pocket: A removable timber panel in the side of the frame that allows access to the weights.
Assessment: Repair or Replace?
Most “ruined” windows are actually just neglected. Look for these signs:
- Rotten Sills: If you can push a screwdriver into the wood, you have wet rot. This is usually fixable with epoxy resin, not necessarily a full replacement.
- Broken Cords: If a window slams shut or is incredibly heavy, the cord has snapped.
- Stuck Sashes: Usually caused by decades of over-painting (paint buildup) sealing the frames shut.
The Essential Toolkit
To do this properly, you need the right equipment. Don’t cut corners here—quality tools prevent damage to delicate timber.
- For Stripping: Heat gun (with variable temperature), flat scraper, and shave hook (for corners).
- For Repair: Two-part wood hardener, 2-part epoxy wood filler (much stronger than standard filler), sanding block (120 and 240 grit).
- For Glazing: Linseed oil putty, glazing sprigs (small nails), and a putty knife.
- For Re-hanging: Waxed cotton sash cord (nylon stretches too much; stick to tradition), “mouse” (a small lead weight on a string for threading cords).
- Safety: Lead paint test kit, P3 dust mask, and safety goggles.
Step-by-Step: How to Refurbish Old Sash Windows
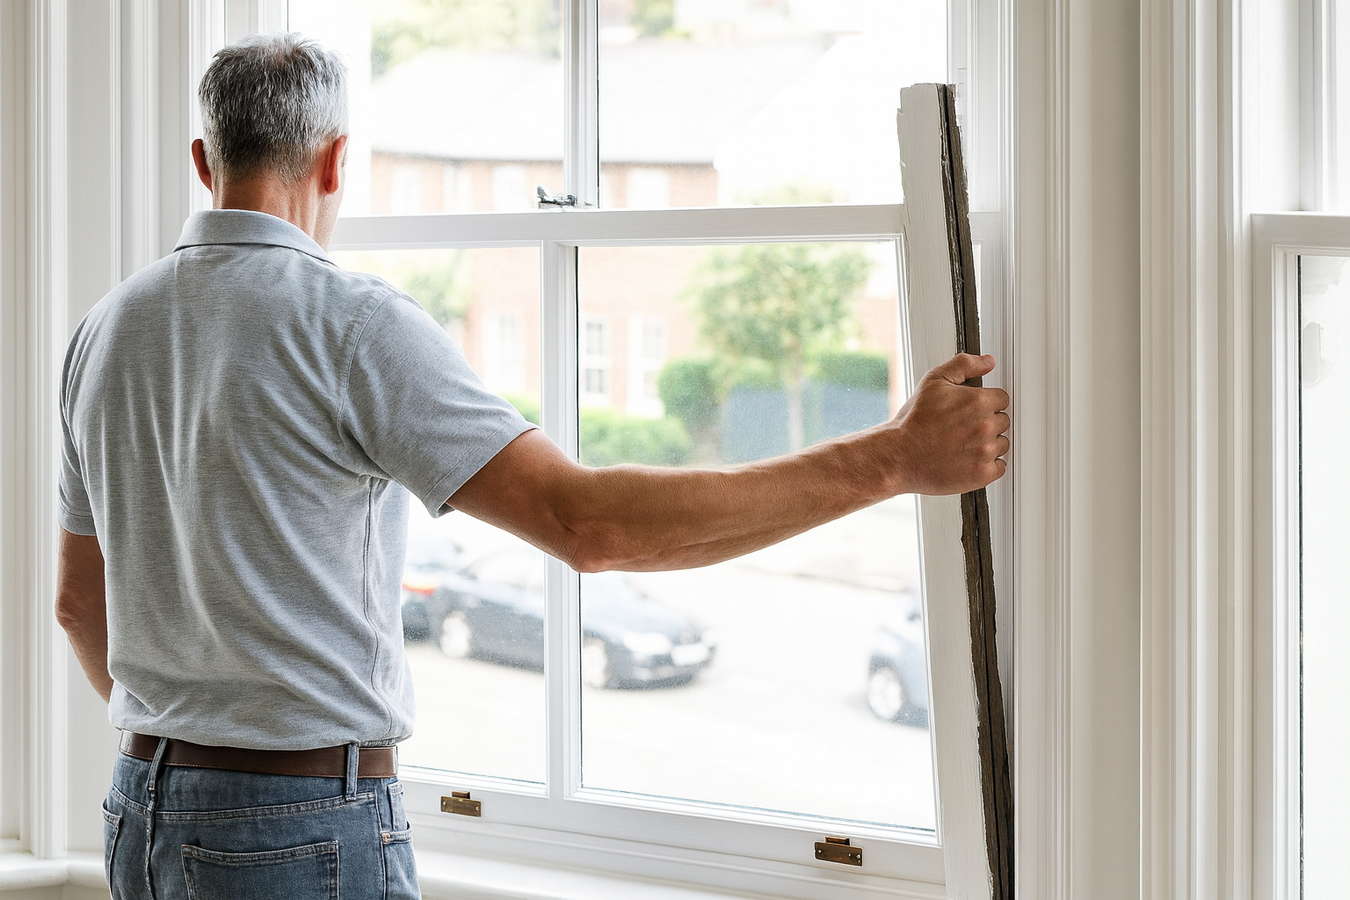
Step 1: Dismantling the Window
This is the most daunting part, but logical if you take it slowly.
- Score the Paint: Run a sharp utility knife down the join between the staff bead and the frame to break the paint seal.
- Remove Staff Beads: Gently pry off the staff beads using a wide chisel or pry bar. Start from the middle to avoid snapping them. Label them (e.g., “Left”, “Right”) so they go back in the same spot.
- Remove Bottom Sash: The bottom sash will now swing out. You’ll see the cords attached to the sides. Pull the cord down to raise the weight, nail the cord to the frame temporarily to hold the weight up, then cut the cord from the sash.
- Remove Parting Beads: These are often friction-fitted or painted in. You may need to pull them out with pliers. Note: These often break during removal, so buy spares beforehand.
- Remove Top Sash: Repeat the cord-cutting process for the rear (top) sash.
Step 2: Stripping and Preparing the Wood
With sashes on a workbench, it’s time to remove the history of bad paint jobs.
- Heat & Scrape: Use a heat gun to soften old paint, scraping it back to bare wood.
Warning: Old UK homes often have lead paint. Use a test kit. If positive, use chemical strippers instead of heat/sanding to avoid toxic dust.
- Glass Protection: Use a shield or piece of cardboard to stop the heat gun from cracking the glass panes.
Step 3: Repairing Rot (The Epoxy Method)
Don’t just fill rot; stabilise it.
- Excavate: Scrape out all soft, punky wood until you hit solid timber.
- Harden: Soak the area in a wood hardener. This penetrates the fibres and turns them rock-hard.
- Fill: Mix your 2-part epoxy repair resin. It bonds structurally to timber. Fill slightly proud of the surface.
- Shape: Once cured, sand it flush. This repair is now stronger than the original wood.
Step 4: Glazing and Priming
If putty is cracked or missing:
- Hack out old putty gently.
- Brush raw linseed oil into the rebate (this stops the wood sucking the oil out of the new putty).
- Apply fresh putty, smoothing it with a wet putty knife for a professional 45-degree angle.
- Crucial: Allow putty to skin over (can take days) before painting, or use a modern fast-drying equivalent.
Step 5: Painting (The Sequence Matters)
Bad painting causes sticking windows. Follow this rule: Do not paint the sides of the sashes (stiles) that run against the frame.
- Prime: Use a high-quality wood primer on all bare wood.
- Undercoat & Gloss: Apply thin coats. Thick globs of paint are the enemy of sash windows.
- The Overlap: When painting the glass, overlap the paint onto the glass by 1-2mm. This creates a waterproof seal that protects the putty.
Step 6: Re-cording and Rebalancing
- Access Weights: Open the “pockets” in the main frame to find the lead weights.
- Thread New Cord: Attach your “mouse” (lead weight on string) to the new sash cord and feed it over the top pulley and down into the pocket.
- Attach to Weight: Tie the cord to the weights using a strong knot (like a figure-of-eight).
- Check Balance: Before nailing the cord to the sash, ensure the weights hang freely and aren’t hitting the bottom of the box when the window is closed.
Step 7: Reassembly
Reverse the dismantling process:
- Insert Top Sash and attach cords.
- Install new Parting Beads (consider using ones with integrated draught excluders).
- Insert Bottom Sash and attach cords.
- Nail the Staff Beads back in place.
Top Tip: nail them slightly further back than before to reduce rattle, but check the window slides easily before driving the nails home.
 Pros and Cons of DIY Refurbishment
| Feature | DIY Refurbishment | Professional Replacement |
| Cost | Low (£100-£200 per window in materials) | High (£1,000+ per window) |
| Authenticity | Retains original Georgian/Victorian timber | Often changes the “look” (glazing bars are thicker) |
| Time | High (2-3 days per window) | Low (Installation takes 1 day) |
| Difficulty | Moderate (Requires patience) | Zero (Contractor does it) |
| Thermal Efficiency | Good (With draught strips added) | Excellent (Double glazing) |
Typical costs and time per sash window in the UK
For most UK homeowners, budgeting correctly is just as important as learning the technique. As a rough guide for a standard-sized sash window in an average condition:
- Materials: Expect to spend around £100–£200 per window on filler, primers, paint, new cords, beads, and basic sundries. If you need specialist draught-proofing systems or slimline double glazing, this can rise significantly.
- Tools: If you already own a basic toolkit, the extra investment in scrapers, a heat gun, and a decent dust mask may add £50–£150. These are generally one-off costs.
- Time: Allow 2–3 full days per window if you are new to the process. This includes drying time between coats and putty curing. For a bay of three or four sashes, you may prefer to work on one at a time so you always have a usable window in the room.
These are ballpark figures; properties with severe rot or access issues will sit at the higher end of the scale or justify bringing in a specialist.
If you’re based in the capital, professional sash window repair london services can also take over the heavy lifting for you – from full epoxy and splice repairs on badly rotten bay windows to reglazing and discreet draught-proofing in conservation areas, all carried out in line with local planning rules and building regulations.
Common mistakes when refurbishing sash windows
Refurbishing old sashes is absolutely doable – you really can pull it off. But there are a few classic mistakes waiting to ambush you, and they can undo your hard work faster than you can say “tea break”:
- Overheating lead paint: Using an aggressive heat gun on old coatings can release dangerous fumes and damage the timber. Always work on a low setting, keep the gun moving, and switch to chemical stripper if you suspect lead.
- Filling over active rot: If you do not remove all soft, wet wood and treat the area, the decay will continue underneath the filler. The surface might look neat, but the repair will fail.
- Painting the sashes shut: Thick paint on the sides of the sashes or along the meeting rails glues everything together. Keep paint thin, avoid the sliding contact faces, and run a sharp blade around the edges once the paint has skinned.
- Ignoring balance and weight: Re-cording without checking that the weights move freely and are correctly sized leads to sashes that drift, slam, or refuse to stay open. Always test movement before you nail off the cords.
- Rushing drying times: Putty, primers, and topcoats all need time. Closing a freshly painted sash too soon is one of the fastest ways to undo days of careful work.
Being aware of these traps makes the whole process smoother and saves you redoing awkward, messy jobs later.
Ongoing maintenance after refurbishment
Once your sash windows are refurbished, a little routine care keeps them looking and working like new:
- Quick annual check-up: Once a year, run around the house and look for flaking paint, cracked putty, or any soft spots on sills and lower rails. Small touch-ups now prevent major repairs later.
- Light cleaning and lubrication: Clean the glass and gently dust the channels, then apply a tiny amount of silicone spray to pulleys and contact points if needed. Avoid greasy oils that attract dirt.
- Ventilation and moisture control: In UK winters, condensation is a big enemy. Use trickle vents or short bursts of opening to keep moisture down, especially in kitchens and bathrooms.
- Repainting cycle: Expect to repaint every 5–7 years in exposed locations, slightly less often on sheltered elevations. You rarely need to go back to bare wood—sound paint can be cleaned, sanded, and overcoated.
Treat refurbishment as a reset. With light, regular maintenance, you should not have to repeat heavy repairs for many years.
Frequently Asked Questions (FAQ)
1. Can I install double glazing in old sash windows?
Yes, but it’s tricky. You can fit “slimline” double glazing units into original frames, but the extra weight might require you to add lead make-weights to the sash weights to keep the window balanced.
2. Why is my sash window stuck after painting?
This is usually because the paint wasn’t allowed to cure fully before closing, or the “meeting rails” (where the two windows overlap) were painted shut. You may need to run a “sash saw” or a sharp knife between the frame and sash to break the seal.
3. How do I stop sash windows rattling?
Rattling is caused by a gap between the sash and the bead. Moving the staff bead closer to the sash during reassembly usually fixes this. Installing a draught-proofing brush strip into the bead is the modern solution.
4. Do I need planning permission to repair sash windows?
For general repair and painting, usually no. However, if you live in a Listed Building or a strictly controlled Conservation Area, you must consult your local council officer before replacing any timber or glass.
5. What is the best wood filler for sash windows?
Avoid standard decorators filler. Always use a 2-part epoxy wood repair system. It is flexible enough to move with the timber during seasonal changes without cracking.
 Final Thoughts
Refurbishing old sash windows is a labour of love, but the result is a window that operates as smoothly as the day it was made in 1890. By saving the original joinery, you aren’t just saving money; you are acting as a custodian of your home’s history.
Ready to start? Check your timber for rot today. If you find soft spots, don’t panic — browse our range of epoxy wood hardeners and sash repair kits to get everything you need for the job.
About the author
This guide was written by James Walker, a sash window specialist at Chameleon Decorators & Windows Restoration, a UK-based company focused on restoring and repainting period timber windows and joinery. James has over 15 years’ experience working on Victorian, Georgian, and Edwardian homes across England, from compact terraced houses to large country properties.
The information in this article reflects practical, on-site experience and general good practice, but it is not a substitute for professional structural advice, planning guidance, or health and safety assessments. Always follow current UK regulations, especially when working at height or dealing with lead-based paint, and consult your local authority or a qualified contractor if you are unsure about any aspect of the work.