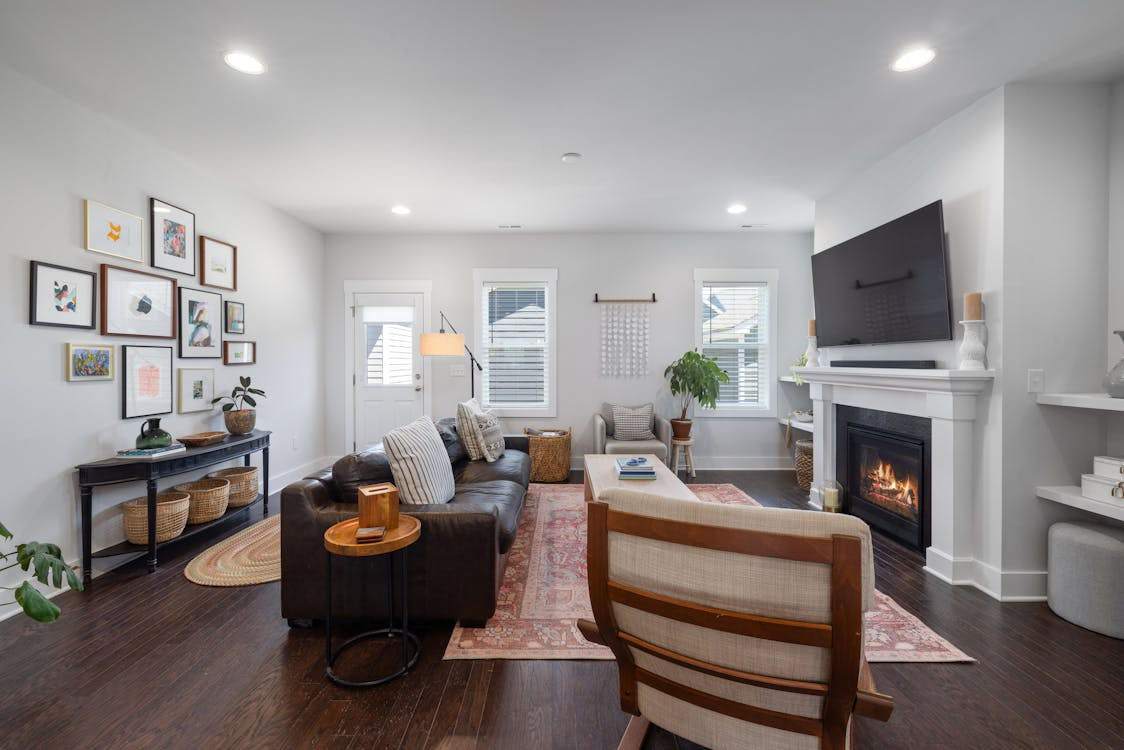
Hardwood flooring transforms a space in ways carpet never could. The planks you pick today will be under your feet for 30 years or more. Most people focus on color and style, but those aren’t the only factors that matter.
You’ll want to think about how the wood performs over time. Does it dent easily? Will it warp in your climate? Can you actually maintain it with your schedule? These practical questions often get ignored until problems show up.
Species Selection Shapes Your Floor’s Performance
Not all wood acts the same under foot traffic and daily life. Red oak has been America’s go-to flooring for generations. It scores 1290 on the Janka hardness test. That’s solid enough to resist most dents from dropped items or pet claws.
White oak tests slightly tougher at 1360. The grain runs tighter and is less visible than red oak. Here’s what matters more: white oak repels water better. Its cells close up tighter, so spills don’t soak in as fast. Anyone dealing with humidity should pay attention to that detail.
Maple jumps up to 1450 in hardness. The grain stays fine and even across boards. Light tones work great in sleek, modern rooms. You won’t get the same grain drama as oak, though.
Hickory crushes the competition at 1820. Kids running around won’t faze this wood. The grain patterns swing from light to dark on the same board. That rustic vibe doesn’t fit everywhere, especially in formal dining rooms.
Brazilian cherry rockets to 2350 on the hardness scale. It costs plenty more than American woods. The rich red color deepens as sunlight hits it year after year. But it can move and shift when temperatures bounce around.
Check out red oak wood flooring options if you want proven performance without breaking the bank. This species takes stain well and fixes up easily. Most contractors stock it in various grades and widths.
Grade Affects Both Price and Character
Flooring grades tell you what the wood looks like, not how strong it is. Clear grade barely shows any knots or color shifts. Every board looks almost identical to the next. Architects love this for sleek, modern projects.
Select grade lets a few small knots and color changes sneak in. You get some personality without going full country cabin. This grade costs less than clear but still looks polished. It fits most homes without raising eyebrows.
Common grade brings all the knots, streaks, and color variety. Some folks call these “defects” while others call them “character marks.” Either way, a common grade runs way cheaper. It nails that lived-in farmhouse feel perfectly.
Here’s the thing: all three grades come from the same trees. Mills just sorts them by appearance after cutting. Every grade meets identical strength requirements. Pick based on your taste and wallet, not durability concerns.
 Width Options Change Visual Impact
Plank width messes with how big or small a room feels. Narrow boards from 2 to 3 inches look classic and traditional. Older homes used these widths before modern milling existed. They also install faster with less cutting waste.
Mid-range planks run 4 to 5 inches across. They play nicely with almost any design style. Builders use these widths constantly in new homes. They look right in tiny bedrooms or huge living rooms.
Wide planks at 6 inches and up create drama. The grain patterns really show themselves on bigger boards. Fewer seam lines mean cleaner sightlines across the floor. But you’ll pay more, and installers need extra care to prevent warping.
Your room size should guide this choice. Big open spaces can handle wide planks without looking weird. Tight quarters work better with narrower options. Tall ceilings change the math, too.
Finish Type Determines Maintenance Needs
The coating on your floor controls how much work you’ll do later. This matters way more than people realize upfront.
Prefinished boards show up with their coating baked on at the factory. The finish hardens under UV lights for maximum toughness. You can walk on them the same day they go down. Every box matches in color because they coat huge batches together.
Site-finished floors get sanded smooth after installation. Then the finish goes on right there in your house. You can blend custom colors this way. Plan on waiting several days while coats dry and fumes clear out.
Oil finishes soak down into the wood itself. They age into that warm honey color over time. You’ll need to sand everything when recoating eventually. Scratches blend in better though because the damage isn’t as obvious.
Water-based finishes lay on top like a shield. They stay crystal clear instead of yellowing. You can add fresh coats without total sanding in many cases. They do scratch more easily than oil versions.
Your cleaning habits shift based on finish type. Oil-based floors tolerate wet mops better. Water-based scratches easier but fixes simpler. The National Wood Flooring Association confirms that regular care matters more than finish type for longevity.
Installation Method Matches Your Subfloor
What sits under your new floor decides how it goes down. Three main methods handle different situations.
Nail-down installation works when you have wood underneath already. Contractors shoot nails through each plank with an air gun. This old method creates rock-solid floors. Expect some banging noise and sawdust while they work.
Glue-down sticks planks directly to concrete slabs. Special adhesives block moisture from creeping up. Basements and ground floors often need this approach. Ripping it out later turns into a major project.
Floating floors snap together like puzzle pieces. Nothing attaches them to what’s below except a thin pad. This works over almost anything, even old tile. You could take them with you if you move someday.
Each way needs the right prep work first. Concrete has to sit level within 3/16 inch over 10 feet. Wood subfloors need properly spaced joists and thick panels. Always test for moisture regardless of method. The U.S. Forest Service publishes specs for installing wood over different subfloors.
Your foundation type usually decides for you. Houses on crawl spaces do best with nails. Concrete slabs typically need glue.
 Acclimation Prevents Future Problems
Wood swells and shrinks as humidity goes up and down. Fresh flooring needs time to match your home’s conditions. Give it three to seven days minimum. Rush this and you’ll deal with gaps or buckled boards later.
Leave the boxes closed, but stack them in the installation room. Put spacers underneath so air flows around them. Keep your thermostat at normal settings the whole time. Run the AC or heat like you normally would.
Good installers measure moisture before laying anything down. The wood should come within 2 percent of your subfloor reading. Digital meters spit out numbers in seconds. Picky species like hickory need even tighter matches.
Where you live changes the wait time. Desert climates need less adjustment than coastal areas. Season matters too. Winter deliveries might need extra days to stabilize.
Proper acclimation stops most installation failures before they start. The wood settles into equilibrium with your house. Boards fit tighter when they’re at the right moisture level. This costs you nothing but saves thousands in repairs.
Getting Floors That Last
Hardwood flooring isn’t cheap, so you want to get it right. The species determines how it holds up to real life. Grade selection splits the difference between the budget and looks. Plank width shifts the whole vibe of a room.
The installation method comes down to what’s under there already. Your finish pick sets up years of maintenance routines. Letting the wood acclimate saves major headaches down the road. Put these pieces together right, and you’ll have floors that work hard and look good doing it.