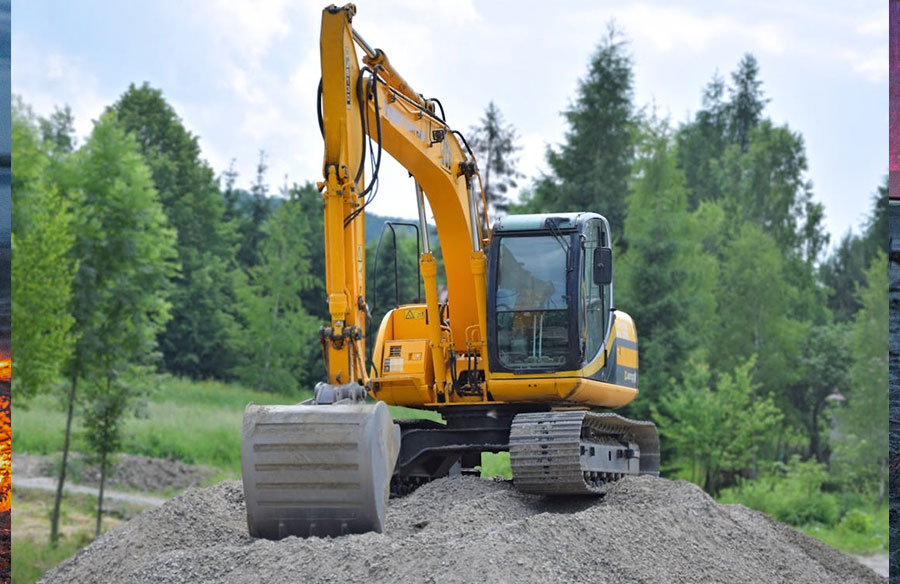
You rely on your excavator. It’s the workhouse that turns a giant, messy job into a controlled project. But the real unsung hero is the part that takes the daily beating, which is the bucket.
If you’re like most operators, you know that replacing a bucket is expensive. The good news is that you have the power to extend the life of your buckets significantly.
These smart habits will save you thousands in the long run. Let’s dive into the essential excavator maintenance checklist you need to keep your buckets digging hard and efficiently.
The Inspection Checklist
Your bucket works in a harsh, abrasive environment. A tiny crack or a loose tooth you ignore today can turn into a structural failure tomorrow if not taken care of. Consistency is the single biggest factor in preventing catastrophic failure.
- Check for Looseness: To check its condition, immediately after starting the machine, kick or wiggle each tooth. If a bucket tooth becomes loose, it can move around and cause serious damage to the adapter (tooth seat) and the bucket lip. As soon as you notice it rattling, make sure to fix or secure it as soon as possible.
- Inspect for Cracks and Chips: Always take a moment to check your bucket teeth for any small stress cracks, particularly around the base where the tooth meets the adapter, or any big chips near the tip. A tiny crack today can easily turn into a broken tooth tomorrow, leading to costly repairs and downtime.
- Clean the Bucket: Built-up material can hide cracks or worn areas, add unnecessary weight, and even put extra strain on your machine’s hydraulics, which is why it is important that after working with sticky materials like clay or wet dirt, you always take time to clean the bucket. A quick cleanup helps keep your equipment in top shape and saves you from costly repairs later.
The Rotation Rule
Wear and tear are part of every job, but uneven wear doesn’t have to be. You can double the life of a set of teeth by strategically managing their positions.
Did you know the outer teeth wear out about 30% faster than the inner ones? This is especially true when trenching or working on slopes. To keep wear even and extend tooth life:
- Rotate inside and outside teeth: After about 50-100 hours of work, swap the inner and outer teeth. This helps expose less-worn areas to tougher spots, evening out the wear.
- Replace at 50% Wear: Don’t wait until your teeth are completely worn down. Once they’ve lost half of their original height or start to look dull, replace them. Worn teeth make the digger harder, use more fuel, and strain your machine. For reliable, high-quality mini digger teeth that install quickly and provide maximum penetration, always choose parts designed for durability.
Hardfacing and Extra Protection
For heavy-duty work, you can add extra protection to your teeth and adapters:
- Apply Hardfacing: This is a welding technique that adds a tough, wear-resistant layer to high-wear areas. It’s often applied in patterns like a diamond to trap dirt, letting it wear against itself instead of metal.
- Use Wear Protection Parts: Attach wing shrouds or side cutters to the bucket’s sides. These sacrificial parts take the brunt of the wear, protecting your bucket’s structure and welds from damage.
The Digging Angle
- Maintain a Sharp Angle: When you start digging, the bucket teeth should be as perpendicular or close to 90° to the digging surface as possible. Curling too far or extending too far puts uneven pressure on the teeth, making them break faster.
- Avoid Over-Titling: Don’t let your bucket tilt outward beyond 120° as it puts too much leverage on the tips and can tear them off.
- Dig Straight, Not Sideways: Avoid twisting or swinging the boom left and right when the teeth are buried. Teeth are built for straight digging, not lateral force.
The Movement Rules
When pulling the boom up, avoid retracting the bucket at the same time. Combining these movements creates strong upward stress that can rip a tooth off. To avoid shock loading, don’t slam the bucket against hard surfaces or drop it forcefully. These impacts can crack welds, snap teeth, and transfer damaging shock through the arm and boom.
Match the Tooth to the Material
Not all teeth are made for every job. Choosing the right tooth profile for your material improves digging performance and wear life.
For soft or loose materials like earth, sand, or soft clay, go with a Flat-Head tooth as it maintains a wide, sharp edge that cuts through the ground easily and stays sharper for longer. When you’re working with hard or blocky materials such as rock, concrete, or shale, switch to a Rock-Chisel tooth as it is more suitable for handling heavy impact and tough digging conditions.
Keep an Eye on Adapter Wear
A well-maintained tooth adapter ensures your excavator bucket teeth perform efficiently and last longer. It’s a small component, but it plays a big role in overall digging performance and cost savings.
The tooth adapter (also called the tooth seat) securely holds each tooth in place and evenly spreads the digging force across the surface. However, when the adapter wears down by just 10–15%, it can create a noticeable gap between the tooth and its base. This small gap allows the tooth to move or wobble, shifting pressure from the foundation to one small contact point. Over time, this uneven stress causes cracks and breakage even if the tooth itself is still relatively new.
To avoid this, replace the adapter early before it starts causing damage. The adapter acts as a protective shield for one of the bucket’s most expensive parts, which is the lip plate. Regular inspections and timely replacements ensure a tight, secure fit, reduce stress on your equipment, and extend the overall life of your excavator bucket.
By integrating these practices, such as the daily inspection to specialized welding, you move beyond simple maintenance and adopt a cost-saving operational strategy that keeps your machine digging at maximum efficiency.