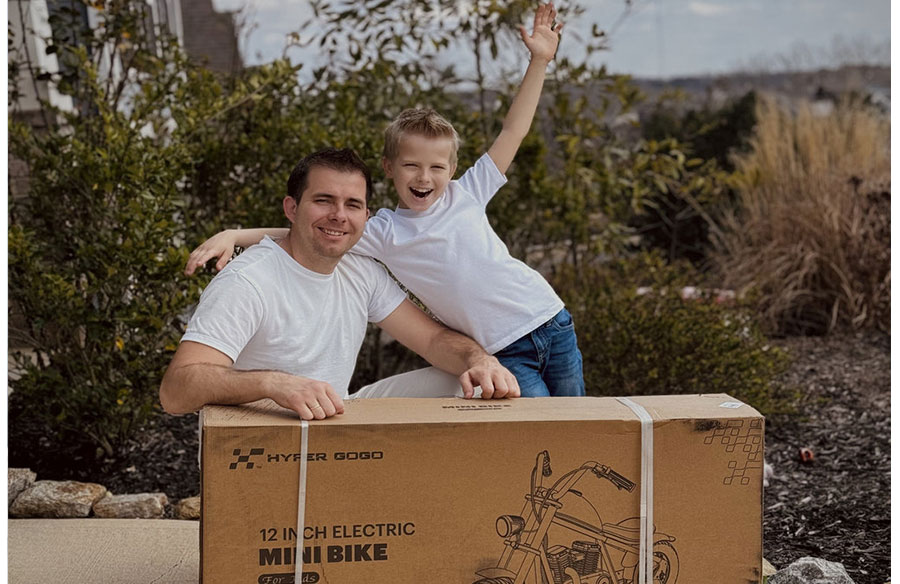
Birthday morning’s almost here, you’ve spotted a sparkling chopper mini bike, and your kid is already imagining epic backyard road trips. Before you click “Buy Now,” look beyond the paint job. Run-time, terrain handling, and—most critically—safety certifications can make the difference between carefree cruising and a product-return nightmare. This guide walks you through voltage, weight limits, braking tech, battery chemistry, so you can shop confidently and keep those little tires spinning.
1. Match Age, Weight, and Fit—Not Just Style
Manufacturers usually list a toy’s age range alongside a maximum rider weight. Respect both. An undersized model strains its motor, while an oversized one may limit a toddler’s ability to reach the pedal or grasp the handlebars securely. If siblings will share, choose the rating for the older child and use the adjustable seat or speed-limiter to keep the younger rider safe.
2. Choose the Right Voltage for Your Terrain
- 6 V: Indoor floors and smooth patios; speeds of 2 mph.
- 12 V: Suburban sidewalks and gentle grass; 3–5 mph.
- 24 V+: Packed dirt, sloped driveways, or multiple passengers; up to 8 mph.
Higher voltage boosts torque but also demands longer charge times and thicker-gauge wiring. Balance thrill with practicality: a 12-volt unit usually delivers 45–60 minutes of play, enough for backyard loops before dinner.
3. Check Battery Chemistry and Charger Safety
Lead-acid packs keep costs down yet weigh more and slump in cold weather. Sealed lithium-ion modules shed 5–7 lb, charge faster, and maintain voltage under load, but only buy models with a UL-listed smart charger and a battery enclosure secured by screws—no snap-on toys or loose wires.
4. Evaluate Built-In Safety Features
- Speed governors let you cap velocity at 2–3 mph for first-time drivers.
- Parental remotes (2.4 GHz) override the throttle from up to 100 ft away—indispensable near streets.
- Seat belts: A three-point harness is rare but ideal on higher-sitting trucks and UTVs.
- Automatic braking cuts power when the foot lifts, reducing rollaway risk on slopes.
Check that wheels have non-slip tread and a wide stance; pneumatic tires absorb driveway cracks better than hard plastic.
5. Inspect Build Quality and Serviceability
Look under the hood—literally. Metal spur gears, sealed bearings, and replaceable fuse blocks signal durability. A modular battery tray makes future swaps painless. Brands that sell spare wheels and motors on their website or through nationwide dealers save frustration a year down the road.
6. Confirm Ease of Assembly and Storage
Many ride-ons ship 80% assembled but still require a Phillips screwdriver, adjustable wrench, and 45–60 minutes. Scan user manuals (often posted online) for clear wiring diagrams. Fold-down roll bars and detachable battery boxes simplify winter storage; a unit that fits upright in a coat closet is gold if garage space is tight.
7. Budget for Protective Gear
Helmet, knee pads, and closed-toe shoes should ship with the purchase in your mental checklist, even if the manufacturer doesn’t bundle them. Treat ride-on toys like micro-vehicles, not strollers.
Conclusion
A battery ride-on isn’t a mere toy—it’s a child’s first taste of the open road and your first lesson in power-sport safety management. By matching voltage to terrain, checking ASTM F963-23 compliance, scanning CPSC recalls, and insisting on practical features like speed limiters and smart chargers, you’ll deliver adrenaline without compromise. Shop smart, charge responsibly, and you’ll be rewarded with squeals of delight instead of warranty forms.