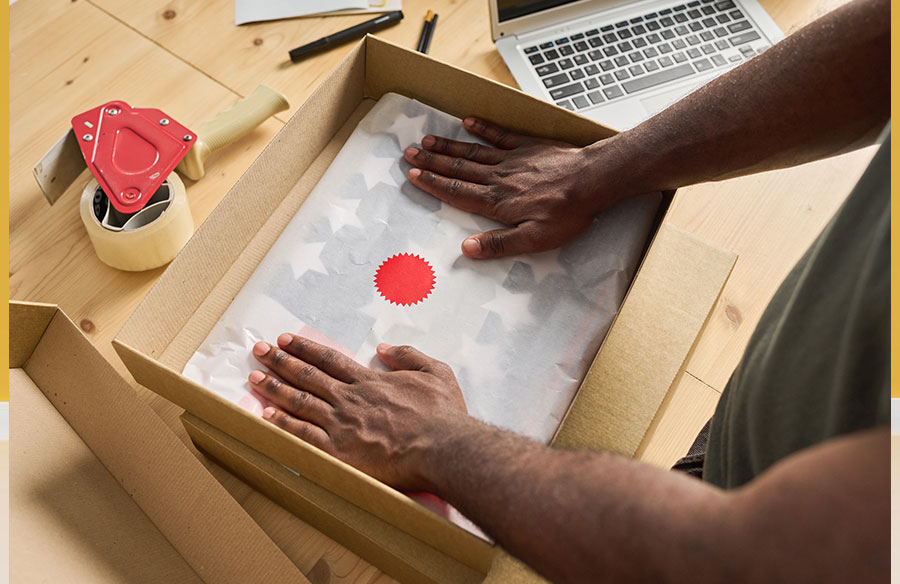
Do you want to ship your delicate item in custom boxes? Every product has its unique packaging requirements to ensure safe transportation and enhance the customer experience. You might think that making a custom box for shipping products is as easy as baking a cake, but that’s not the case. Several factors should be considered before customizing a box, including its size, shape, style, and color scheme, if applicable.
In today’s guide, we will explore how to customize your box for shipping products safely to your customers’ doorsteps. Before that, let’s take a quick look at what custom shipping boxes are.
What are custom shipping boxes?
Custom shipping boxes are containers that securely ship your delicate items to your customers’ doorsteps, ensuring they arrive in perfect condition. The best thing about these boxes is that they are customizable as per your product requirements. You can control how they should look and what material supports your brand and product. You can choose from corrugated cardboard for its durability and high-quality printing, or kraft corrugated for its sustainability and eco-friendliness.
Where To Start For Custom Shipping Boxes?
To create perfect shipping boxes for your brand and products, ensure that you design your box shape, design, printing, and size according to your product requirements.
Here is the step-by-step guide for creating shipping as per your brand needs:
Step By Step Guide For Creating Shipping Boxes
To create a perfect shipping box, follow these steps, and you will have a box that can withstand the shipping process:
Step 1 → Choose Sturdy Material
The first step in creating custom boxes for shipping is selecting the right material. As mentioned above, you can choose either durable corrugated cardboard or sustainable kraft corrugated material. The choice of material depends upon your brand preferences, such as whether your brand needs an artistic look on its boxes or wants to attract eco-concious customers. Regardless of which material you choose for your shipping box, it still will make a lasting impression on your customers if customized appropriately.
Step 2 → Measure Your Product Dimensions For A Perfect Fit
Once you have selected the material you want to use for your custom shipping boxes, it’s time to take the next step by getting it die-cut to the correct size that fits your product perfectly. For that, you need to measure your products’ length, height(depth), and weight. Once you have these measurements of your product, either give it to custom box manufacturers or add 0.078 inches to these measurements, and you will have a perfect size for your box that you can work with.
Step 3 → Create an Artwork For Your Box
Have you finalized the size and material for your shipping packaging boxes? Now it’s time to give it a charm that entices customers by designing an artwork for your box. If you want a minimalist design for your box, a logo of your brand along with its name will suffice. However, if you require something artistic, you need to create a complete, custom-themed design tailored to your product’s needs to add that wow factor for your customers. To design custom artworks, you can use vector tools like Figma, Adobe Illustrator, Canvas, and more.
Step 4 → Add inner protection
Having a custom-sized box just won’t do the job. When you send your products out for shipping, you must be extra cautious to ensure they stay in place during transit. This is why you need to add box inserts and inserts to secure your product. To make it more protective, you can also add shrink wrap, tissue paper, and shipping peanuts that keep your products secure.
Step 5 → Add Labels For Warning
The last step, when your box is ready and your product is stored inside it, is to label it with a warning. If the product you are sending is as delicate as glass, then you should add a label stating ‘handle with caution’ or ‘glass items inside’. This way, the person handling your boxes will be extra cautious when making deliveries.
These are the five steps you need to follow to create custom shipping boxes for your business. However, we have also curated a list of some tips you might want to follow.
Tips For Professional Design
Follow these tips if you want your box to be extra protective and have that professional vibe to it:
Corrugation Flute:
We are familiar with the material used for shipping boxes so far, but do you know that the flutes in them come in different thickness levels? If you want to be extra cautious with your products, select the thickness that best suits your specific product needs. The corrugation flutes that support shipping perfectly are E-flute (1/16”), B-flute (1/8″), and C-flute (11/64”).
Test Your Box Design
Once your box design is ready, print it out from the regular printer and verify that the fold lines, logos, and flaps are accurately placed within the design. This will help you avoid errors from your actual boxes.
If you follow these tips, you are sure to get custom shipping boxes that are durable, functional, and provide a great unboxing experience for your customers.
Conclusion
It’s essential to design custom packaging boxes for shipping that meet your product’s specific needs if you want to send your products safely. Not only this, but it will also add to the customer experience and leave a lasting impression on their minds. So, why wait? Start designing your boxes right and ship your products with confidence.