

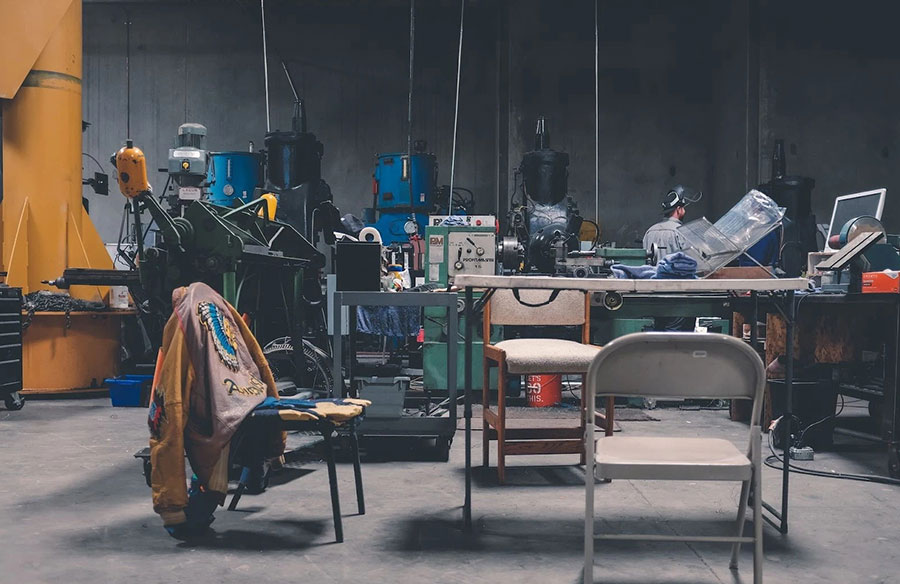
A garage workshop is an ideal place to get your DIY projects done. It’s a great spot to work on cars, do woodworking, and more. If you’re interested in setting up a garage workshop, this is the ultimate guide for you! We’ll tell you everything you need to know about what you need to have in your garage workshop and how to manage it effectively.
How to Build a Workshop in the Garage Step-by-Step
1. Prepare Your Garage Before Setting Up a Workshop
The first thing you need to do before setting up your garage workshop is to prepare the space. You’ll want to make sure the garage is clean and organized. This way, you’ll be able to work more efficiently and avoid any accidents.
Remove any items that are taking up space that you don’t need. If there’s something in the way, move it out of the garage or into storage. Once you have a clear working area, you can start setting up your workshop.
2. Choose Your Workshop Layout
Once you have a clear working area, it’s time to decide on a layout for your workshop. There are many different ways to set up a garage workshop. It all depends on what type of projects you’ll be working on and what tools you’ll be using.
The most important thing is to create a layout that is comfortable and efficient for you.
3. Workbench
One of the first things you’ll need in your garage workshop is a metal workbench with drawers. This will be the main surface where you’ll be working on projects. There are many different types of workbenches available. You can choose one that’s already assembled or build one yourself.
4. Storage
Storage is yet another critical part of a garage workshop setup. You will also require a place where you will store all your tools and supplies. Storage options are endless, including cabinets, shelves, and bins.
5. Lighting
A garage workshop should have solid lighting. When doing projects, you will have to be in a position to see what you are doing. The lighting choices are numerous and include overhead lighting, task lighting as well as natural light.
6. Ventilation
Another essential part of a garage workshop setup is ventilation. You will also require good ventilation to get rid of fumes or dust in your working area. The ventilation options are numerous and can include fans, vents, and windows.
7. Tools and Equipment
Begin to fill your garage with all the necessary tools and equipment. These include:
- workbench;
- shelves or cabinets;
- tool chest;
- power tools;
- hand tools;
- table saw;
- cutters;
- protective gloves and glasses;
- cleaning equipment.
You’ll also need to make sure you have enough space to store all of your tools and equipment. A garage workshop can quickly become cluttered and cramped if it’s not properly organized. Shelves or cabinets will help you keep your workspace tidy and organized.
How to Set Up a Workshop in Garage Guide
Constructing a garage workshop would be an excellent idea to have your projects completed under a single roof. It will also save you money since you will have a place to do your projects rather than renting a working space. To construct a garage workshop of your own, follow these steps:
- Select the proper place to put your garage workshop. You will be thinking about such things as where the sun strikes, what the available space is, and whether you need to move around with ease.
- Make up your mind on the type of workbench. Workbenches come in lots of different varieties, so select the one that is right for you.
- Prepare the required tools and materials. Items such as saws, hammers, screws, and nails will be required.
- Prepare your workbench. You will spend the majority of your time here working, so you might as well ensure that your working environment is conducive and that you have all the necessities within arm’s reach.
- Set your workshop in order. This will assist you in organizing where your tools and materials are, and you will be able to locate what you are looking for within the time you need it.
- Maintain a clean and neat garage workshop. Working in an untidy environment may be hazardous, so ensure you store the tools and materials that you are not using.
These easy steps will help you have a garage workshop that will suit all your requirements. Once you take care of it and keep it organized, it will become a great space even in the years to come.
Garage Workshop Safety Tips
Now that you have your garage workshop set up, it’s important to follow some basic safety rules to ensure a safe working environment.
- Always put on the proper safety gear when using garage power tools or working with hazardous materials.
- Keep your workspace well-lit to avoid accidents.
- Make sure any cords are out of the way and not a tripping hazard.
- Never leave tools or materials lying around where someone could trip over them.
By following our safety tips, you will avoid accidents as well as keep your garage workshop a safe place to work.
Frequently Asked Questions
What Do You Need for a Garage Workshop?
The basic essentials for a garage workshop are:
- A workbench;
- Tools;
- Storage shelves;
- Good lighting.
What Is a Good Size for a Garage Workshop?
The size of your garage workshop will depend on the amount and size of the projects you plan to work on. If you only need a space for basic woodworking or light repairs, a small 15-foot garage workshop may be all you need. For more complex projects that require larger tools and materials, you’ll need a larger garage workshop. No matter what size garage workshop you have, it’s important to make use of the space you have and keep it organized.
How Much Should I Spend on a Garage Workshop?
The cost of setting up a garage workshop will vary depending on the space and complexity of the DIY projects. A basic garage workshop may require up to $1,000 worth of tools and materials. Nevertheless, in case you intend to create a workshop in the garage literally out of nothing, you might be forced to spend about 2,000-5,000 dollars.
Conclusion
Whether you are an enthusiastic hobbyist or a professional handyman, a garage workshop will prove to be useful. With our advice on preparing and organizing your garage workshop, you will have the chance to design a top-shelf area that suits your requirements and your wallet.







