

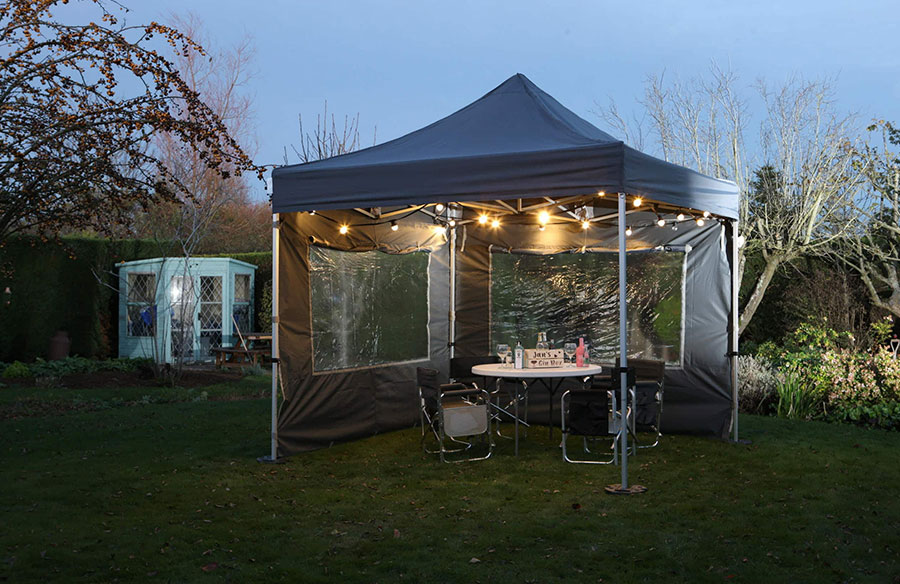
Taking down a gazebo might seem like a daunting task, but with a little planning, it can be surprisingly straightforward. Whether you’re preparing for a move, heading to a new event, or simply storing it for the winter, knowing how to disassemble your gazebo with ease will save you both time and frustration. Here’s a step-by-step guide to make the process simple and efficient.
Gather your tools and materials
Before you dive into the disassembly, it’s important to have the right tools at hand. Depending on your gazebo’s model, you’ll typically need a wrench, a screwdriver, and a ladder. Additionally, make sure you have a storage bag or container ready to safely pack away all the parts and accessories. Weights for gazebo are often used to keep it stable on windy days and can sometimes be overlooked, but they’re essential to remove before disassembly begins.
Remove the canopy
The canopy is usually the first part to come off, and it can be a bit tricky. Start by unscrewing or unclipping any fasteners securing the canopy to the frame. You’ll want to carefully fold the fabric to avoid any creases or damage, especially if you plan on using it again soon. If your gazebo comes with sidewalls, remove those first and store them neatly. Always be gentle to avoid tears, as gazebo canopies are often made of delicate material that can rip if handled too roughly.
Take down the frame
Now it’s time to tackle the frame, which is the most structured part of your gazebo. Begin by unscrewing the bolts or loosening the connectors that hold the frame together. Working systematically from the top down will make the process smoother, ensuring no part becomes too heavy or awkward to manage. It’s helpful to have someone else hold sections of the frame steady while you loosen the fittings, particularly when dealing with larger gazebos. Store all screws and bolts in a small bag so they’re not lost when it’s time to reassemble.
Pack for transportation
Once the canopy and frame are separated, carefully pack each part. Ensure that the canopy is folded neatly, and place the frame components in a suitable container or bag. This makes transporting your gazebo a lot easier, whether it’s in a car boot or moving van. To prevent scratches or damage, you might want to use padding or old blankets to wrap the metal parts.
For those who use weights for the gazebo, make sure these are packed safely as well, as they can be heavy and take up more space. Properly storing the weights ensures they’ll be ready to use again next time you set up.
Easy set-up for next time
Disassembling your gazebo efficiently will make it much easier when the time comes to set it up again. Make sure all parts are stored neatly and labelled if necessary, so you won’t be scrambling to find anything later. Following these steps should leave you with a gazebo that’s simple to transport and ready for future use.
Ready for the next event
Now that you’ve mastered disassembling your gazebo, you can feel confident knowing that transportation and storage will be a breeze. No more frustration with missing parts or damaged canopies—just a quick and easy process that gets you ready for your next adventure.







