Architecture is the culmination of momentous art coming to life. Its culture, innovation, and technology intertwined. We capture all of this in a single frame with architectural photography.
But, we can’t just get a camera, point it at a building, and call it a day. To make sure we’re getting the best representation of what we’re seeing, we need to follow best practices.
For us to fully understand these best practices, we need to learn the basics.
What is Architecture Photography
At its core, architectural photography is a genre focusing on showcasing buildings, structures, and cityscapes. Being static, a building can become a great subject for beginner photographers.
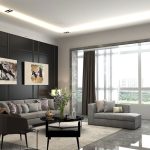
There are two main styles of architectural photography—interior and exterior. You need to consider lighting, what aspects to feature, and more for interior photography.
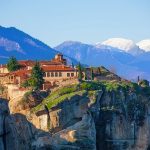
Exterior photography on the other hand is more accessible, especially for beginners. Buildings get good natural light and changing weather conditions can make buildings look dynamic.
Architecture Photography Best Practices
Like all facets of photography, architectural photos have no rules. But, these best practices can help ensure you get authentic, dynamic, and quality photos:
Shoot Lots of Photos in Different Weather and Times
Lighting dictates how we perceive photos. For shooting the exterior of a structure, light isn’t something we can control. So, shoot several photos of your subject at different times of the day.
Get a feel of how the sunlight interacts with the subject. There will be times when the sunlight will be too bright or too dark for certain details of the structure to be seen.
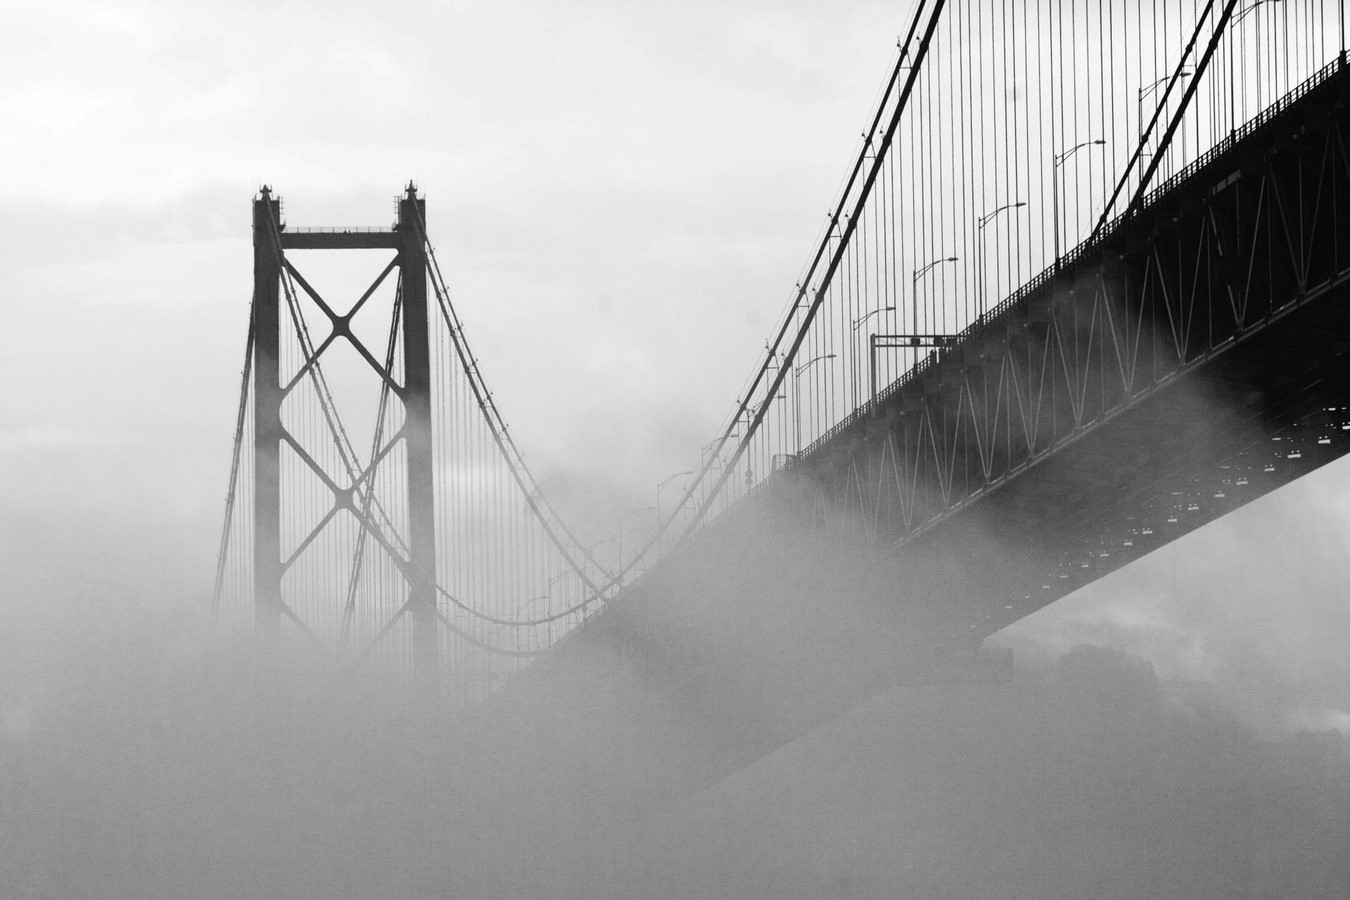 To make your shots even more dynamic, you can shoot during different weather. Elements like rain, fog, or even a cloudy day can change the entire mood or feel of an image.
Prioritize Lighting
Lighting is an essential part of photography that helps highlight, space, structure, or atmosphere. It gives your audience cues, helping draw their eyes to specific details.
For shooting the interior, lighting conditions can be relatively low. To solve this issue, you can create HDR images that focus on balancing tones and exposure.
If you have the budget, equipment such as off-camera flashes can be used to correct lighting issues, especially for interior shoots.
Be Deliberate With Angles
Take the time to find unique angles to showcase overlooked details of a building. But, be deliberate with your choices.
When trying to find an angle, don’t fall into the trap of objectifying a building. This means only choosing the angle that looks the best for you.
Remember, photographs will be the ultimate reference for architecture. You need to make the effort to showcase a comprehensive spatial context of your subject.
Use the 1 and 2-Point Perspective
The 1-point perspective is used to highlight elevations. It’s simply a straight view of the subject with angles showing parallel, horizontal lines at 0 degrees. There are three elevations you need to consider: front, side, and rear.
Meanwhile, 2-point perspectives show a second dimension to your subject. It uses any angle that isn’t straight. But, it keeps vertical lines at a 90-degree angle. Use the 2-point if you want to add depth to your photos or create a dynamic sense of movement.
Use Lines and Shapes
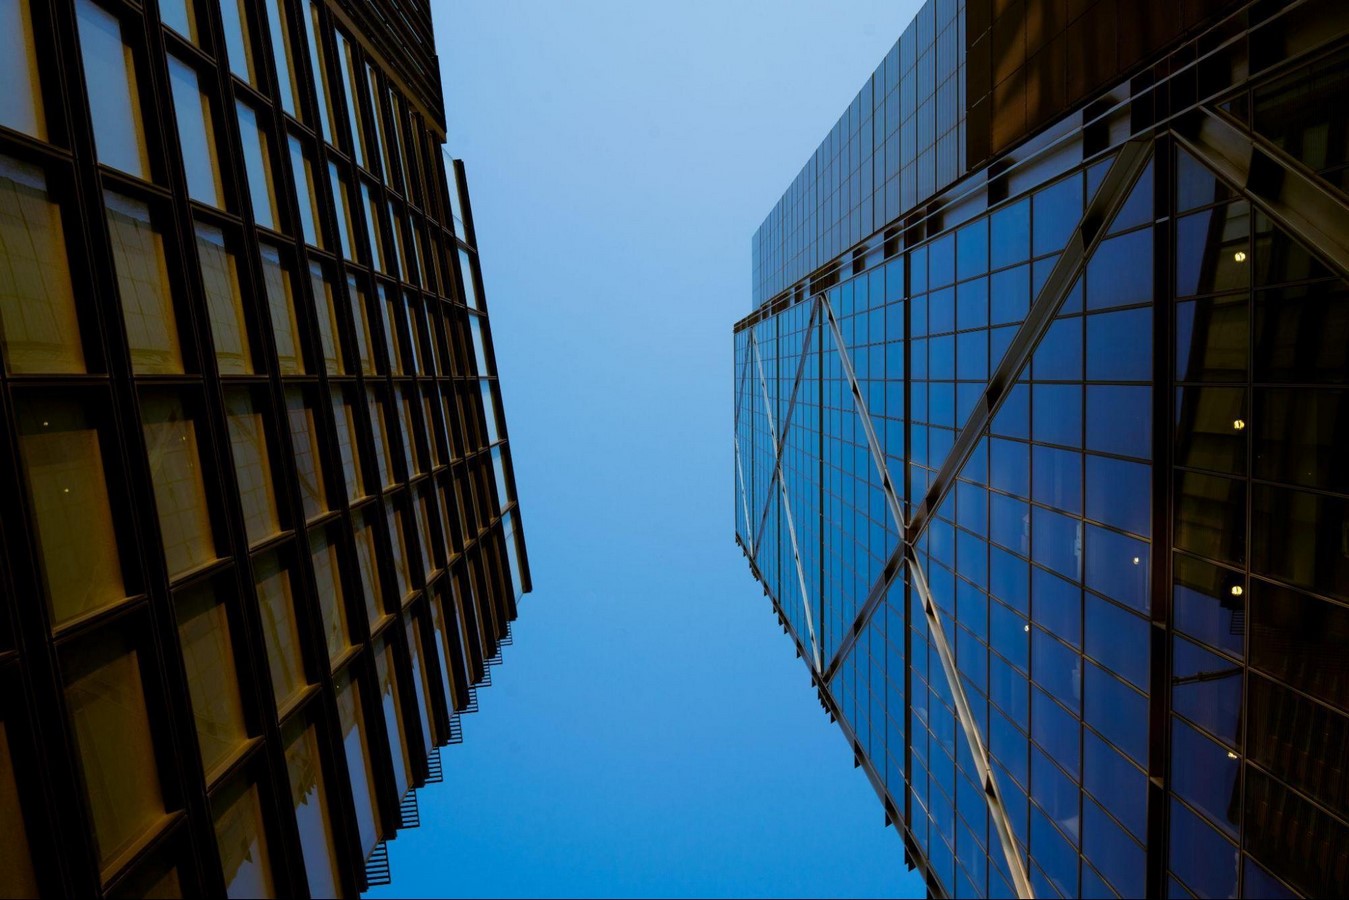 Leading lines and symmetry make are two fundamental aspects of photography. When shooting your subject, find leading lines. Diagonal lines create movement, vertical lines indicate growth, and horizontal lines, calmness.
On the other hand, shapes affect how your photos are perceived. Shooting at lower angles makes the buildings and structures more dominant. Shooting down from a building can emphasize its shape.
Show Scale
Showing scale is the best way to emphasize how large a structure is. To do this, include objects that provide contrast. A good example is people
Capturing people walking past your building or even just shooting their silhouettes shows a comparison of how large a building is and includes a human element in the composition.
Edit Your Photos
No matter how good a raw photograph is, there will always be room for improvement. This is where editing comes in. Think of it as a way to bring out the best in your photos.
Editing helps you fix distortions, lighting, contrast, and more. You can even use free editing tools like PixelCut to clean up pictures or remove any unwanted objects in the frame.
Recommended Equipment
Having the right equipment helps you streamline architectural photography and ensure the best quality output. Here are some of the essentials:
- Tripod: Helps you take more consistent photos, free of shaking or blurriness.
- Wide-Angle Lens: Best for interior photography as it shows the potential of the space.
- Tilt-Shift Lens: Best for exterior shots and tall buildings as it maintains perspective.
- Drones: Can take exterior shots where you don’t get a vantage point.
Key Takeaways
Architecture photography encapsulates monumental structures into a single frame. Before taking your next photos, consider the following:
- Take photos during different times of the day and weather.
- Use angles to your advantage.
- Lines and shapes change how viewers perceive your image.
- Show scale to emphasize how large a structure is.
- Edit your photos to get the best out of each shot.