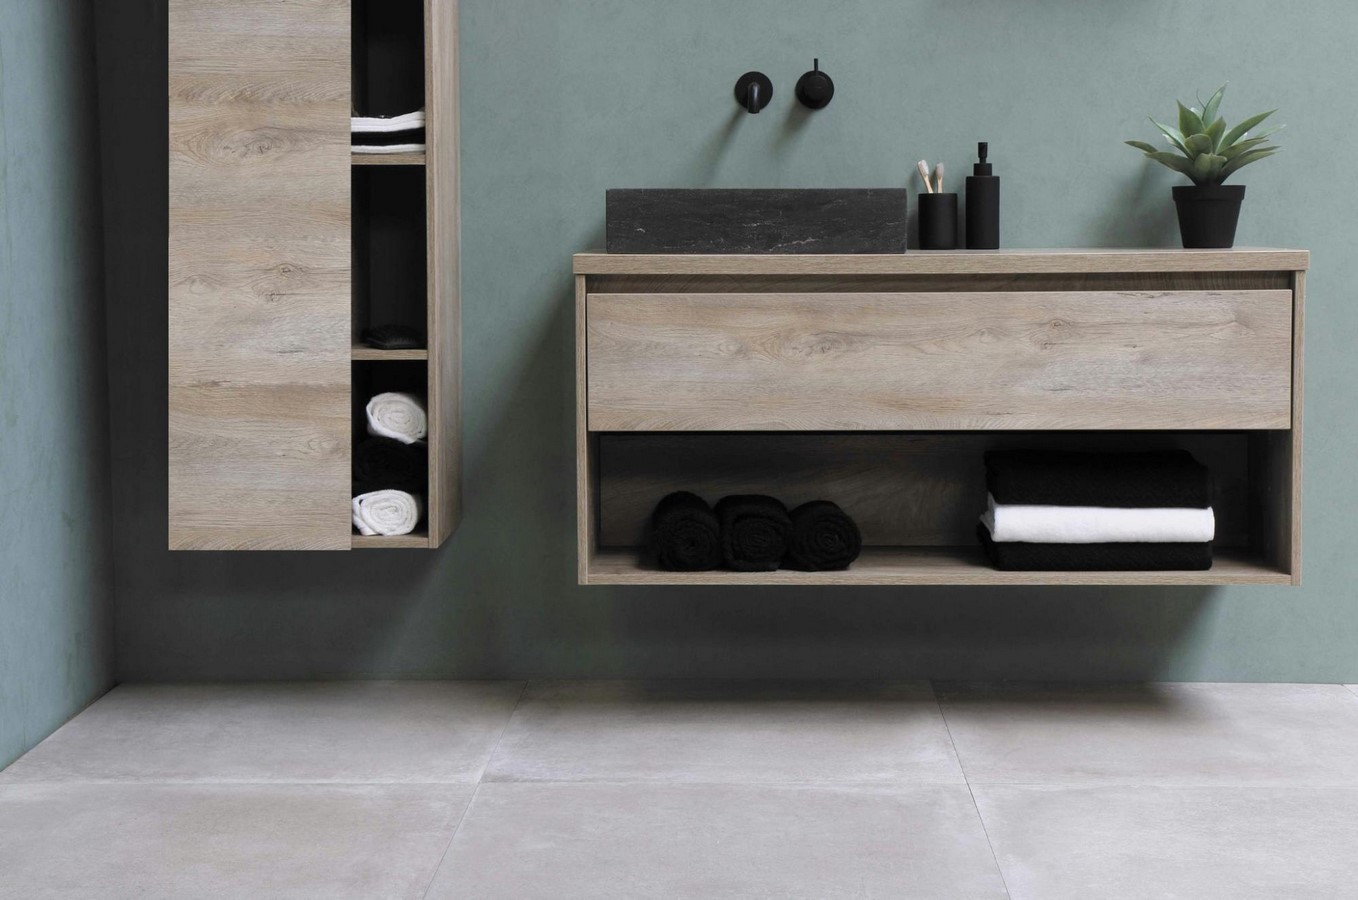
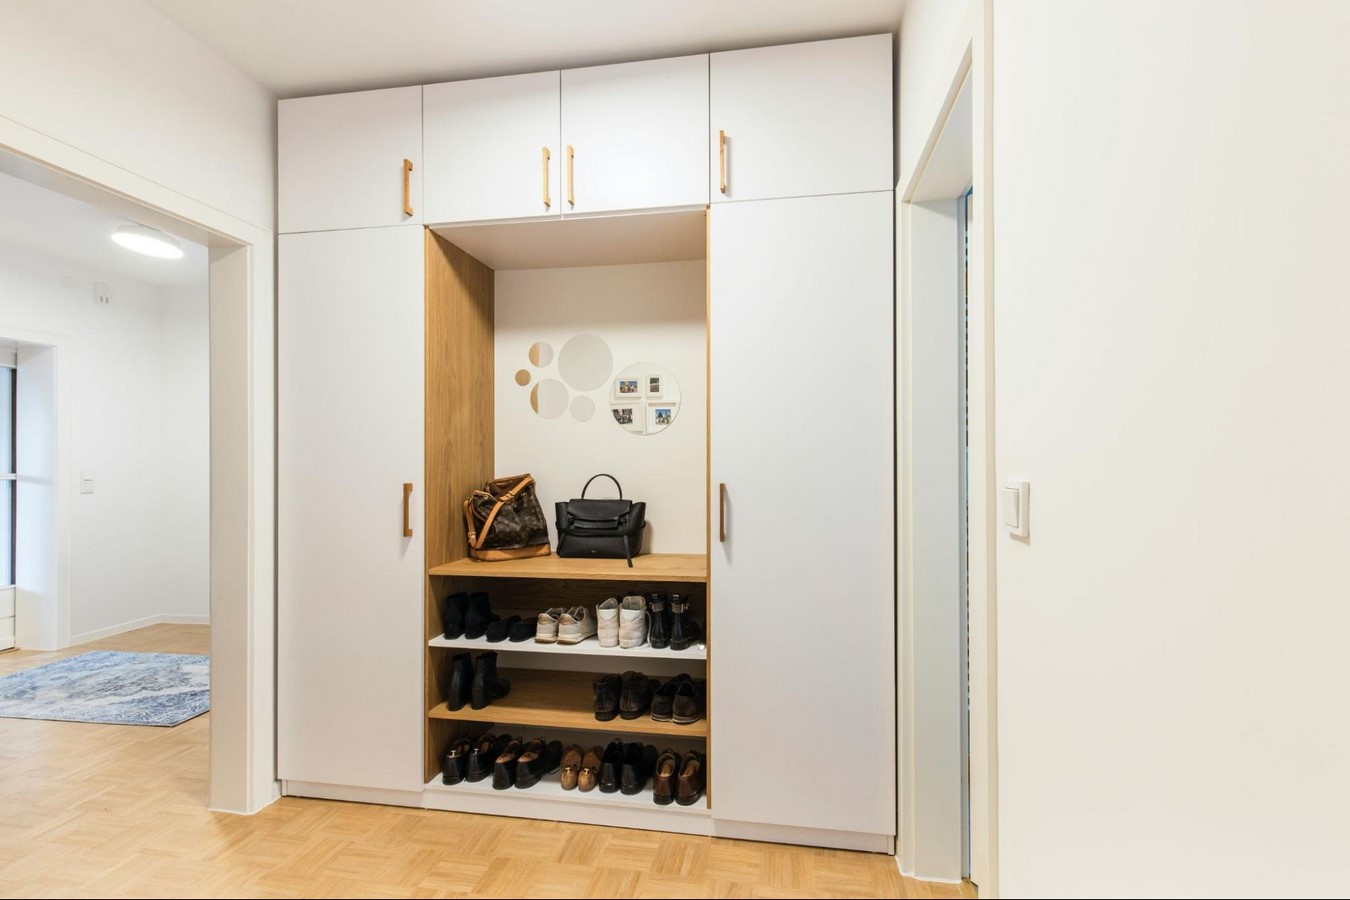
One of the most effective and stylish ways to combat a lack of storage in your home is to install functional and versatile built-in cabinets. They can be placed in nearly any room, ensuring your space stays organized and clutter-free.
If building a cabinet is your first adventure into DIY construction, you will benefit greatly from consulting with the professionals at your local hardware, home improvement, or woodworking store, like the experts at Carbatec.
Determine Your Dimensions
When it comes to crafting and construction, the age-old saying “measure twice, cut once” is famous for a reason. Once you have decided where yourbuilt-in cabinet will go, it is imperative to properly measure and measure the space again to determine the correct dimensions for your cabinet and how much material you will need to complete it.
Many experts recommend roughly sketching the final product to understand your goal better. From here, you can use your measurements to determine whether your project is possible. This stage is also when you can address any potential issues like lightswitches, awkward corners, and whether you want the cabinet to be the full height of the wall.
Remove the Baseboard
In order for your built-in cabinet to sit flush against the walls upon installment, you will need to remove the existing baseboards that will be in the way based on the measurements of your build.
Depending on the size of your project, you will likely not need to remove too much of it. Luckily, the process is relatively simple. Use a strong utility knife to score any caulk that may be present along the top and corners. Once you have broken this seal, use a prybar and hammer to remove the baseboard from the wall.
Frame First
Once you have your measurements in place, it is time to get to work cutting your plywood or repurposed wood to make the frame of your cabinet. Some home improvement stores offer the services of cutting wood down to size based on the measurements you provide. However, should your local store not offer these services, you will need to have access to the correct equipment, mainly a circular saw and straight-edge saw, to get the job done.
When attaching the side frame panels and the top and bottom panels, it is easiest to lay the back panel board down flat on the ground, clamp each panel one by one and secure it together using appropriately selected screws.
Secure
Depending on the construction of your home, your walls may be made of solid brick, stone, or wood. However, if your home was built with wall studs, it is important to locate them when securing the cabinet to the wall.
A stud finder can easily locate wall studs. However, there are multiple ways to find their location without this handy device. These techniques involve the knock test, using a magnet, measuring from a corner location, or using switchplates and windows as a guide.
Trim & Optional Molding
Once your cabinet is safely in place, you will need to trim the edges properly. These trim pieces typically added along the side edges and across the top and bottom of the cabinet, are used to create a more seamless and finished face frame, secured into place with wood glue and nails.
Depending on the height of your cabinet, you may have the space available to add a decorative crown molding to the top of the structure. There are many helpful and informative cutting guides available online to guide you through the steps of correctly cutting the pieces to fit your cabinet in a stylish and pleasing way.
Most crown moldings can be securely installed using wood glue and strategically placed nails. Rope in an extra pair of hands to hold it in place to guarantee it is connected correctly.
Door & Shelves
One of the most effective and straightforward ways to install a cabinet door is using inset, frameless European door hinges. Not only are they less expensive than face frame inset hinges, but they are much easier to find at your local hardware store.
Many experts strongly recommend installing magnetic door catches at the top and bottom of the cabinet to prevent the door from swinging inwards once attached, which can happen with these particular inset hinges. Ensure the hinges are properly adjusted to guarantee even door gaps all around.
When installing shelves, it is very likely that you will not be able to find a size that perfectly fits your cabinet. Regardless of where you get the wood used to create your shelves, they must be properly measured and cut to a uniform size. When measuring the placement of your shelf pegs, it is crucial to start with one side first, marking 1 inch from the back of the cabinet and 1 inch from the front to ensure your shelf is level.
Repeat this process on the other wall before drilling your four holes to place your pegs in the marks you have made. Once the pegs have been installed, your shelve should slide into the cabinet snugly and securely, resting on the pegs.
Prep, Prime, Paint
The final step of your built-in cabinet installation is perfecting the final details to ensure a beautiful paint job and overall finish. This can be done by caulking the cabinet to achieve a smooth finish on the cabinet door, which will significantly enhance the overall look.
Additionally, it is important to fill any nail holes with spackle before priming the entire structure and moving on to painting. Priming is a crucial step to hide any unwanted stains on your wood and prevent discoloration once the color has been applied. It is vital to prime bare wood to avoid an uneven finish.
Rethinking The Future (RTF) is a Global Platform for Architecture and Design. RTF through more than 100 countries around the world provides an interactive platform of highest standard acknowledging the projects among creative and influential industry professionals.
We use cookies to ensure that we give you the best experience on our website. If you continue to use this site we will assume that you are happy with it.