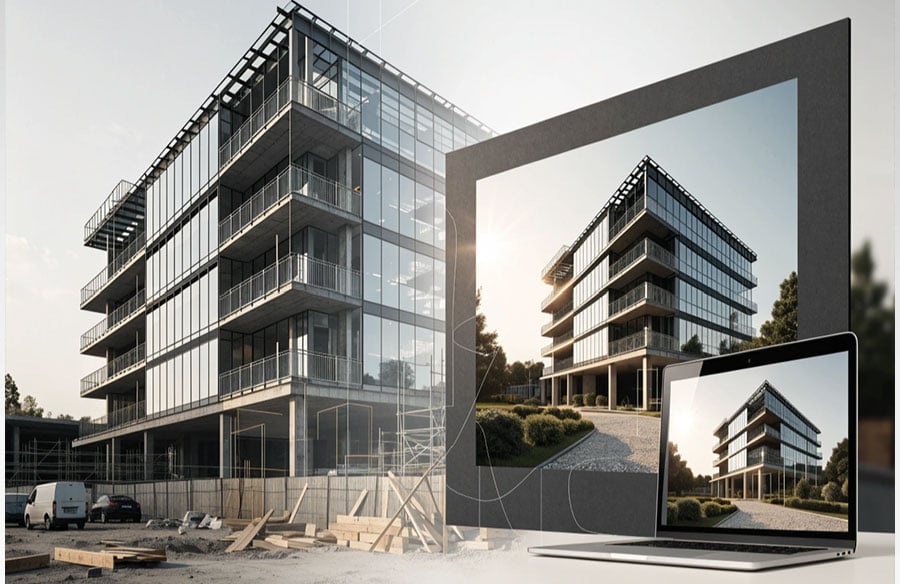
Architecture presentations rely heavily on visual communication, and the gap between a raw site photo and a polished presentation image has traditionally required significant time in specialized editing software. A growing category of free photo editor AI tools has started to close that gap, offering architects, students, and small firms a faster way to clean up, enhance, and prepare site photography for client presentations, portfolios, and design documents. This article looks at where these tools fit into an architectural workflow, what they can realistically handle, and where their limits still show.
Why Photo Editing Matters in Architectural Work
Site photography plays a role at nearly every stage of an architectural project. Early site visits produce reference photos used for context and analysis. Construction progress is documented through ongoing photo records. Finished projects are photographed for portfolios, award submissions, and marketing materials. In each case, raw photos rarely arrive ready for presentation as they are.
Common issues include uneven lighting from outdoor shooting conditions, distracting background elements such as parked cars, construction equipment, or passersby, perspective distortion from wide angle lenses, and general color inconsistency across a set of photos taken at different times of day. Addressing these issues traditionally meant manual work in software like Photoshop, which, while powerful, takes real time and skill to use effectively.
Where AI Based Editing Fits Into the Workflow
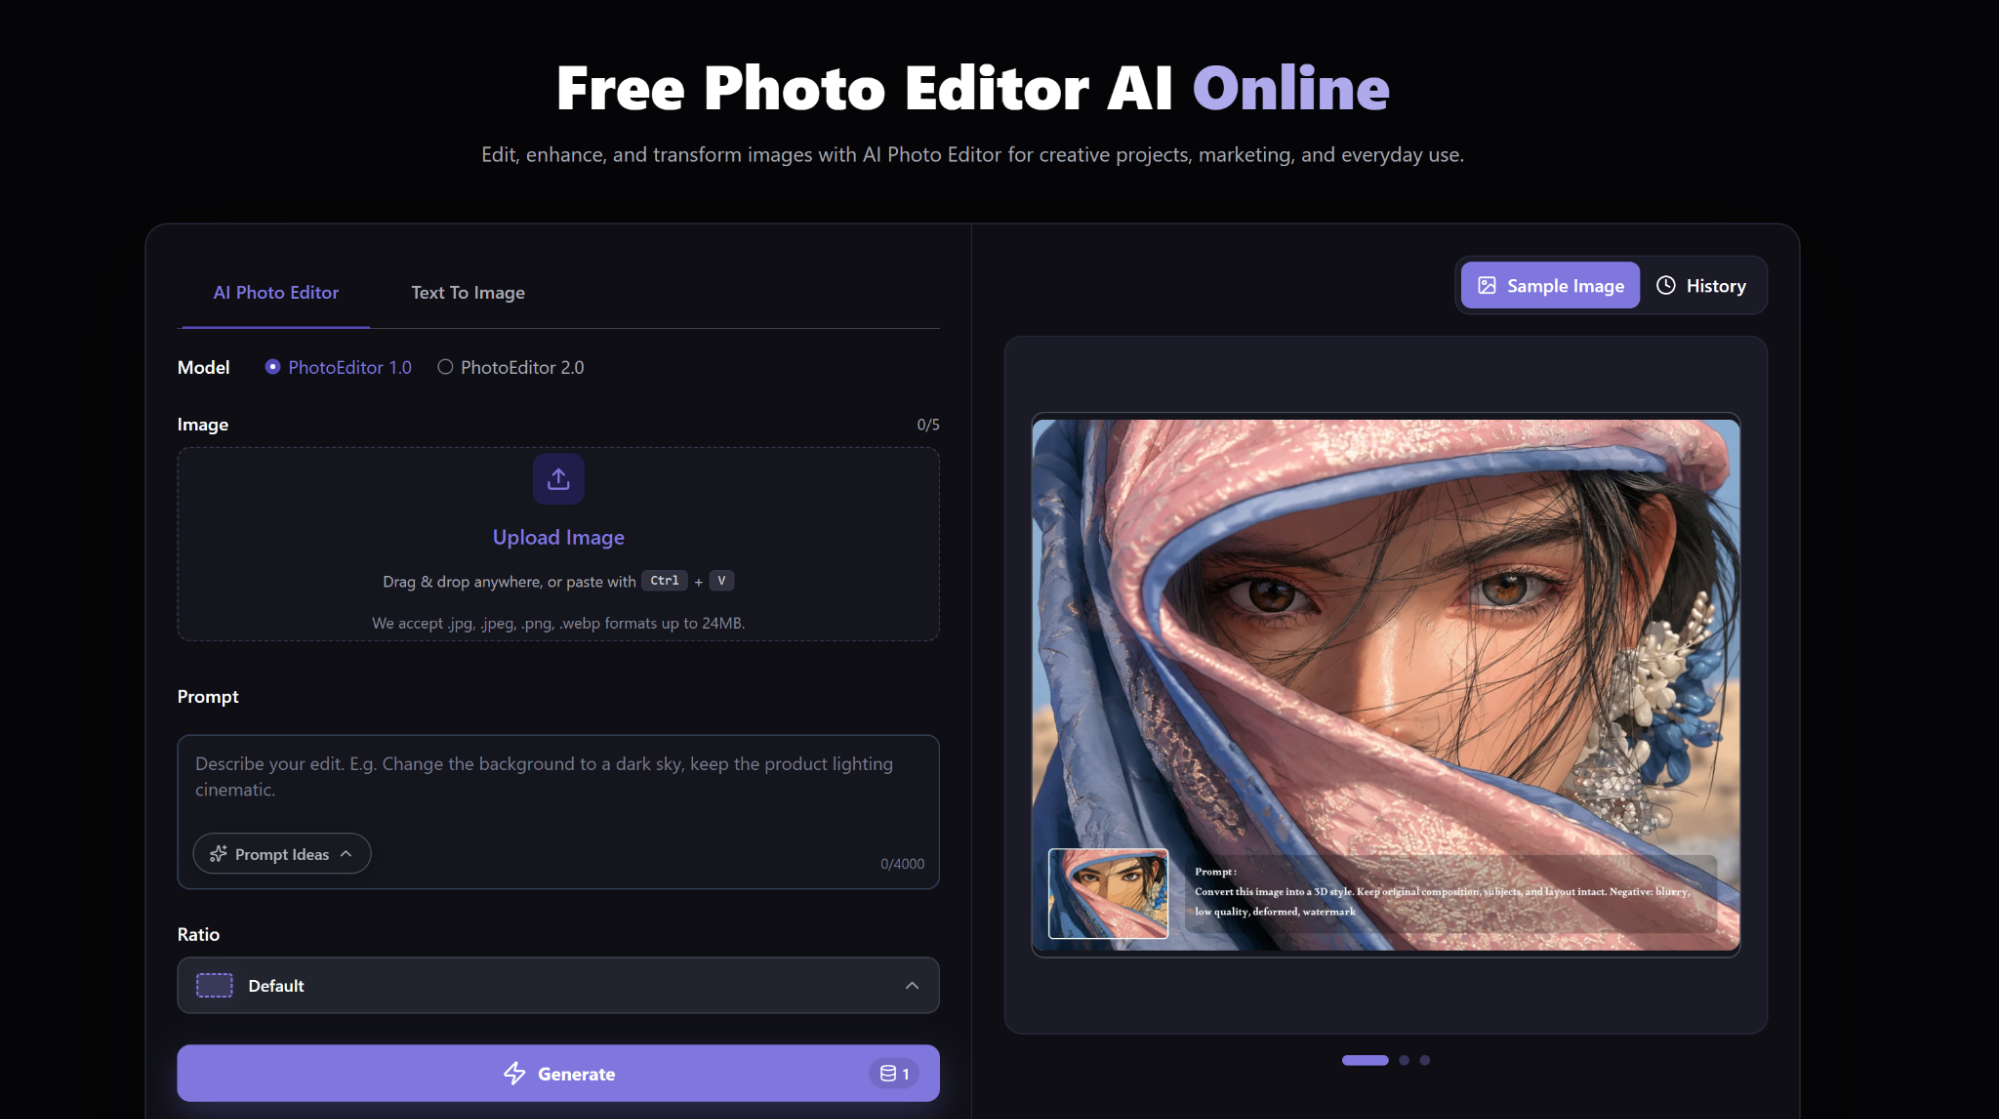
A free photo editor AI tool typically automates or significantly speeds up several of these correction tasks, using trained models to handle adjustments that once required manual masking, cloning, or careful manual color grading.
Background cleanup. Many tools can automatically detect and remove distracting elements from a photo, such as cars, pedestrians, or temporary construction materials, without requiring the user to manually select and mask each object.
Lighting and exposure correction. AI based adjustment tools can automatically balance exposure and shadow detail across a photo, which is particularly useful for site photos taken under harsh midday sun or uneven cloud cover.
Perspective correction. Wide angle site photography often introduces distortion, particularly noticeable in straight architectural lines that appear to bend or converge unnaturally. Automated perspective correction tools can straighten these lines with far less manual adjustment than traditional methods.
Sky replacement. For exterior renders and presentation photography, replacing a dull or overcast sky with a clearer one is a common request, and many AI tools handle this automatically by detecting the sky region and blending in a replacement seamlessly.
Color and style consistency. When compiling a portfolio or presentation from photos taken across different site visits, AI based color matching can help unify the overall look, so images do not appear visually disconnected from one another.
A Typical Workflow From Site Visit to Presentation
Step one: capture. Site photography is taken during visits, ideally with attention to composition and lighting, even though later editing can correct many common issues.
Step two: initial review. Photos are reviewed and sorted, selecting the images that best represent the site conditions, design intent, or finished project relevant to the presentation.
Step three: cleanup. Distracting elements are removed using automated background cleanup tools, streamlining what would otherwise be a time consuming manual masking process.
Step four: correction. Lighting, exposure, and perspective distortion are adjusted, often automatically, to bring the image closer to a polished, presentation ready state.
Step five: stylistic adjustment. Sky replacement, color grading, or other stylistic enhancements are applied where appropriate, particularly for exterior shots intended for external audiences such as clients or award juries.
Step six: final assembly. Edited images are compiled into the final presentation format, whether that is a slide deck, printed board, or digital portfolio.
Automated tools primarily accelerate steps three through five, reducing tasks that once took considerable manual effort down to a much shorter process.
What These Tools Handle Well
Free photo editor AI tools tend to perform reliably on a number of common architectural editing tasks. Removing small, clearly defined distracting objects from an otherwise clean background usually works well, particularly for isolated elements like a single parked car or a stray piece of equipment. General exposure balancing across an entire image is typically handled effectively, especially for photos with uneven but not extreme lighting conditions. Basic perspective correction for moderate distortion produces noticeably straighter lines with minimal manual adjustment required afterward. Sky replacement on relatively clear, well defined skylines tends to blend convincingly, particularly for typical daytime exterior shots.
Where Manual Editing Is Still Often Needed
Despite steady improvement, a few situations still tend to require manual intervention or at least careful review of automated results. Cluttered scenes with many overlapping distracting elements, such as a busy urban street with multiple vehicles, signage, and pedestrians, are harder for automated tools to clean up completely without leaving visible artifacts.
 Complex reflective surfaces, such as extensive glass facades, can confuse automated lighting and sky replacement tools, sometimes producing unnatural reflections or blending errors. Highly stylized presentation requirements, where a very specific artistic look is needed rather than a natural correction, often still benefit from manual adjustment in traditional editing software. Fine architectural detail, such as intricate facade patterns or thin structural elements near a removed background object, can sometimes be blurred or distorted during automated cleanup and may need manual touch up afterward.
Free Versus Paid Options
Many available tools offer a free tier alongside paid plans, and understanding the difference helps set realistic expectations for a given project. Free tiers commonly include a limited number of edits per day or month, lower resolution output compared to paid versions, watermarking on exported images in some cases, and a reduced set of available editing tools compared to the full paid offering.
For students, small firms, or occasional use, a free tier is often sufficient for portfolio work, competition submissions, or internal presentations. For firms handling large volumes of imagery on a regular basis, particularly for client facing marketing material, a paid plan often becomes worthwhile simply due to higher resolution output, fewer restrictions, and faster processing at scale.
Practical Tips for Better Results
A few habits improve the quality of results when using these tools for architectural photography specifically. Capturing photos with reasonably even lighting to begin with reduces how much correction is needed later, even though many tools can handle some degree of unevenness automatically. Taking photos from multiple angles during a site visit provides more usable options later, since not every angle will edit equally well. Reviewing automated edits carefully before finalizing a presentation, particularly around fine architectural detail near edited areas, helps catch subtle artifacts that might otherwise go unnoticed until printed or presented. Keeping a consistent editing style across a full set of presentation images helps the final result feel cohesive, rather than treating each photo as an isolated edit.
Final Thoughts
The role of free photo editor AI tools in architectural work is less about replacing traditional editing skills entirely and more about significantly reducing the time required for routine corrections that once demanded considerable manual effort. From cleaning up distracting site elements to balancing lighting and correcting perspective, these tools have become a practical part of turning raw site photography into presentation ready material. Understanding both their current strengths and their remaining limitations makes it easier to use them effectively, reserving manual editing time for the situations where it genuinely adds value.