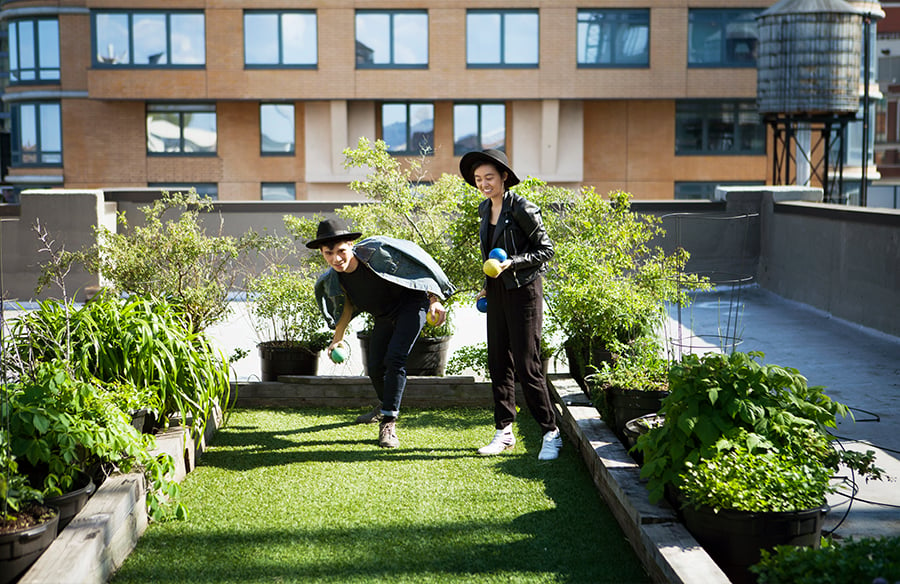
Rooftop terrace design is shaped by constraints that never apply at ground level. The structure has limits that only an engineer can state, everything has to travel through the building to get there, water has to leave without harming the roof, and the wind is stronger than anything at street level. The best roof terraces are designed around those constraints from the first sketch, not discovered on installation day.
START WITH THE STRUCTURE
Only the building’s engineer of record can say what a roof can carry, and the allowance varies widely between a standard roof and one built to support a green roof. The engineer needs real numbers, and the number that matters is the planted weight: planter, saturated soil, plants and water together. An empty planter is a small part of that total; wet soil is most of it.
Saturated soil weight depends on the mix, so take it from the soil supplier’s data for the product being specified rather than from a rule of thumb. Planters also concentrate their load where they stand, so ask the engineer early where heavy elements can sit. In rooftop terrace design, the layout follows the structure, not the other way round.
PLAN THE ROUTE BEFORE THE LAYOUT
Every element on a roof has to get there. Measure the tightest point between the delivery vehicle and the final position: the diagonal of the lift car, the turns at stair landings, the clear opening of the roof hatch. A planter that clears the lift but not the hatch has to be craned, and a crane changes a budget, not a line item.
Delivery method matters as much as dimensions. Smaller planters often ship as parcels that can be carried by hand, while larger ones usually arrive as palletized freight, which needs a loading dock, forklift or similar equipment to unload. Plan for the return trip as well: planters get replaced, rearranged and moved for membrane inspections.
DRAINAGE AND PROTECTING THE ROOF
Water is the quiet risk on any roof garden. Every planter needs a defined route for its water: where it leaves the container, where it goes next, and how the waterproofing beneath is protected. Coordinate that detail with the roofing contractor.
Specify the drainage holes themselves, not just “drainage.” As a reference point, the manufacturer Jay Scotts recommends 1 to 2 inch holes for every 12 inches of planter, so a 60-inch planter needs at least four to five. Holes made to the manufacturer’s guidelines are the safer route; Jay Scotts does not cover damage from holes drilled outside them.
For the fill, a reliable build-up is landscape fabric on the base, a lightweight drainage layer of rinsed gravel or lava rock, a second layer of fabric, then the growing mix, with the root ball set 1 to 3 inches below the rim. In freezing climates drainage matters even more, because water trapped inside a planter can freeze and expand.
DESIGN FOR WIND
Exposure increases with height, and the edges and corners of a roof see the strongest gusts. Tall, narrow planters in exposed positions deserve the most scrutiny: their planted mass, center of gravity and any restraint they need are questions for the engineer rather than the catalogue. Low, wide forms are the easier starting point on an open deck, with taller elements kept to sheltered positions.
CHOOSING PLANTERS FOR A ROOFTOP TERRACE
Material choice follows from everything above.
Concrete and cast stone are heavy and stable, but hard to move once placed, and porous mixes can be damaged when absorbed water freezes.
Metal gives crisp detailing but can heat the root zone on a sunny exposure.
Timber is warm and easy to work, but needs ongoing maintenance outdoors.
Fiberglass is much easier to move than concrete, and because it is non-porous, the freeze risk comes from water trapped inside rather than water absorbed by the walls. Jay Scotts describes its fiberglass planters as frost-resistant and finishes them with an automotive-grade, UV-resistant paint.
Choose the delivery method alongside the design. Suppliers that publish weight and shipping method per size make the access check quick; the rooftop planters at Serene Yards, for example, list the packaged weight and delivery method for each size.
PLANTING AT HEIGHT
Match soil depth to what each plant actually needs, because every extra inch of depth is extra weight on the roof. Where possible, reduce soil volume: some planters offer internal shelves set below the rim so a nursery pot can sit high instead of on a full column of soil. Sun and wind dry containers quickly at height, so plan watering access from the start rather than retrofitting it.
MAINTENANCE
Keep drains and planter bases reachable for inspection, and hand the cleaning guidance to whoever maintains the terrace. For painted fiberglass finishes, manufacturer guidance rules out bleach solutions, power washing, steel wool and abrasives.
A ROOFTOP TERRACE DESIGN CHECKLIST
- Structure confirmed with the planted weight, not the empty weight.
- Delivery route measured, from vehicle to final position.
- Drainage route and membrane protection detailed.
- Wind exposure reviewed for every tall element.
- Planter material and delivery method chosen together.
- Planting depth and watering planned.
- Maintenance access kept clear.
A roof terrace rewards the same discipline as the building beneath it. Designed around its constraints, it becomes one of the most valuable spaces a building has.