
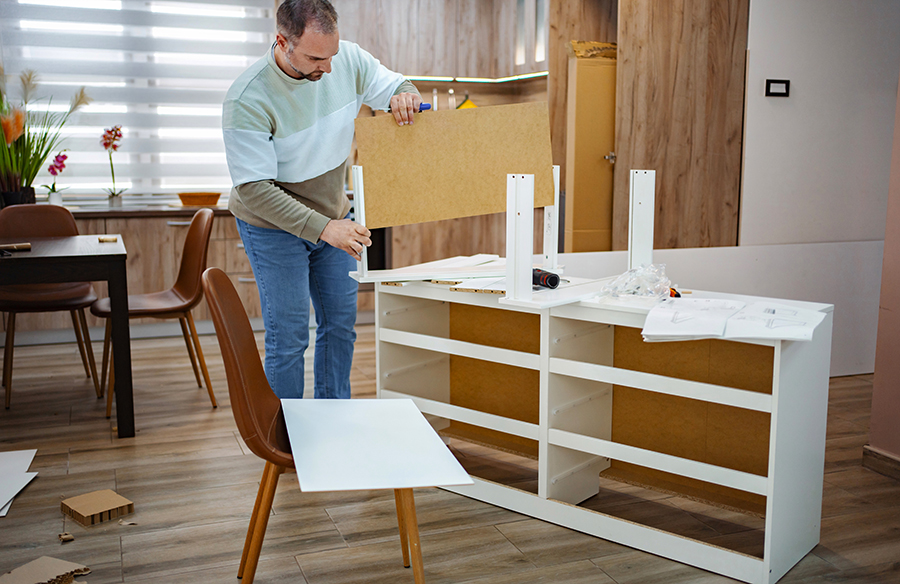
Custom cabinetry, wall-to-wall bookcases, fitted wardrobes, and integrated entertainment centers add incredible functionality to a home. However, when planning a room overhaul or whole-home renovation, removing built-in furniture presents a unique set of challenges compared to clearing out freestanding couches or tables. Because built-ins are directly anchored to structural studs, subflooring, and sheetrock, taking them down requires deliberate planning to protect your home’s structural integrity and keep your workspace safe.
Executing a systematic tear-down process ensures that heavy materials come down efficiently without causing secondary damage to surrounding walls or flooring. Coordinating your project with a specialized dumpster rental service provides an immediate, heavy-duty collection point on-site, allowing you to load bulky timber, heavy countertops, and sharp hardware safely as you dismantle each room.
1. Inspect Anchors and Identify Hidden Utilities
Before swinging a hammer or prying a single panel loose, conduct a thorough physical inspection of the built-in unit. Built-ins are rarely simple wooden boxes; they frequently conceal hidden infrastructure like electrical conduits, low-voltage wiring for accent lighting, plumbing supply lines behind wet bars, or HVAC ductwork.
Cutting blindly into these hidden systems turns a minor room refresh into an expensive emergency repair. Kill the electrical power to the room at the main breaker box before starting work. Run an electronic stud finder and a non-contact voltage tester along the interior and rear walls of the unit. Open every cabinet door to check for hidden junction boxes or plumbing access panels before applying any leverage to the frame.
2. Gather Essential Safety Gear and Demolition Tools
Dismantling age-hardened lumber and composite panels generates heavy debris, airborne dust, and sharp hazards. Attempting to tear down built-ins with basic household tools increases the risk of personal injury and slows down project momentum.
Older structural fasteners, rusted wood screws, thick nails, and shattered laminate can cause sharp flying debris or deep puncture wounds during removal. Gear up with heavy-duty leather work gloves, impact-resistant safety goggles, steel-toe boots, and an N95 dust mask to guard against airborne sawdust and mold spores that accumulate behind fixed wall panels. Equipping yourself with a flat pry bar, a variable-speed cordless drill with multiple driver bits, a sturdy claw hammer, and a reciprocating saw with demolition blades allows you to work systematically and safely.
3. Disassemble the Structure in Reverse Order of Installation
The cardinal rule of structural demolition is to dismantle pieces in the exact opposite order from how they were originally installed. Attempting to tear out a full entertainment center or floor-to-ceiling unit in large, intact sections creates an unpredictable hazard zone.
Pulling a heavy base cabinet out while the top shelving or crown molding remains anchored above can cause overhead sections to collapse unexpectedly onto your workspace. Start by clearing out all loose or adjustable interior shelves. Next, unscrew cabinet doors from their hinges and remove all drawers. Gently pop off decorative crown trim, baseboards, and face frames using a thin putty knife and flat pry bar to expose the main structural framing. Once the cosmetic trim is cleared, locate the primary wall screws securing the unit to the studs and back them out using your drill. Always work from top to bottom, removing upper wall units completely before dismantling base cabinets.
4. Break Down Bulk Materials into Manageable Sections
Once the built-in components are detached from the walls, you are left with massive, awkward timber sections, heavy plywood sheets, and brittle particle boards. Carrying oversized, 8-foot wooden panels or broad countertop slabs through narrow hallways creates a high risk of gouging sheetrock, scratching hardwood floors, or causing personal back strain.
Use a circular saw or reciprocating saw to cut long wooden face frames, heavy plywood backs, and framing studs into uniform, 3- to 4-foot lengths directly inside the project room. Smaller, lighter wooden pieces are infinitely easier to carry, stack evenly, and maneuver around tight hallway turns without damaging surrounding finished walls.
5. Manage Fasteners, Glass, and Composite Materials
Built-in furniture contains a wide variety of mixed materials, including tempered glass shelf inserts, mirror backings, heavy iron hardware, and hundreds of exposed nails or construction screws. Loose nails protruding from splintered wood create severe puncture hazards on the job site, while broken glass can easily slice through standard trash bags and cause severe cuts during transport.
As you pull wooden framing apart, immediately hammer down protruding nail points or back out exposed screws. Place all small metal hardware, hinges, and loose brackets into a dedicated bucket so they do not end up underfoot. If the unit features glass cabinet doors or mirror backings, apply crisscross strips of heavy painter’s tape across the entire surface before removal. This simple precaution prevents the glass from shattering into hazardous shards if it accidentally cracks during handling.
6. Maintain a Clear, Hazard-Free Staging Path
A successful demolition relies on keeping pathways clear between the workspace and your primary waste container. Accumulated trash underfoot is a leading cause of job site slips, trips, and falls during residential remodels.
Piling heavy, splintered wood, drywall dust, and metal trim inside a room quickly creates a chaotic workspace that hampers movement and hides floor hazards. Clear debris continuously as you complete each phase of the teardown rather than waiting until the end of the day. Carry broken-down wood sections directly out to your staged roll-off container immediately. Having dedicated, accessible waste disposal on-site keeps your interior floor space clear, allowing you to maintain sure footing and keep the project moving forward at a steady, efficient pace.
Removing built-in furniture takes a bit more care than moving standard household items, but taking a systematic approach keeps the job safe and efficient. By inspecting walls for hidden utilities, tearing structures down in reverse order, and breaking materials into manageable pieces, you protect your home’s structure while avoiding unnecessary injury. Paired with a reliable waste disposal setup, clearing out old cabinetry and custom wood units clears the way for a smooth, stress-free room transformation.