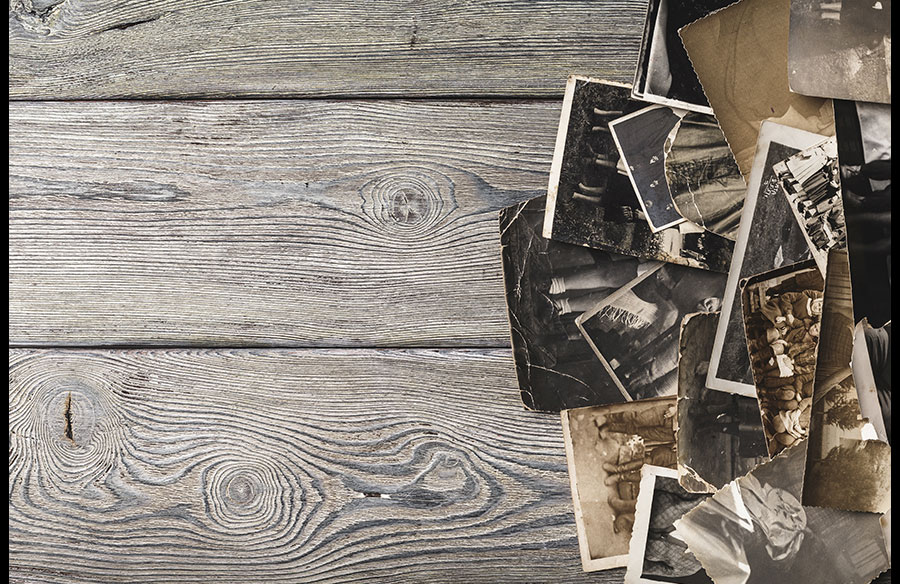
Old black-and-white photos usually tell the strongest family stories, but feel like very long-ago things to us, if we didn’t actually experience those moments. Your great-grandparents in a black-and-white picture; your old street when you were a child; the photograph of your grandparents’ wedding in an older era. Each can seem meaningful, but they’re hard to understand without color. That’s why it is important to know how to colorize old photos.
AI-based photo editing software with colorization tools makes this task accessible even to inexperienced and casual photographers. It studies light, contrast, faces, clothes, and objects, then adds natural-looking color based on visual patterns. It is a new way to notice small details that were easy to miss before, such as the warmth of skin, the texture of a dress, or the mood of an old room.
In this article, we will show photographers a simple workflow for restoring old images using Luminar Neo as an example. With these recommendations, you will keep the original mood and emotional value of your precious memories.
When AI Colorization Works Best
The AI colorization feature works best with photos where the primary subject is easily identifiable. Straightforward family portraits, wedding photos, school portraits, and military portraits often allow the AI colorization feature to generate an acceptable and natural result.
Prioritize pictures with simple backgrounds and clear contrasts. They help AI separate details more accurately and add color with fewer strange patches.
Bringing Photos Back To Life Step by Step
Step 1: Prepare Your Image
Ensure your old photo is clean and easy to read by your photo editor. If the photo is faded, dusty, or scanned in poor quality, the tool may misread faces, clothes, or small details.
Make the most high-resolution digital copy possible, at least 300 DPI. If you do not have a scanner, retake a photo, ensuring it is clear and well-lit. Remove dust, scratches, and creases before deeper restoration work.
Before colorizing old photos, keep the original file. Crop away any blank borders, align the frame correctly, and repair the worst of the damage. Use the Erase tool in Luminar Neo to remove small spots, or the Clone tool to repair larger scratches or stains. The Develop tool in Luminar Neo can also be used to make subtle contrast corrections on faded images. Careful contrast adjustments provide AI with a clean image to use for a realistic colorization.
Step 2: Run the AI Colorization and Check the Initial Result
Once the image is clean enough, move to the color stage. In Luminar Neo, you can use AI-powered tools to colorize a photo and create a more natural base for further work.
View the entire image before making adjustments to any element. Start with the face, because the skin tone is what usually determines whether the image will look natural. Then adjust the clothes, hair, furniture, sky, and walls. If any area seems overly bright, cancel the adjustment and reapply it at a reduced opacity.
Understanding how to color old photos means finding a balance. You should aim at making your image look more vivid, but not artificial or too modern. AI can bring back a warm sense of life, but it may not know the real color of a dress, a car, or a room. Use family memories, old objects, or similar photos as references when possible. Small manual corrections will make the final results more personalized.
Step 3: Adjust the Colors
Old images often look more believable when the colors stay soft. Consider selective desaturation and/or presets in calmer tones. Start with the people in the photo. Skin should look warm and realistic, not orange, pink, or flat. Ensure the clothes and surroundings support the main subject rather than stealing attention from it.
Modify the lighting. Keep shadows where they enhance the image’s realism. Do not brighten every dark area, because old photos often need some contrast to keep their depth.
Step 4: Repair the Details
Remove spots on faces, deep scratches across important objects, or stains that pull attention away from the subject. Keep the textures unaffected if you can. Then adjust clarity carefully. Add a little sharpness to the eyes, hair, clothing, or architectural details. Avoid heavy sharpening on the skin, as it will ruin the authentic appeal.
Apply a subtle noise reduction to make your image easier to view. Do not try to eliminate every sign of grain or fading. You don’t need to create an illusion that the picture was taken today. Your real goal is to make the precious memory easier to identify; that’s it.
Conclusion
AI colorization breathes new life into cherished black-and-white photographs, making them more relatable and emotionally resonant for modern viewers. By utilizing accessible tools and techniques, anyone can transform faded memories into vibrant representations of the past, preserving their significance for future generations.