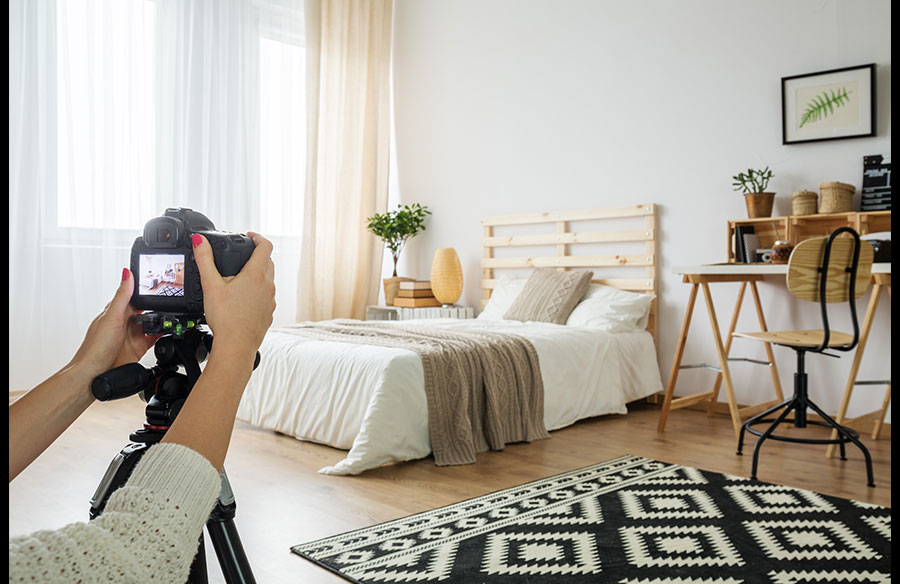
The deciding factor for a buyer browsing properties online is often what the pictures show. You can have a beautiful, spacious, or convenient house, but without some impressive photos, it will not draw the potential buyer from one page to the next to get a look at the rest of the listing.
You do not need to be a professional photographer to create more appealing results. Understanding how to take real estate photos begins with putting yourself in your buyers’ place and giving them what they want to see. They want space, light, condition, layout, and small details that help them imagine daily life inside the home.
In this guide, we explain how to shoot real estate photography that looks appealing yet trustworthy. You will learn how to prepare rooms, choose better angles, work with light, and post-process your shots to create polished and catchy listings.
Step 1: Prepare the Rooms
A clean room appears larger, brighter, and more expensive, and doesn’t require any tricks. Before you begin taking photos, walk through the house as a stranger would. What makes your eye want to stray from the room? Eliminate these elements.
Wipe down the kitchen surfaces, bathroom basins, bedside tables, and desks. Smooth out all the duvet covers, plump the cushions, fold the blankets, and wipe the mirrors. Buyers are looking to see themselves in the space, not your lives.
Little neutral elements can assist: Fresh towel in the bathroom, basic vase on the dining table, new pillows on the sofa-things that show a level of care and not an unfeeling, “too perfect” showroom.
Step 2: Work with Light
Open curtains and blinds to bring in natural brightness. If the sun creates strong, bright spots on the floor or furniture, wait until the light becomes calmer.
Turn on lamps only when the room still feels too dark. Avoid mixing too many strong light sources. It will lead to uneven illumination and inconsistent colors, and you will have to spend more time addressing these issues after the shoot in your real estate photo editing software. Take one test shot, check the screen, and adjust before continuing.
Walk through the house at various points of the day. The bedroom might be at its finest in the morning, and the living room after lunch feels cozy and inviting. Real estate photography tips note that a dimly lit room looks smaller. In contrast, a properly lit room allows one to see the flooring, wall color, windows, storage, and dimensions without having to imagine them. The more detail they retain, the more ready the viewer becomes to invest.
Step 3: Choose Angles
Photography for real estate gives buyers a visual of what they are getting; you are not selling them a dream, but something real and tangible. The photograph should not be the most striking possible image; layout is the most important feature.
Stand near a doorway or in a corner, then look for an angle that includes two walls. This trick provides more space and helps viewers understand the room’s actual size. Hold the camera straight, not tilted up or down. Crooked walls and leaning windows distort and mislead.
Shoot from chest height or slightly lower. It will help you represent the furniture’s proportions in real life. The same works for doors and windows. Avoid extreme wide angles, especially in small rooms. They may make the space look larger online, but buyers will notice the difference during a visit.
Take a few versions of each room. Try one wider shot to show the full space, then one closer shot to highlight a useful detail, such as built-in shelves, a fireplace, or a sunny breakfast corner. It will make your listing more compelling and motivate further exploration.
Step 4: Polish the Final Images
Good post-processing can make listing photos look cleaner and more professional. Still, the hoe must look real. Buyers may lose trust if they visit the property and find darker rooms, smaller spaces, or wall colors that differ from what they expected from the photos.
Begin with subtle global corrections. Brighten shadows a little so corners, floors, and furniture are easier to see. Keep the result natural. If white walls look yellow from indoor bulbs or blue from window light, adjust the white balance accordingly.
Tilted door frames, leaning windows, and uneven walls can make a photo feel rushed. Use a simple straightening tool to stabilize vertical lines.
As for cleaning up, it is possible as long as you don’t eliminate something that potential buyers should be aware of. A cable on the floor, a small mark on a mirror, or a forgotten bag in the corner can be cleaned up. Do not remove permanent features, damage, outlets, neighboring buildings, or other things that they will notice once they come to see the house in real life.
Conclusion
Real estate photos require the right amounts of trust, truth, and appeal. You do not need to over-polish your pictures, nor do you need to show images of a perfect home; show a clean, bright, and truthful space that you would want to visit yourself. Clean, bright, and honest will go a very long way with the buyer.