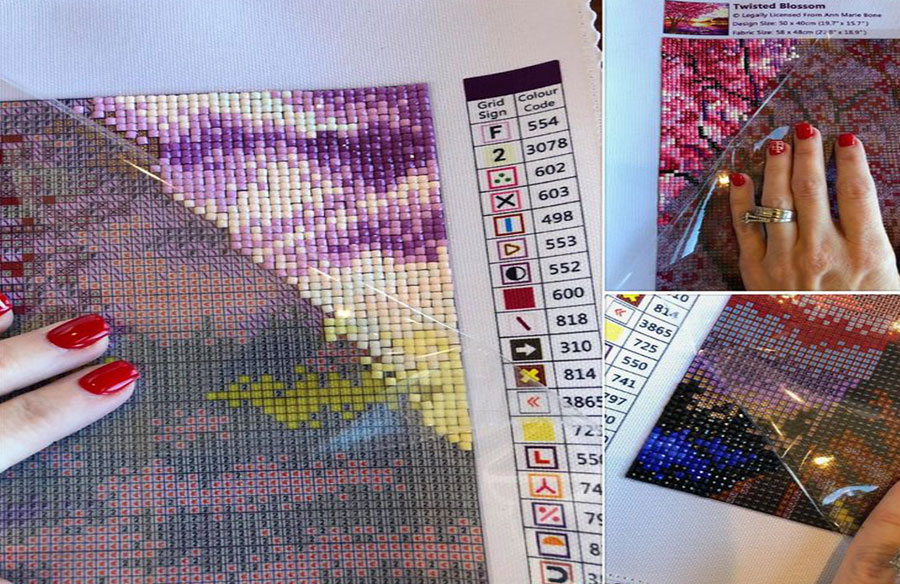
Diamond painting is a calming, creative escape that rewards you with a sparkling masterpiece. But when problems strike, such as a wrinkled canvas, missing gems, or weak adhesive, that joy can quickly turn into frustration.
The good news is that you can fix such common issues easily with simple tools and tricks. In this guide, you will discover practical, step-by-step solutions to restore your diamond art painting.
Whether you are dealing with loose diamonds or looking to seal and protect your finished piece, we have you covered. Let us help you return your artwork to its full, dazzling glory.
Signs That Show Your Diamond Painting is Damaged
Before you start repairing, it is essential to assess the issues.
- Folded or Wrinkled Canvas: These often happen during shipping or improper storage.
- Missing or Loose Drills: A common issue is whether the adhesive wears out or the drills are not fully pressed.
- Dust, Hair, or Spills: Static can attract debris, or you may accidentally spill water or snacks on your artwork.
- Peeled Adhesive or Bubbles: Exposure to air or rough handling can cause the adhesive to lift.
- Warped or Torn Canvas: Usually caused by folding, bending, or rough treatment.
Easy Fixes for the Most Common Diamond Painting Problems
These common issues have simple, effective fixes that can get your project back on track quickly. Let us explore the easiest solutions to the most frequent diamond painting problems.
Fixing Folded or Wrinkled Canvas
Place a clean piece of parchment paper over the wrinkled area. Set your iron to a low, dry-heat setting. Gently press on top of the parchment paper for a few seconds. Never iron directly on the sticky canvas.
Alternatively, you can flatten the canvas by placing heavy books or boards over it for 24 to 48 hours. This helps smooth out creases without any heat.
Resticking Areas That Lost Adhesion
Clean the affected area gently with a lint-free cloth. If the adhesive is no longer tacky, use double-sided tape, glue dots, or a precision adhesive pen.
Apply lightly to avoid overflow. Then, reattach the drills and roll over them with a brayer to ensure strong adhesion.
Cleaning Up Spills and Dirt
For light dust or hair, use a lint roller or a soft-bristled brush. If a spill occurs, blot the area immediately with a dry cloth. Avoid rubbing, which can spread moisture.
If necessary, wipe gently with a barely damp microfiber cloth and let it air dry thoroughly..
Reapplying Adhesive Sheets
If a large portion of the canvas has lost its stickiness, you can use double-sided adhesive sheets. Trim them to size, peel them, and apply them carefully.
Patching Torn Canvas
Cut a small piece of canvas or strong tape to place behind the tear. Align the canvas properly, then adhere the drills back on top. Use a lightbox to ensure correct placement.
Realigning Drills
If drills are misaligned due to wrinkling or bubbles, use a lightbox and a pair of tweezers to reposition them accurately.
How to Seal and Protect Your Diamond Painting After Repair
Once you have fixed any issues with your diamond painting, it is time to protect your hard work.
Simple Steps to Seal Your Painting:
- Make sure your canvas is clean, flat, and free of debris.
- Pick your sealer and apply it evenly across the surface—do not go overboard.
- Let it dry completely before you frame, hang, or move it.
Choosing the Right Sealer: Spray or Brush-On?
Both options work well—you just need to decide how strong you want the seal to be.
- Spray sealers are quick and mess-free. They are great for a light coat that still lets your diamonds sparkle.
- Brush-on sealers offer a stronger bond and help fill any small gaps between drills, locking everything in tightly.
Smart Tips to Prevent Damage in the Future
Now that you have repaired and sealed your diamond painting, it is just as important to keep it safe in the future.
Here are some smart tips to help you prevent damage and keep your masterpiece looking flawless.
- Always use the protective film when not working on your painting to keep out dust and debris.
- Store your diamond painting flat or rolled with the drills on the outside using a protective tube or folder.
- Use compartmentalized storage boxes to prevent drills from spilling or being lost—label them with a color code for quick access.
- Once sealed and completed, frame your diamond painting behind glass or in a shadow box to prevent damage from handling and the environment.
Final Thoughts
Repairing a damaged diamond painting may seem overwhelming, but it is entirely doable with the right tools and techniques.
Every issue has a practical solution, from fixing wrinkles and lost drills to sealing and storing your artwork.
Rather than discarding a damaged piece, give it a second life. Whether you are a beginner or an expert, your creative efforts deserve to shine.
Experience Premium Diamond Painting with Dreamer Designs
 Dreamer Designs offers premium diamond painting kits that empower you to explore your creativity, relieve stress, and proudly display your art. From hand-charted canvases to sparkling, eco-friendly diamonds, each kit is carefully curated to deliver a rewarding experience from start to finish.
Whether you are just beginning or are a seasoned diamond painter, you will find everything you need to craft with confidence. Order your kit today, start creating, and turn every canvas into a masterpiece with Dreamer Designs.