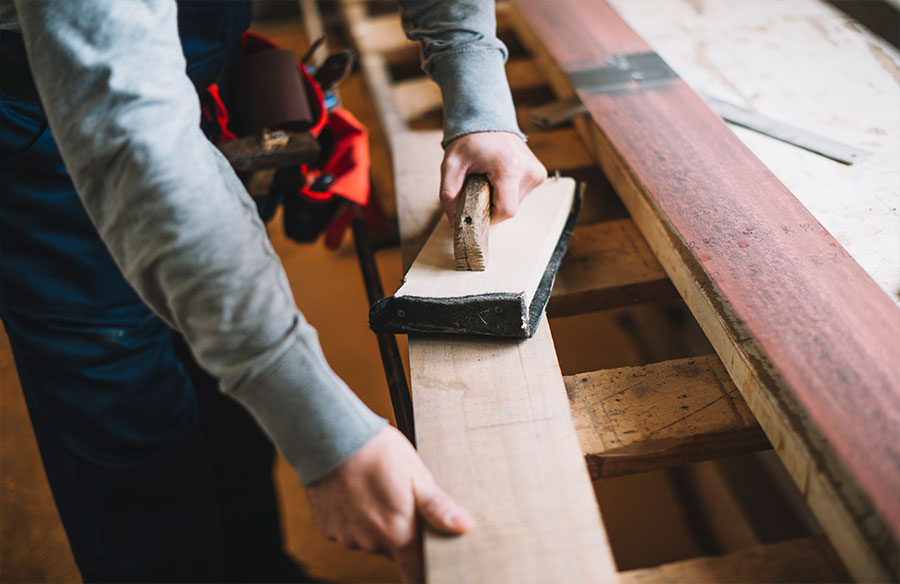
Wood floor sanding is essential for maintaining the aesthetic and durability of wooden floors. It’s not just about improving appearance; this process also prepares the floor for a fresh finish, enhancing its longevity. Whether tackling the job yourself or enlisting professional help, understanding the fundamentals is key. This knowledge ensures your floors not only look their best but also stand the test of time.
Choosing the Right Sanding Equipment: Tips and Tricks
In the dynamic and evolving world of home improvement and maintenance, one task stands out for its importance and technical requirements—wood floor sanding, especially in countries like Canada. The demand for wood floor sanding in Greater Vancouver is significantly high, reflecting a consistent trend in the region. Surveys and statistics from Vancouver indicate that a substantial number of homeowners with hardwood floors consider wood floor sanding and refinishing to be crucial maintenance tasks, usually necessary every 7 to 10 years. This trend highlights the ongoing requirement for skilled and high-quality wood floor sanding services.
For both seasoned professionals in the flooring industry and enthusiastic DIYers, selecting the right tools is paramount for the success of wood floor sanding projects. The correct choice of equipment not only influences the efficiency of the work but also the overall quality and longevity of the hardwood floors. To assist in this crucial decision-making process, here are essential considerations and tips for choosing the best sanding equipment for hardwood floors:
Type of Sander:
- Orbital Sanders: Best for fine, detailed work and smaller rooms. They are easy to control and great for beginners.
- Drum Sanders: Ideal for sanding large, open areas quickly. However, they can be more challenging to handle and are best suited for those with some experience in sanding.
- Belt Sanders: A middle ground between orbital and drum sanders, suitable for intermediate-sized rooms.
Sanding Pads and Grits:
- Start with a coarse grit (around 24-36) for rough surfaces or removing old finishes.
- Move to medium grit (40-60) for smoothing out the wood.
- Finish with fine grit (80-100) for a polished surface.
Dust Collection:
Opt for sanders with built-in dust collection systems to keep the workspace clean and reduce cleanup time.
Power Source and Portability:
Consider the power source (corded vs. battery-powered) and the weight of the machine for ease of use and mobility.
Step-by-Step Guide to Effective Sanding
Effective sanding is about precision and patience. Here’s a step-by-step guide:
- Room Preparation:
Remove all furniture and cover anything that can’t be moved with dust sheets.
Ensure good ventilation to manage dust.
- Initial Sanding:
Start with a coarse grit sandpaper to remove old varnish, stains, or damage.
Sand in the direction of the wood grain to avoid scratches.
Keep the sander moving to avoid uneven patches.
- Intermediate Sanding:
Switch to a medium grit sandpaper to start smoothing the surface.
Repeat the sanding process, covering the entire floor evenly.
- Final Sanding:
Use fine-grit sandpaper for the final pass.
This step is crucial for achieving a smooth, ready-to-finish surface.
- Cleaning Up:
Vacuum the floor thoroughly to remove all dust.
Wipe down with a damp cloth to pick up any residual dust.
- Inspection:
Look for any missed spots or uneven areas.
If necessary, repeat sanding in specific areas with fine grit paper.
Dust Management During Sanding: Best Practices
Managing dust while sanding wooden floors is crucial for both health and cleanliness. Here’s how to do it effectively:
- Use Dust Collection Tools: Attach dust bags or vacuum systems to your equipment. This can capture up to 90% of the dust generated.
- Seal the Area: Before you start, seal off the work area with plastic sheets. This prevents dust from spreading to other parts of your home.
- Regular Cleaning: Pause occasionally to clean up. This reduces the dust build-up and maintains air quality.
- Personal Protective Equipment: Always wear a dust mask and safety goggles. This protects you from inhaling dust particles and keeps your eyes safe.
Identifying Common Sanding Mistakes and How to Avoid Them
Avoiding common mistakes can save time and improve the quality of your work:
- Uneven Sanding: This occurs when you spend too much time on one spot. Keep the sander moving at a constant pace to avoid uneven surfaces.
- Not Using the Right Grit Sequence: Starting with a grit that’s too fine can make the job longer and less effective. Begin with coarser grits and gradually move to finer ones.
- Ignoring the Edges: Many forget to properly sand the edges of the room. Use an edge sander or hand sand these areas for a uniform finish.
- Skipping Safety Measures: Never underestimate the importance of safety glasses, masks, and hearing protection.
The Importance of Sanding for Floor Restoration
Sanding is crucial in rejuvenating floors:
- Removes Old Finishes: This process strips away worn varnish, stains, and damage, uncovering the underlying fresh wood.
- Smoothens the Surface: It tackles roughness, scratches, or dents, making the floor ready for new finishing.
- Enhances Wood Grain: Done correctly, it highlights the natural beauty of the wood’s patterns, boosting the floor’s aesthetic appeal.
- Increases Floor Longevity: By eliminating the damaged top layer, this method can significantly prolong the life of your wooden floors.
Selecting the Perfect Sandpaper Grit for Your Wooden Floor
Choosing the right sandpaper grit is essential for a successful sanding job:
- Coarse Grit (20-36): Ideal for removing old finishes and major imperfections. It’s the first step in the sanding process.
- Medium Grit (40-60): Used for smoothing out the roughness left by the coarse grit. It starts to polish the surface.
- Fine Grit (80-100): This is for finishing. It smoothens the floor to a fine finish, ready for staining or sealing.
- Extra Fine Grit (120-150): Sometimes used for the final pass, especially on floors where a very smooth finish is desired.
DIY vs. Professional Services: A Comparison
When it comes to sanding your wood floor, you have two main options: doing it yourself (DIY) or hiring professional services.
DIY Wood Floor Sanding:
Cost: Renting the equipment can cost around $120-$250 for a weekend. This includes sanders, edge sanders, and necessary abrasives.
Pros: It’s generally cheaper than hiring professionals. You have full control over the project, and it can be a rewarding DIY challenge.
Cons: It requires time, effort, and some level of skill. There’s also a risk of damaging the floor if done incorrectly.
Professional Services:
Cost: Professional sanding services typically charge between $3 to $10 per square foot. For an average-sized room (200 square feet), this would be around $600 to $2,000.
Pros: Professionals bring expertise and high-quality equipment, and they often complete the job more quickly and efficiently. They also handle the cleanup.
Cons: It’s more expensive than doing it yourself and requires scheduling around the service provider’s availability.
Finishing Touches After Sanding: Stains and Sealants
After sanding your wood floor, the next step is to apply stains and sealants.
Stains:
Cost: They range from $15 to $50 per quart. One quart can cover approximately 150 to 200 square feet.
Purpose: Stains enhance the natural beauty of the wood and come in various shades to match your decor.
Sealants:
Cost: Sealants cost about $25 to $80 per gallon, with one gallon covering around 200 to 300 square feet.
Purpose: They protect the wood from wear, moisture, and dirt, extending the life of your floor.
Maintaining Your Sanded Wood Floor: Long-Term Care Tips
Taking good care of your sanded wood floor is crucial to keep it looking awesome.
- Regular Cleaning: Sweep with a soft broom or vacuum to pick up dirt and small rocks. Stay away from water-based cleaners and use products made just for wood floors.
- Dealing with Spills: Wipe up spills right away to stop water damage. Use a barely wet cloth and then make sure the area is completely dry.
- Protective Measures: Put soft pads under furniture legs to avoid scratches. Don’t walk on the floor with sharp heels or heavy shoes.
- Periodic Maintenance: Think about getting a pro to add a new coat every 5–7 years, especially if the floor gets a lot of use. This usually costs between $1 and $5 for each square foot.
Final Thoughts
In summary, sanding your wood floors is a big deal that makes them look and last longer. It’s all about using the right tools and being careful. Whether you do it yourself or hire someone, doing it the right way can make your home look even nicer. After sanding, just stick to easy upkeep to keep your floors looking great.