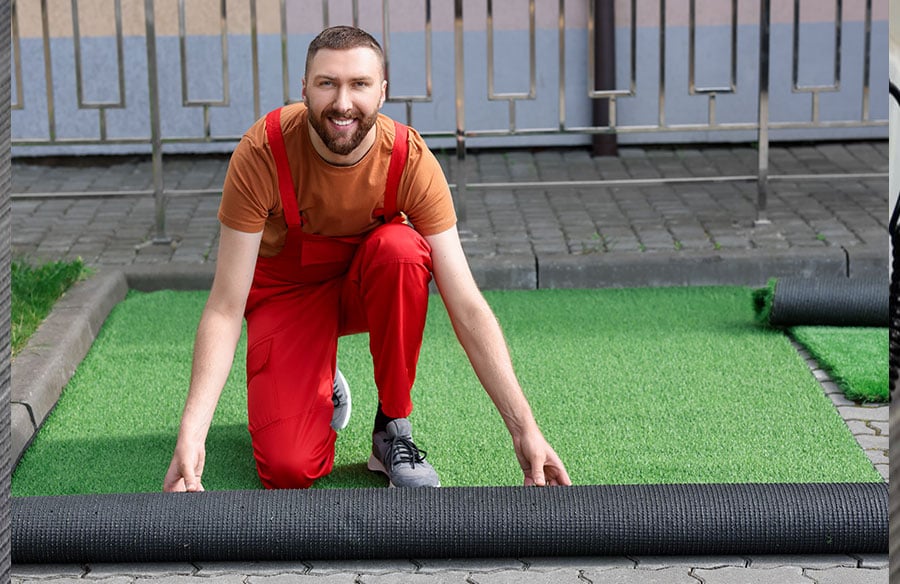
A synthetic lawn can look neat and feel comfortable for years, but only when the materials underneath and around it are chosen for the site. Cutting corners on preparation or joining products can lead to lifted edges, visible seams, uneven sections and water that does not drain as expected.
Whether you are installing turf in a backyard, on a balcony, around a pool or in a commercial area, the material list should match the surface and how the area will be used. This guide explains the main products needed to install synthetic turf properly and how each one supports a tidy, durable finish.
The integration of synthetic lawns into diverse environments, from private residences to public spaces, highlights a key aspect of contemporary design: the thoughtful selection of materials to define and enhance an area’s purpose. This choice impacts not only the visual appeal but also the long-term usability and maintenance profile of the built environment.
Prepare a Stable Base Before Laying Turf
The base is what gives synthetic turf a level, supported surface. If the ground is uneven, soft or poorly drained, the finished lawn may develop dips, movement or pooling water. Good preparation starts by removing unsuitable material, shaping the area and creating a stable surface for this surface.
The materials needed will vary between natural soil, concrete, paving and decking. A soil-based installation may need excavation, compactable base material and edging. A hard surface may need cleaning, repairs and a suitable method for securing the material without damaging the existing surface.
A typical base preparation list may include:
- Base material suited to the site
- Compaction equipment or access to compaction services
- Weed barrier where appropriate for the installation
- Edging or perimeter restraints
- Drainage materials where the site holds water
- A rake, shovel, measuring tape and straight edge
Take time to check levels before moving on. Small dips or high spots can become more obvious once the artificial grass is installed, especially in open areas where light falls across the surface.
Use Artificial Grass Adhesive for Secure Joins and Edges
Synthetic turf needs to stay flat and firmly joined at seams, edges and selected fixed points. Artificial grass adhesive can help secure the material where a reliable bond is needed, particularly when joining separate pieces or fixing it to a suitable hard surface.
The adhesive should be used on clean, dry and properly prepared surfaces. Dirt, loose debris, moisture or uneven contact can affect how well the product holds. Follow the product directions for application, working time and curing, and avoid opening the area to foot traffic before the adhesive has had time to set.
Where Adhesive May Be Needed
Adhesive is often used along joins, around fixed edges and in areas where the material may move during use. The exact placement depends on the installation surface and its layout.
Plan joins so they are less visible from main viewing areas. Make sure the pile direction of each section of artificial grass matches before applying adhesive. A mismatched pile direction can make a seam stand out even when the join itself is secure.
Achieving visual continuity in material application is a fundamental principle in architectural and landscape design. Just as a designer considers the grain of wood or the pattern of tiles, the subtle alignment of synthetic grass fibres ensures a cohesive and aesthetically pleasing surface that contributes to the overall design integrity of a space.
Add Kiln-Dried Sand for Support and Finish
Infill can support its fibres, add weight and help create a more natural-looking finish. Kiln-dried sand is commonly used as an infill material because it is dry and can be spread evenly across the surface.
The amount needed depends on the product, the installation area and the intended use of the space. Apply it evenly and brush it into its fibres in stages. Adding too much in one area can create an uneven surface, while too little may leave the fibres lying flat.
Apply Infill Evenly
Use a suitable brush or broom to work the sand down through its pile. Brush against the direction of the fibres where appropriate to lift them and help the infill settle into the base of the material.
Check the surface from different angles as you work. This can help you identify areas where the artificial grass looks flatter, lighter or less supported than the rest of the installation.
Choose Joining Tape and Edging That Suit the Layout
Joining tape provides a surface for adhesive when two pieces of the material need to be connected. It should sit flat beneath the seam and be wide enough to support both sides of the join. Keep its edges close together without overlapping or leaving a visible gap.
Edging helps hold its perimeter in place and creates a clean boundary between the lawn and nearby garden beds, paths or hard surfaces. The edging method should suit the site and leave no exposed sharp edges or loose sections.
Before cutting any of the material, map the layout and note:
- The pile direction
- The location of joins
- Doorways, drains and corners
- Curved garden edges or obstacles
- Areas that need secure perimeter fixing
- The position of any access points or service covers
Accurate measuring and careful cutting reduce waste and help the completed lawn look more consistent.
Keep Drainage and Water Flow in Mind
Synthetic turf needs a site that allows water to move away from the surface. Poor drainage can leave water sitting beneath the artificial grass, affect the base and create a less pleasant area to use after rain.
Inspect the area before installation. Look for existing low points, nearby downpipes, ground that stays wet and drainage channels that may need to remain accessible. If water already collects in the area, laying the material over the top will not solve the underlying issue.
A stable base and correct levels help direct water where it needs to go. If the site has ongoing drainage concerns, address them before installing the artificial grass rather than trying to correct the problem after the lawn is in place.
Tools and Safety Items for Installation
The right tools make installation more accurate and reduce the chance of damaging the material. A sharp cutting tool, straight edge and secure measuring method can help create clean joins and neat edges.
Work slowly around corners, drains, posts and garden borders. Cut less than you think you need at first, then trim gradually for a closer fit. Once the material has been cut away, it cannot be added back.
Keep the work area clear while using adhesives and cutting tools. Wear suitable protective equipment for the products and tasks involved, and store materials safely until they are needed.
Build the Lawn From the Ground Up
A successful synthetic turf installation relies on more than the artificial grass itself. The base, drainage, edging, joining materials, adhesive and infill all work together to create a stable and polished result.
Plan the site before purchasing materials, measure carefully and select products that suit the installation surface. If you need help choosing materials for your project, speak with a synthetic turf supplier before beginning the installation.
FAQs
What is artificial grass adhesive used for?
Artificial grass adhesive is used to secure synthetic turf at joins, seams and selected edges. It can help keep the material sections flat and reduce movement where the surface and installation method call for a bonded finish. The adhesive should be applied to clean, dry and prepared materials. Always follow the product instructions and allow enough time for the bond to set before using the area.
Can artificial grass adhesive be used on concrete?
Artificial grass adhesive may be used on a suitable concrete surface when the surface is clean, dry and free from loose material. The best approach depends on the condition of the concrete, whether drainage is present and how the material will be fixed around the perimeter. Check the adhesive product directions before starting and repair cracks or uneven areas before laying the artificial grass.
Do all synthetic turf joins need artificial grass adhesive?
Many synthetic turf joins use artificial grass adhesive with joining tape to hold separate pieces together. The need for adhesive depends on its layout, the surface underneath and the type of installation. Areas with more foot traffic or exposed edges may need extra attention. Plan the joins before cutting so they sit neatly and remain less visible once the artificial grass is brushed.
How long should artificial grass adhesive dry before use?
Drying and curing times for artificial grass adhesive vary between products and site conditions. Temperature, humidity, surface moisture and the amount of adhesive used can all affect the process. Follow the manufacturer’s instructions for the specific product rather than relying on a general timeframe. Keep people, pets and furniture away from bonded sections until the adhesive has set properly.
What happens if artificial grass adhesive is applied to a dirty surface?
Artificial grass adhesive may not bond well if dirt, dust, loose material or moisture is left on the surface. This can cause seams or edges to lift over time. Prepare the area carefully before application by removing debris and checking that the surface is dry and suitable for bonding. A clean, level surface gives the adhesive the best chance of holding the material securely.