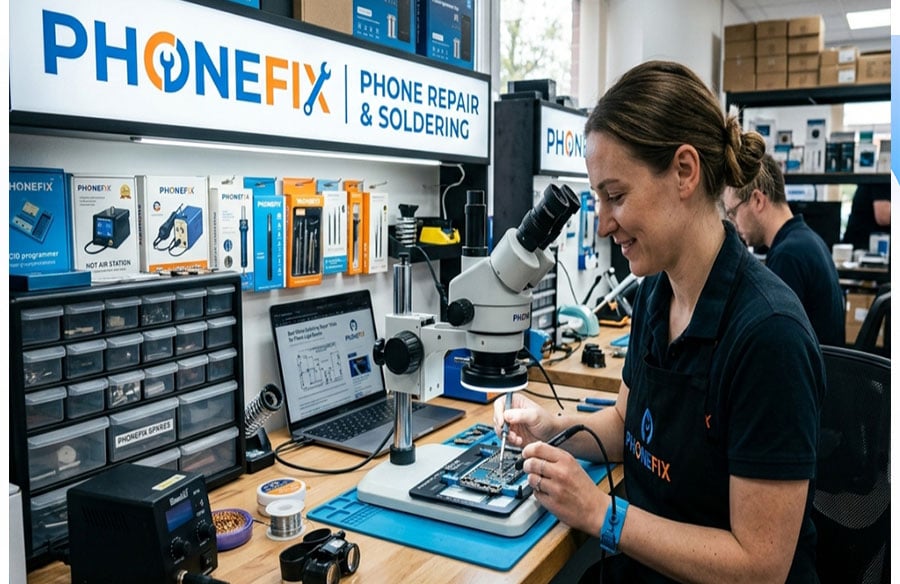
The phone dies overnight on a full charge. Or it heats up in your pocket for no obvious reason. Sound familiar? Nine times out of ten, the problem isn’t something you can see from the outside. It’s buried in a solder joint, or a trace so thin you’d need real magnification to even find it. That’s the world micro soldering tools were built for, and it has almost nothing in common with a screen swap or a battery replacement.
This piece goes through the tools that actually matter for phone motherboard repair — what each one is for, why it earns its spot on the bench, and how they work together once you’re actually diagnosing a dead board.
Why Board-Level Work Is a Different Animal
Screen jobs and battery jobs are mechanical. Screws out, connector off, new part in, done. Logic board repair sits somewhere closer to electronics engineering. Components are packed within microns of each other on a multilayer PCB, some of them smaller than a grain of rice. There isn’t much room to be careless. One tip that’s slightly too hot, one fixture that shifts half a millimeter, and a board that was fixable ten seconds ago is now scrap.
That’s really the whole point of this article: micro soldering was never just “get a soldering iron.” It’s heat control, magnification, a stable fixture, and accurate measurement, all working together as one system.
1. Start With a Soldering Station You Actually Trust
Everything on this list depends on this one. Board-level work needs fast thermal recovery, precise digital control, and swappable fine tips built for tight BGA spacing and jumper wire work. A station that drifts even a couple of degrees under load — and cheap ones do — is usually the reason a pad gets lifted off a power IC. That kind of damage rarely gets fixed.
A precision soldering station made specifically for phone-level rework holds the temperature stability that multilayer boards need. A regular hobbyist iron just wasn’t designed for this. Get this piece right before anything else, because the rest of the repair leans on it.
2. Microscopes — You Can’t Fix What You Can’t See
Cracked joints. Cold solder. Hairline corrosion. Lifted traces. None of it shows up to the naked eye — it only becomes visible once you’re looking through proper magnification. This is why soldering microscopes aren’t really a luxury item for board repair; they’re closer to a requirement.
Go for continuous zoom, somewhere around 7x to 45x, and a trinocular design if you can afford it. That third port lets you hook up a monitor or a camera, which is genuinely useful for recording a repair or walking a second technician through the same board in real time. Most shops treat their microscope as the second big purchase, right after the soldering station, and that’s because diagnosis gets a lot faster once you can actually see what’s wrong.
3. A Hot Air Rework Station for the Jobs an Iron Can’t Do
Some things just need even, controlled heat spread across an area — lifting a BGA-packaged CPU, a power IC, or a Wi-Fi module cleanly off the board isn’t a soldering iron job. Hot air also handles reseating shielding cans after water damage cleanup. Look for constant-temperature control paired with both spiral and directional nozzles. Spiral spreads heat evenly for full removal jobs; directional keeps heat away from parts sitting right next to your target.
4. PCB Repair Fixture and the Anti-Static Basics
Motherboards flex. They curve, and the shape changes from one model to the next, which is exactly why a solid PCB repair fixture matters more than people expect. A weighted, heat-resistant fixture holds the board dead still while hot air is running above it. Skip it, and even a small shift can bridge a solder joint or knock a chip out of alignment mid-reflow.
Pair the fixture with anti-static tweezers — a fine ESD-15 for microscope work, a general ESD-11 for everything else — plus plastic spudgers for flex cables and a proper wrist strap. Static damage doesn’t announce itself. It’s quiet. A board that seemed perfectly repaired can just stop working three days later, and static is often the reason nobody catches at the time.
5. Multimeter and DC Power Supply — Diagnosis Before Repair
Every repair starts with figuring out what’s actually wrong, and that starts with measurement. A digital multimeter checks diode-mode readings, resistance to ground, and continuity — it’s the fastest way to isolate a short before an iron even comes out. An adjustable DC power supply takes it a step further: watching how current climbs when a dead board is powered up tells you whether you’re looking at a hard short, a CPU boot failure, or a NAND fault, often before you’ve opened a single component.
Putting the Whole Thing Together
There’s a rhythm to this once you’ve done it a few times. Secure the board in the fixture. Check resistance at the battery connector. Power it through the DC supply and watch how current behaves. Look under the microscope at whatever area’s acting suspicious. Then bring in hot air and fine tweezers to pull and replace the actual faulty part.
Miss a step and the rest doesn’t hold up. A great microscope means nothing if the board’s sliding around on the bench. A great iron won’t save you if the diagnosis pointed at the wrong component to begin with.
Building a Bench That Grows With You, Not Against You
Most technicians who move into board-level work end up buying in roughly this order: soldering station and microscope first, hot air and fixturing next, diagnostic gear like the multimeter and power supply after that.
PHONEFIX (diyfixtool.com) covers this entire chain under one roof — soldering stations, soldering microscopes, fixtures, tweezers, consumables, all of it. That makes it a lot easier to build a bench that actually works together instead of collecting mismatched gear from five different sellers. If you’re putting together or upgrading a micro soldering tools setup, it’s worth seeing what diyfixtool carries across these categories before buying piece by piece from wherever’s cheapest that week.
Final Thoughts
Nobody learns micro soldering in a weekend. It takes repetition, patience, and tools that work with you instead of against you. Nail the basics — a stable soldering station, a clear microscope, a dependable PCB repair fixture, and reliable diagnostic instruments — and phone motherboard repair stops being guesswork. It just becomes technique.